Introduction
If your CPU is causing your laptop to be unresponsive, or if it is overheating and running at a slower speed, then this guide can be used to replace it in about 30 minutes. You will need a Flathead 3.0 Screwdriver, a Phillips #01 Screwdriver, an iFixit opening tool, and tweezers.
What you need
-
-
-
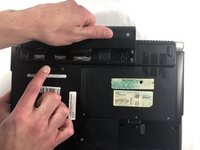
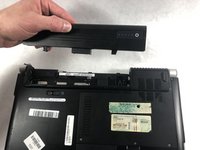
Lift the computer up and slowly pull the battery straight out from the device.
-
-
-
-
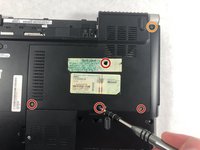
Remove the four 5.0mm screws with a Phillips #1 screwdriver.
-
Remove the one external 5.0mm screw with a Phillips #1 screwdriver.
-
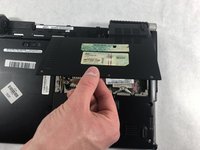
Remove the fan cover.
-
-
-
-
Remove the four 0.1mm screws using the Phillips #1 screwdriver.
-
Remove the one thicker 0.1 mm screw using the Phillips #1 screwdriver.
-
-
Tool used on this step:Tweezers$4.99
-
Remove the wire bay near the fan.
-
Use the long nosed tweezers to carefully handle the white plastic piece that holds the wires together.
-
Gently pull upward while moving your hand side to side so the plastic holder will detach.
-
-
-
-
-
Using the flathead screwdriver, turn the one screw counterclockwise to loosen the CPU, but do not remove the screw.
-
-

 Ask FixBot






To reassemble your device, follow these instructions in reverse order.
Cancel: I did not complete this guide.
One other person completed this guide.

Team

UMass Dartmouth, Team S6-G2, Peak Spring 2019 Member of UMass Dartmouth, Team S6-G2, Peak Spring 2019
UMASSD-PEAK-S19S6G2
3 Members
60 Guides authored
