Introduction
This guide will show you how to replace the touch control board on your Dell XPS 18. Replacement for this part is required if you cannot seem to get the touchscreen to work.
What you need
-
-
-
Turn the device on its screen.
-
Remove the ten 4mm screws using a T8 Torx screwdriver.
 Ask FixBot
-
-
-
Gently lift the back cover off the device. The back cover should come off easily.
-
-
-
-
-
-
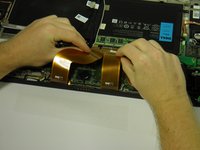
Use the opening tool's angled edge to lift the clasps securing the screen and motherboard cables.
-
-
-
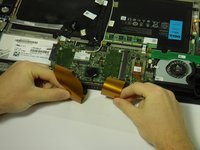
Disconnect the screen and copper colored motherboard cables and tuck them under the device to prevent future hassle.
-
-
-
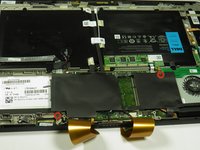
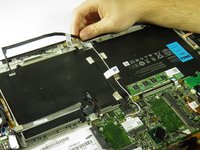
Remove the two black 3mm screws from the internal cover with a Phillips 00 screwdriver.
-
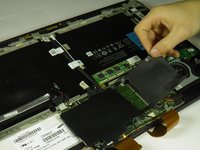
Remove the internal cover.
-
-
-
-
-
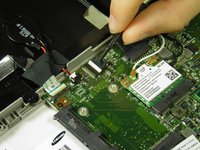
Disconnect the black camera cable and pull it back to prevent future hassle.
-
-
-
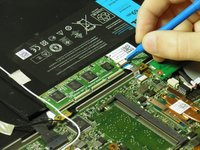
Use the angled edge of the plastic opening tool to lift the clasp securing the touch control board cable.
-
Disconnect the silver and blue touch control board cable.
-
-
-
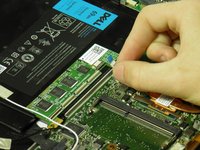
Remove the two silver 3mm screws holding the touch control board in place with a Phillips 00 screwdriver.
-
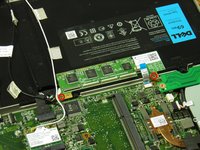
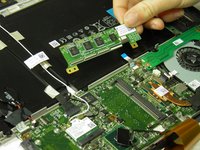
Remove the touch control board.
-
-










To reassemble your device, follow these instructions in reverse order.
Cancel: I did not complete this guide.
4 other people completed this guide.

Team

Cal Poly, Team 6-29, Amido Winter 2015 Member of Cal Poly, Team 6-29, Amido Winter 2015
CPSU-AMIDO-W15S6G29
4 Members
96 Guides authored
2 Guide Comments
It worked perfectly. Thank you.
Which of Torx screwdrivers is used in step 1? As I can see, it is T8, but right above the Introduction section it is stated it is Torx T9...
