Free Shipping on Domestic Orders $75+

Dell XPS 17 L702X Keyboard Replacement

What you need

    1. Dell XPS 17 L702X Keyboard Replacement, Battery: step 1, image 1 of 1
      • Before you begin, be sure to turn off your laptop and unplug it from the outlet.

      • Flip over the laptop so that the bottom battery compartment faces upwards.

      Ask FixBot

      Add Comment

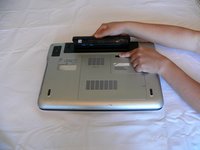
    2. Dell XPS 17 L702X Keyboard Replacement: step 2, image 1 of 2 Dell XPS 17 L702X Keyboard Replacement: step 2, image 2 of 2
      • Slide the tab below the battery to the left and hold the tab in place.

      Ask FixBot

      Add Comment

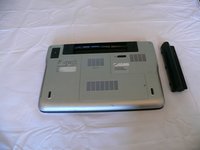
    3. Dell XPS 17 L702X Keyboard Replacement: step 3, image 1 of 2 Dell XPS 17 L702X Keyboard Replacement: step 3, image 2 of 2
      • While holding the tab, lift the battery out of its compartment.

      • Release the tab after removing the battery.

      Ask FixBot

      Add Comment

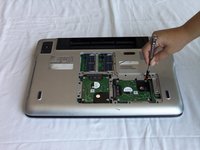
    1. Dell XPS 17 L702X Keyboard Replacement, Hard Drive: step 4, image 1 of 1
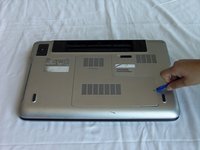
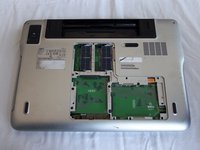
      • Loosen the module cover screw with a Phillips screwdriver.

      • The screw is attached to the cover; do not force it out.

      Ask FixBot

      Add Comment

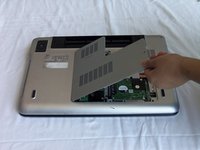
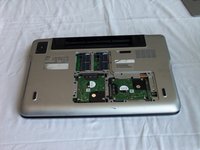
    2. Dell XPS 17 L702X Keyboard Replacement: step 5, image 1 of 3 Dell XPS 17 L702X Keyboard Replacement: step 5, image 2 of 3 Dell XPS 17 L702X Keyboard Replacement: step 5, image 3 of 3
      • Lift the module cover by inserting a plastic opening tool into the crevice near the screw and lift upwards.

      Ask FixBot

      Add Comment

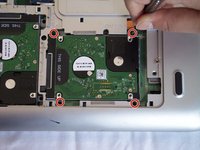
    3. Dell XPS 17 L702X Keyboard Replacement: step 6, image 1 of 2 Dell XPS 17 L702X Keyboard Replacement: step 6, image 2 of 2
      • Remove the four 4mm Phillips screws fastening the first hard drive.

      Ask FixBot

      Add Comment

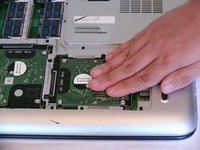
    4. Dell XPS 17 L702X Keyboard Replacement: step 7, image 1 of 3 Dell XPS 17 L702X Keyboard Replacement: step 7, image 2 of 3 Dell XPS 17 L702X Keyboard Replacement: step 7, image 3 of 3
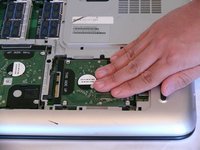
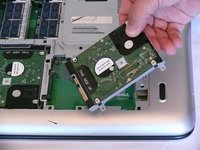
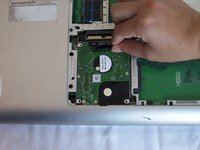
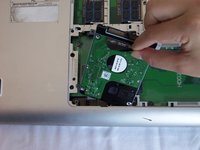
      • Slide the hard drive with your hand towards the hole where the back panel assembly screw was located (in step 5) to disconnect it.

      • Lift the hard drive up to remove it from the case.

      Ask FixBot

      Add Comment

    5. Dell XPS 17 L702X Keyboard Replacement: step 8, image 1 of 1
      • Remove the four 4mm Phillips screws on the second hard drive.

      Ask FixBot

      Add Comment

    6. Dell XPS 17 L702X Keyboard Replacement: step 9, image 1 of 2 Dell XPS 17 L702X Keyboard Replacement: step 9, image 2 of 2
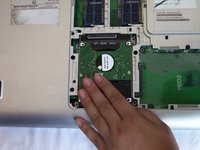
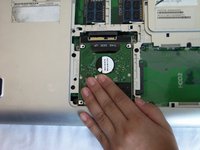
      • Slide the hard drive towards the edge nearest you to disconnect it.

      Ask FixBot

      Add Comment

    7. Dell XPS 17 L702X Keyboard Replacement: step 10, image 1 of 3 Dell XPS 17 L702X Keyboard Replacement: step 10, image 2 of 3 Dell XPS 17 L702X Keyboard Replacement: step 10, image 3 of 3
      • Using the tab that says "THIS SIDE UP," pull away from the laptop to remove the hard drive.

      Ask FixBot

      Add Comment

    8. Dell XPS 17 L702X Keyboard Replacement: step 11, image 1 of 2 Dell XPS 17 L702X Keyboard Replacement: step 11, image 2 of 2
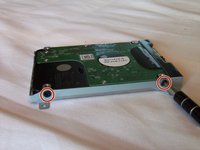
      • Repeat this step for each hard drive.

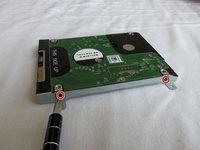
      • Unscrew the two 4mm screws from each side of the hard drive casing with a Phillips screwdriver.

      Ask FixBot

      Add Comment

    9. Dell XPS 17 L702X Keyboard Replacement: step 12, image 1 of 1
      • Remove the hard drive casing.

      Ask FixBot

      Add Comment

    1. Dell XPS 17 L702X Keyboard Replacement, Palm Rest: step 13, image 1 of 1
      • Unscrew the screw holding the optical drive with a Phillips screwdriver.

      Ask FixBot

      Add Comment

    2. Dell XPS 17 L702X Keyboard Replacement: step 14, image 1 of 3 Dell XPS 17 L702X Keyboard Replacement: step 14, image 2 of 3 Dell XPS 17 L702X Keyboard Replacement: step 14, image 3 of 3
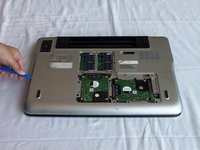
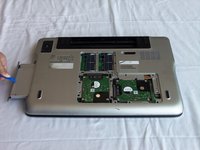
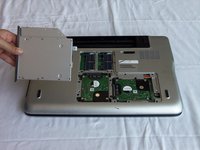
      • Using a plastic opening tool, pull out the optical drive.

      Ask FixBot

      Add Comment

    3. Dell XPS 17 L702X Keyboard Replacement: step 15, image 1 of 1
      • Unscrew three 4mm screws near the edge of the optical drive compartment with a Phillips screwdriver.

      Ask FixBot

      Add Comment

    4. Dell XPS 17 L702X Keyboard Replacement: step 16, image 1 of 1
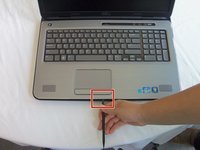
      • Open the laptop to about a 90 degree angle and place it on its side with the empty optical drive slot pointing upwards.

      Ask FixBot

      Add Comment

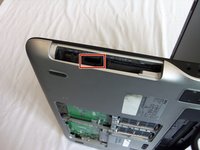
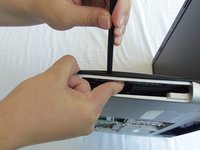
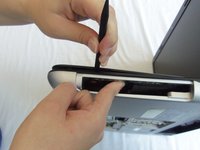
    5. Dell XPS 17 L702X Keyboard Replacement: step 17, image 1 of 3 Dell XPS 17 L702X Keyboard Replacement: step 17, image 2 of 3 Dell XPS 17 L702X Keyboard Replacement: step 17, image 3 of 3
      • Push and hold the tab inside the optical drive's opening with your index finger.

      • Insert a spudger between the black and silver plastic pieces that are above the tab and pry apart the two pieces.

      Ask FixBot

      Add Comment

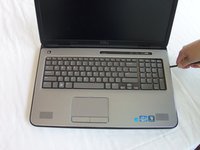
    6. Dell XPS 17 L702X Keyboard Replacement: step 18, image 1 of 2 Dell XPS 17 L702X Keyboard Replacement: step 18, image 2 of 2
      • Slide the spudger around the palm rest to release the clips.

      • You may hear a crackling noise; this is normal.

      • Use caution when sliding below the mouse pad, as there are wires we must detach in the next steps.

      Ask FixBot

      Add Comment

    7. Dell XPS 17 L702X Keyboard Replacement: step 19, image 1 of 2 Dell XPS 17 L702X Keyboard Replacement: step 19, image 2 of 2
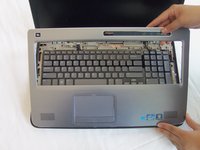
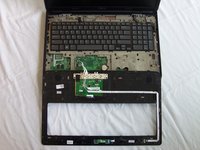
      • Gently lift and rotate the palm rest panel until it's upside down as it is still connected by the mouse pad wires.

      • The mouse pad wires are still connected to the palm rest panel.

      Ask FixBot

      Add Comment

    8. Dell XPS 17 L702X Keyboard Replacement: step 20, image 1 of 3 Dell XPS 17 L702X Keyboard Replacement: step 20, image 2 of 3 Dell XPS 17 L702X Keyboard Replacement: step 20, image 3 of 3
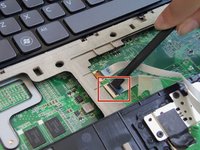
      • Put the spudger below the black tab of the wider cable and push up to release.

      • Gently pull out the cable.

      Ask FixBot

      Add Comment

    9. Dell XPS 17 L702X Keyboard Replacement: step 21, image 1 of 3 Dell XPS 17 L702X Keyboard Replacement: step 21, image 2 of 3 Dell XPS 17 L702X Keyboard Replacement: step 21, image 3 of 3
      • Insert the spudger below the black tab of the remaining cable and push up to release.

      • Gently pull out the cable.

      Ask FixBot

      Add Comment

    10. Dell XPS 17 L702X Keyboard Replacement: step 22, image 1 of 1
      • Remove the palm rest from the laptop.

      Ask FixBot

      Add Comment

    1. Dell XPS 17 L702X Keyboard Replacement, Keyboard: step 23, image 1 of 3 Dell XPS 17 L702X Keyboard Replacement, Keyboard: step 23, image 2 of 3 Dell XPS 17 L702X Keyboard Replacement, Keyboard: step 23, image 3 of 3
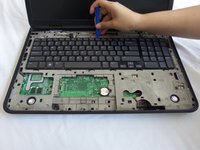
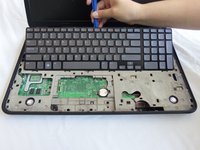
      • Using the plastic opening tool, slightly lift and rotate the keyboard until it's upside down from the display side of the laptop.

      • DO NOT lift the keyboard all the way up as there are wires that are still connected.

      Ask FixBot

      Add Comment

    2. Dell XPS 17 L702X Keyboard Replacement: step 24, image 1 of 3 Dell XPS 17 L702X Keyboard Replacement: step 24, image 2 of 3 Dell XPS 17 L702X Keyboard Replacement: step 24, image 3 of 3
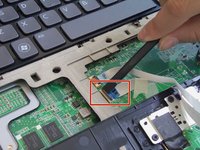
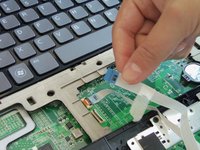
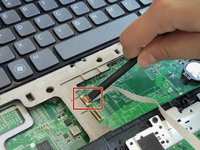
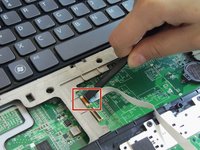
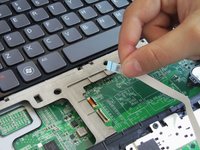
      • Gently insert the spudger below the edge of the black tab of the thin, copper colored cable and pry it open.

      • Gently pull out the cable.

      Ask FixBot

      Add Comment

    3. Dell XPS 17 L702X Keyboard Replacement: step 25, image 1 of 3 Dell XPS 17 L702X Keyboard Replacement: step 25, image 2 of 3 Dell XPS 17 L702X Keyboard Replacement: step 25, image 3 of 3
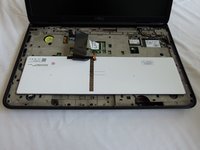
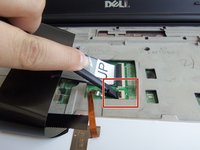
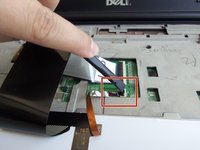
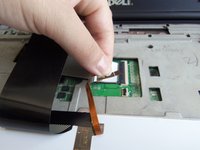
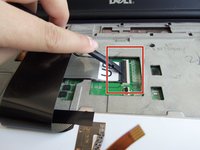
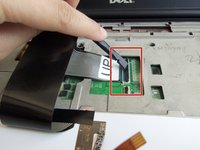
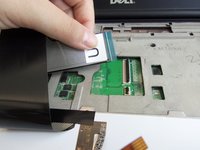
      • Gently insert the spudger under the edge of the black tab of the cable marked "UP" and pry it open.

      • Gently pull out the cable.

      Ask FixBot

      Add Comment

    4. Dell XPS 17 L702X Keyboard Replacement: step 26, image 1 of 1
      • Remove the keyboard from the laptop.

      Ask FixBot

      Add Comment

Conclusion

To reassemble your device, follow these instructions in reverse order.

Cancel: I did not complete this guide.

3 other people completed this guide.

Monica Oropeza

Member since: 09/17/15

396 Reputation

2 Guides authored

Team

CSU Fullerton, Team 2-6, Bruce Fall 2015 Member of CSU Fullerton, Team 2-6, Bruce Fall 2015

CSUF-BRUCE-F15S2G6

4 Members

84 Guides authored

0 Guide Comments

Add Comment

View Statistics:

Past 24 Hours: 1

Past 7 Days: 7

Past 30 Days: 31

All Time: 3,481