Free Shipping on Domestic Orders $75+

Dell XPS 17 L702X Hard Drive Replacement

What you need

    1. Dell XPS 17 L702X Hard Drive Replacement, Battery: step 1, image 1 of 1
      • Before you begin, be sure to turn off your laptop and unplug it from the outlet.

      • Flip over the laptop so that the bottom battery compartment faces upwards.

      Ask FixBot

      Add Comment

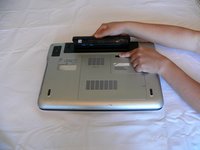
    2. Dell XPS 17 L702X Hard Drive Replacement: step 2, image 1 of 2 Dell XPS 17 L702X Hard Drive Replacement: step 2, image 2 of 2
      • Slide the tab below the battery to the left and hold the tab in place.

      Ask FixBot

      Add Comment

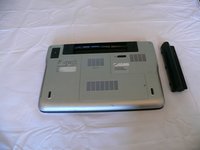
    3. Dell XPS 17 L702X Hard Drive Replacement: step 3, image 1 of 2 Dell XPS 17 L702X Hard Drive Replacement: step 3, image 2 of 2
      • While holding the tab, lift the battery out of its compartment.

      • Release the tab after removing the battery.

      Ask FixBot

      Add Comment

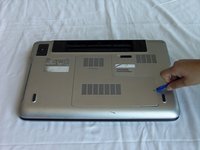
    1. Dell XPS 17 L702X Hard Drive Replacement, Hard Drive: step 4, image 1 of 1
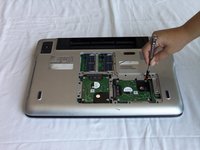
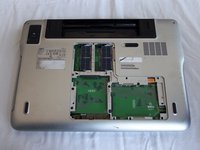
      • Loosen the module cover screw with a Phillips screwdriver.

      • The screw is attached to the cover; do not force it out.

      Ask FixBot

      Add Comment

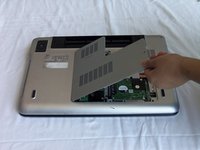
    2. Dell XPS 17 L702X Hard Drive Replacement: step 5, image 1 of 3 Dell XPS 17 L702X Hard Drive Replacement: step 5, image 2 of 3 Dell XPS 17 L702X Hard Drive Replacement: step 5, image 3 of 3
      • Lift the module cover by inserting a plastic opening tool into the crevice near the screw and lift upwards.

      Ask FixBot

      Add Comment

    3. Dell XPS 17 L702X Hard Drive Replacement: step 6, image 1 of 2 Dell XPS 17 L702X Hard Drive Replacement: step 6, image 2 of 2
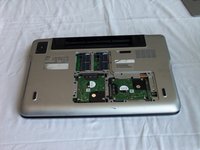
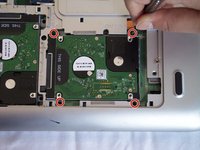
      • Remove the four 4mm Phillips screws fastening the first hard drive.

      Ask FixBot

      Add Comment

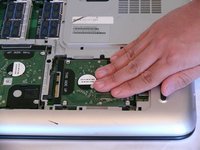
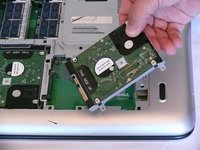
    4. Dell XPS 17 L702X Hard Drive Replacement: step 7, image 1 of 3 Dell XPS 17 L702X Hard Drive Replacement: step 7, image 2 of 3 Dell XPS 17 L702X Hard Drive Replacement: step 7, image 3 of 3
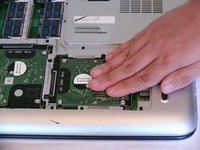
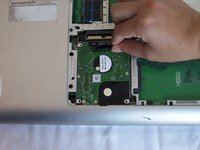
      • Slide the hard drive with your hand towards the hole where the back panel assembly screw was located (in step 5) to disconnect it.

      • Lift the hard drive up to remove it from the case.

      Ask FixBot

      Add Comment

    5. Dell XPS 17 L702X Hard Drive Replacement: step 8, image 1 of 1
      • Remove the four 4mm Phillips screws on the second hard drive.

      Ask FixBot

      Add Comment

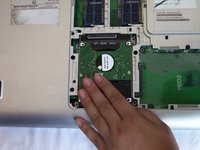
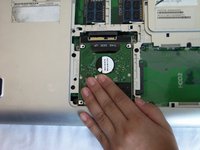
    6. Dell XPS 17 L702X Hard Drive Replacement: step 9, image 1 of 2 Dell XPS 17 L702X Hard Drive Replacement: step 9, image 2 of 2
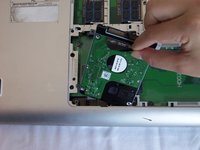
      • Slide the hard drive towards the edge nearest you to disconnect it.

      Ask FixBot

      Add Comment

    7. Dell XPS 17 L702X Hard Drive Replacement: step 10, image 1 of 3 Dell XPS 17 L702X Hard Drive Replacement: step 10, image 2 of 3 Dell XPS 17 L702X Hard Drive Replacement: step 10, image 3 of 3
      • Using the tab that says "THIS SIDE UP," pull away from the laptop to remove the hard drive.

      Ask FixBot

      Add Comment

    8. Dell XPS 17 L702X Hard Drive Replacement: step 11, image 1 of 2 Dell XPS 17 L702X Hard Drive Replacement: step 11, image 2 of 2
      • Repeat this step for each hard drive.

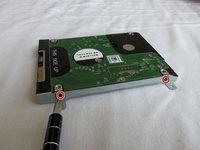
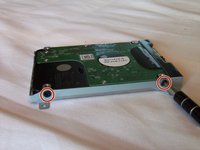
      • Unscrew the two 4mm screws from each side of the hard drive casing with a Phillips screwdriver.

      Ask FixBot

      Add Comment

    9. Dell XPS 17 L702X Hard Drive Replacement: step 12, image 1 of 1
      • Remove the hard drive casing.

      Ask FixBot

      Add Comment

Conclusion

To reassemble your device, follow these instructions in reverse order.

Cancel: I did not complete this guide.

6 other people completed this guide.

Shin Sul

Member since: 10/02/15

550 Reputation

3 Guides authored

Team

CSU Fullerton, Team 2-6, Bruce Fall 2015 Member of CSU Fullerton, Team 2-6, Bruce Fall 2015

CSUF-BRUCE-F15S2G6

4 Members

84 Guides authored

0 Guide Comments

Add Comment

View Statistics:

Past 24 Hours: 4

Past 7 Days: 8

Past 30 Days: 36

All Time: 4,972