Free Shipping on Domestic Orders $75+

Dell XPS 15 9550 Back/Underside Panel Replacement

What you need

    1. Dell XPS 15 9550 Back/Underside Panel Replacement, Back/Underside Panel: step 1, image 1 of 1
      • Turn the laptop upside down.

      • Make sure the laptop is turned off.

      • Use a T5 Torx Screwdriver to remove the ten 3 mm long screws from the perimeter of the back of the laptop.

      Ask FixBot

      Add Comment

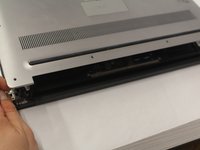
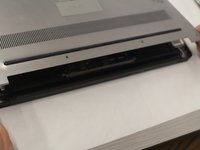
    2. Dell XPS 15 9550 Back/Underside Panel Replacement: step 2, image 1 of 2 Dell XPS 15 9550 Back/Underside Panel Replacement: step 2, image 2 of 2
      • Open up the information panel door (on the middle of the back side).

      • While holding the door open, use a Phillips #00 Screwdriver to remove the two 10 mm long screws.

      Ask FixBot

      Add Comment

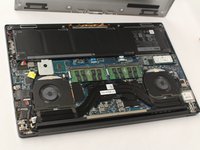
    3. Dell XPS 15 9550 Back/Underside Panel Replacement: step 3, image 1 of 3 Dell XPS 15 9550 Back/Underside Panel Replacement: step 3, image 2 of 3 Dell XPS 15 9550 Back/Underside Panel Replacement: step 3, image 3 of 3
      • Carefully lift the 2 corners of the back panel close to the hinge upwards, to release the whole panel.

      • Do not force the panel off. If it does not come off easily, try to use a plastic spudger where it is stuck.

      Ask FixBot

      Add Comment

Conclusion

To reassemble your device, follow these instructions in reverse order.

Cancel: I did not complete this guide.

12 other people completed this guide.

Brandon Schmidt

Member since: 10/04/18

2,143 Reputation

3 Guides authored

Team

UW Stout, Team S6-G1, Ogden Fall 2018 Member of UW Stout, Team S6-G1, Ogden Fall 2018

UWSTOUT-OGDEN-F18S6G1

4 Members

60 Guides authored

0 Guide Comments

Add Comment

View Statistics:

Past 24 Hours: 3

Past 7 Days: 12

Past 30 Days: 76

All Time: 14,484