
Dell XPS 14 Wi-Fi Card Replacement

Gabriella Monico and one other contributor
Last updated on May 26, 2022
Views: 701
View statistics:
- Past 24 Hours:
- 0
- Past 7 Days:
- 15
- Past 30 Days:
- 80
- All Time:
- 701
Comments: 0
No one has left comments on this guide. Will you be first?
Go to guide commentsCompleted: 0 1
No one has marked this guide "completed." Will you be the first?
1 person has marked this guide "completed." It's you — great job!
Favorites: 0 1
No one has favorited (and subscribed to) this guide. Will you be the first?
1 person has favorited (and subscribed to) this guide — and that's you!
Introduction
Go to step 1 ↓The device featured in this replacement guide is the Dell XPS 14 L421X. This guide will assist the user in removing and replacing the laptop's Wi-Fi card. The Wi-Fi card connects the device to the internet through a wireless connection to a local network. There are no special skills or requirements for this guide, the user will only need to complete the steps shown. The Wi-Fi card may often be the cause for poor Wi-Fi connection. For more troubleshooting information, refer to the troubleshooting page. Before fully removing the Wi-Fi card, make sure you check to ensure that the card is connected to the device, as these symptoms may also be due to a loose cable or plug. Before following these steps, it is important that you ground yourself. You can do so by wearing an anti-static wrist strap. Also, make sure that the battery is fully disconnected before removing the Wi-Fi card.
What you need
Tools


-
-
-
Position the computer back side up so that the “XPS” logo is facing you.
-
Remove six 3 mm screws along the perimeter of the back panel using a T5 Torx screwdriver.
 Ask FixBot
-
-
-
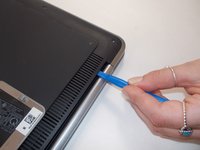
Use an opening tool to pry up the metal plate.
-
Remove the two 6 mm screws under the silver flap using a Phillips #0 screwdriver.
-
-
-
Flip over the back panel so that the interior of the panel is facing up.
-
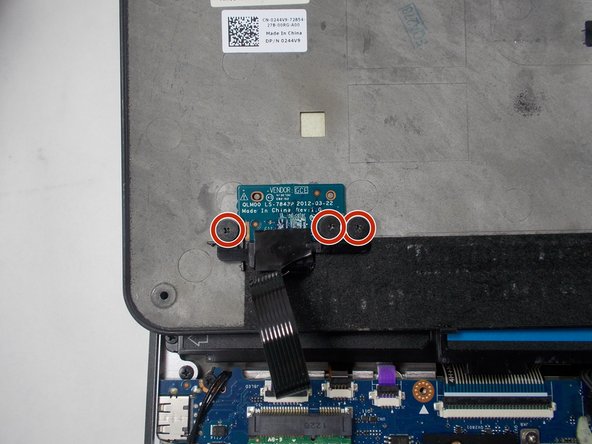
Remove three 2 mm screws that are connected to the vendor GCE disk on the bottom left corner of the back panel using a Phillips #0 screwdriver.
-
Remove the black plastic cover that holds the disk in place.
-
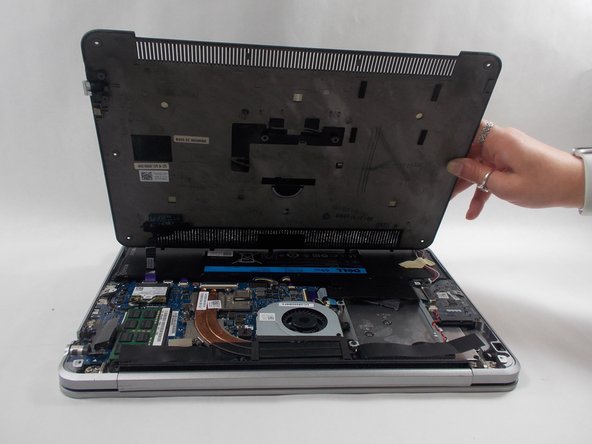
Remove the back panel.
-
-
-
-
-
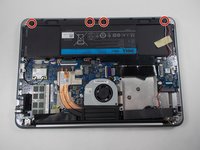
Remove four 2 mm screws that are connected to the speaker using a Phillips #0 screwdriver.
-
-
-
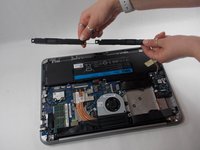
Remove the speaker from its original location so the wire connector is visible.
-
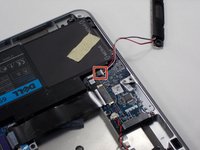
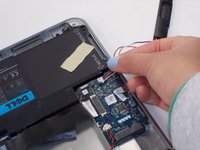
Unplug the red and white cable plug by pulling out the white end tag.
-
The speaker is now fully removed.
-
-
-
-
-
Remove the four 6 mm screws from the sides of the battery using a T5 Torx screwdriver.
-
Remove the two 3 mm screws from the top of the battery using a Phillips #0 screwdriver.
-
-
-
-
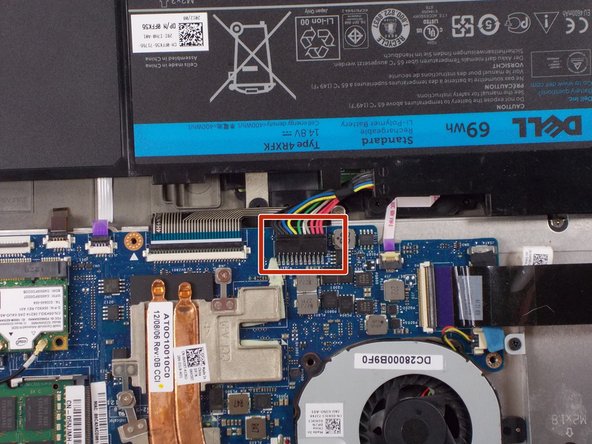
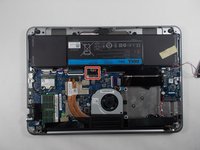
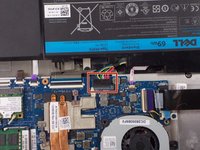
Detach the battery connector from the motherboard using two thumbs to pop it out.
-
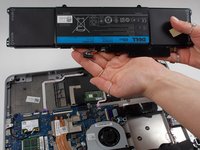
Remove the battery from the laptop.
-
-
-
-
-
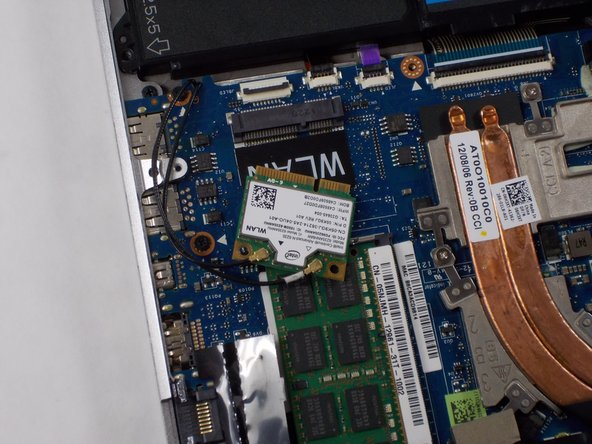
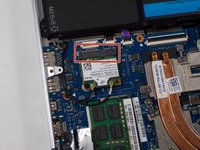
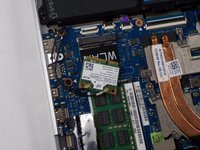
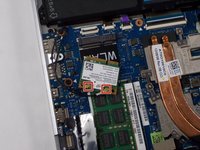
Remove the Wi-Fi card by gently lifting the card and pulling it out of its slot.
-
-
-
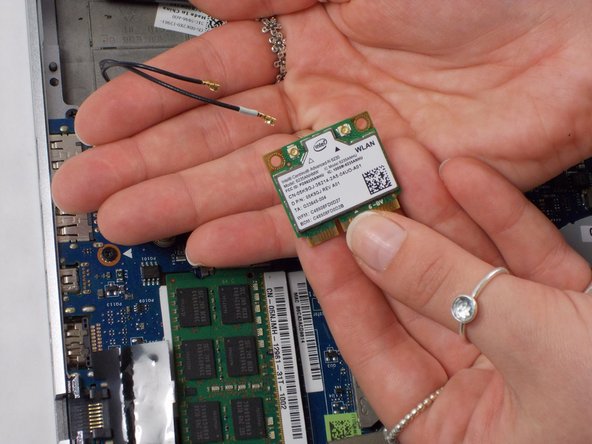
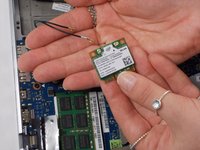
Disconnect the two coaxial cables from the Wi-Fi card to remove it from the laptop.
-
-



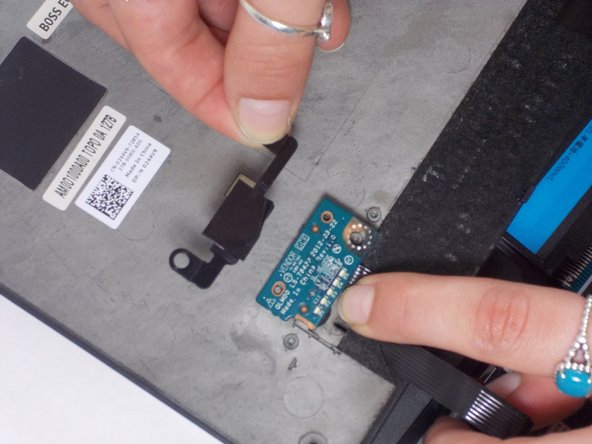
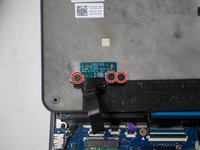









To reassemble your device, follow these instructions in reverse order.

Team

UMass Dartmouth, Team 1-3, Botvin Spring 2022 Member of UMass Dartmouth, Team 1-3, Botvin Spring 2022
UMASSD-BOTVIN-S22S1G3
3 Members
60 Guides authored
