
Dell XPS 14 Speaker Replacement

Gabriella Monico and 2 other contributors
Last updated on May 12, 2022
Views: 638
View statistics:
- Past 24 Hours:
- 5
- Past 7 Days:
- 19
- Past 30 Days:
- 60
- All Time:
- 638
Comments: 0
No one has left comments on this guide. Will you be first?
Go to guide commentsCompleted: 0 1
No one has marked this guide "completed." Will you be the first?
1 person has marked this guide "completed." It's you — great job!
Favorites: 0 1
No one has favorited (and subscribed to) this guide. Will you be the first?
1 person has favorited (and subscribed to) this guide — and that's you!
Introduction
Go to step 1 ↓The device featured in this replacement guide is the Dell XPS 14 L421X. This guide will assist the user in removing and replacing the laptop's speaker system. There are no special skills or requirements for this guide. The speaker will likely need to be replaced if you are experiencing audio system issues. For more troubleshooting information, refer to the troubleshooting page. Before fully removing the speakers, make sure you check to ensure that the speaker is connected to the device, as these symptoms may also be due to a loose cable or plug. Before following these steps, it is crucial that you ground yourself. You can do so by wearing an ESD-safe anti-static wrist strap.
What you need
Tools


-
-
-
Position the computer back side up so that the “XPS” logo is facing you.
-
Remove six 3 mm screws along the perimeter of the back panel using a T5 Torx screwdriver.
 Ask FixBot
-
-
-
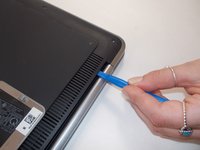
Use an opening tool to pry up the metal plate.
-
Remove the two 6 mm screws under the silver flap using a Phillips #0 screwdriver.
-
-
-
Flip over the back panel so that the interior of the panel is facing up.
-
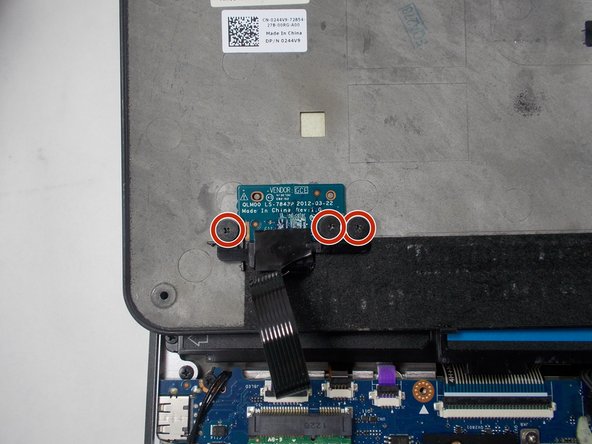
Remove three 2 mm screws that are connected to the vendor GCE disk on the bottom left corner of the back panel using a Phillips #0 screwdriver.
-
Remove the black plastic cover that holds the disk in place.
-
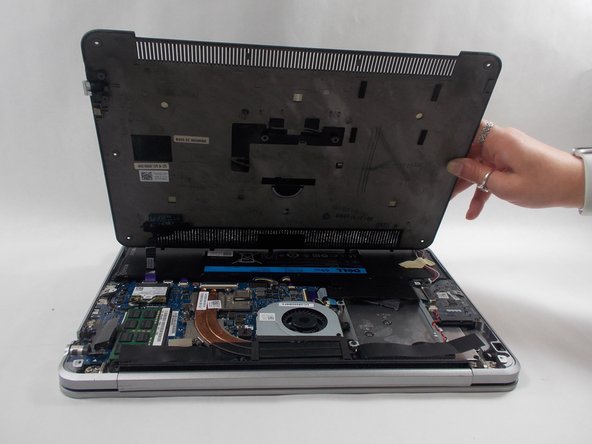
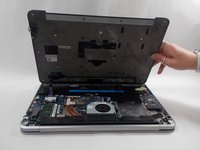
Remove the back panel.
-
-
-
-
-
-
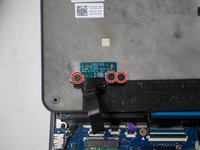
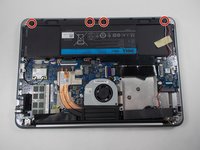
Remove four 2 mm screws that are connected to the speaker using a Phillips #0 screwdriver.
-
-
-
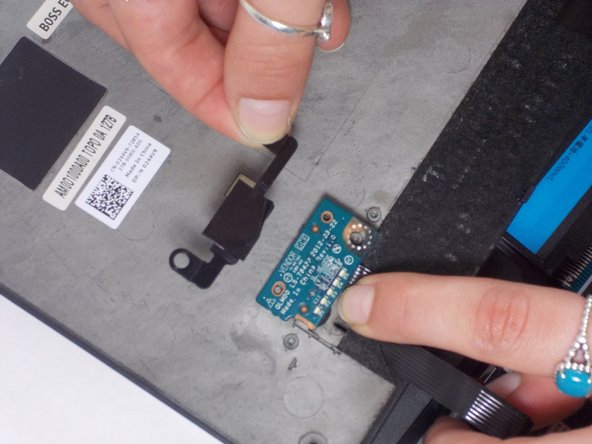
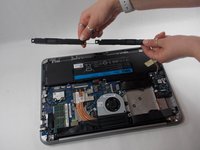
Remove the speaker from its original location so the wire connector is visible.
-
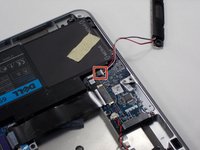
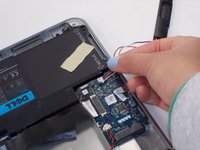
Unplug the red and white cable plug by pulling out the white end tag.
-
The speaker is now fully removed.
-
-







To reassemble your device, follow these instructions in reverse order.

Team

UMass Dartmouth, Team 1-3, Botvin Spring 2022 Member of UMass Dartmouth, Team 1-3, Botvin Spring 2022
UMASSD-BOTVIN-S22S1G3
3 Members
60 Guides authored
