Free Shipping on Domestic Orders $75+

Dell XPS 14 L401X Optical Drive Replacement

What you need

    1. Dell XPS 14 L401X Optical Drive Replacement, Battery: step 1, image 1 of 2 Dell XPS 14 L401X Optical Drive Replacement, Battery: step 1, image 2 of 2
      • Make sure that the laptop is shut off before attempting to remove any components from the device.

      • The laptop in this example did not have a battery equipped.

      • Locate the spring latch on the bottom of the device that will unlatch the battery.

      • Hold the spring latch in the open position and pull the battery out of its recess.

      Ask FixBot

      Add Comment

    1. Dell XPS 14 L401X Optical Drive Replacement, RAM: step 2, image 1 of 3 Dell XPS 14 L401X Optical Drive Replacement, RAM: step 2, image 2 of 3 Dell XPS 14 L401X Optical Drive Replacement, RAM: step 2, image 3 of 3
      • Use a JIS 1 screwdriver to loosen the (2) captive screws from the panel.

      • The captive screws will not come off of the panel.

      • Pull the panel upwards and towards the battery to remove.

      • Put the panel to the side, exposing the RAM.

      Ask FixBot

      Add Comment

    2. Dell XPS 14 L401X Optical Drive Replacement: step 3, image 1 of 2 Dell XPS 14 L401X Optical Drive Replacement: step 3, image 2 of 2
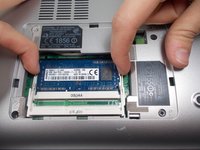
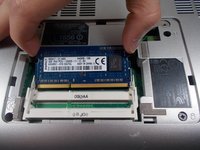
      • The RAM is held by two spring clips. Pull at the two spring clips and the RAM will move upwards.

      • Keep your fingers on the edge of the chip.

      • Only handle the RAM by the sides! Do not touch the circuits or the terminals to avoid contamination!

      Ask FixBot

      Add Comment

    1. Dell XPS 14 L401X Optical Drive Replacement, Optical Drive: step 4, image 1 of 2 Dell XPS 14 L401X Optical Drive Replacement, Optical Drive: step 4, image 2 of 2
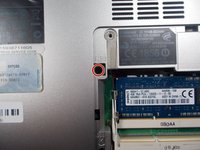
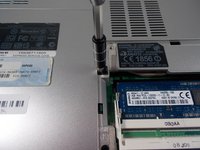
      • Locate and remove (1) 8.5mm JIS 1 screw at the top left corner of the RAM bay.

      Ask FixBot

      Add Comment

    2. Dell XPS 14 L401X Optical Drive Replacement: step 5, image 1 of 3 Dell XPS 14 L401X Optical Drive Replacement: step 5, image 2 of 3 Dell XPS 14 L401X Optical Drive Replacement: step 5, image 3 of 3
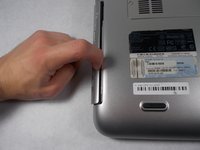
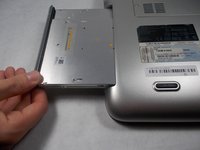
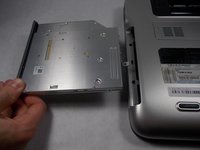
      • Carefully pull out the optical drive from its bay.

      Ask FixBot

      Add Comment

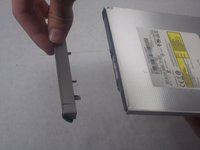
    3. Dell XPS 14 L401X Optical Drive Replacement: step 6, image 1 of 2 Dell XPS 14 L401X Optical Drive Replacement: step 6, image 2 of 2
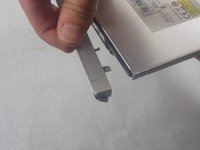
      • Carefully pull off the decorative cover from the front of the optical drive.

      • This decorative cover will be transferred to the new optical drive.

      Ask FixBot

      Add Comment

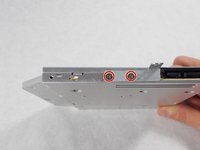
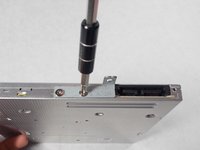
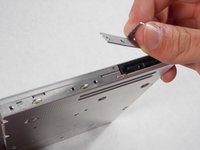
    4. Dell XPS 14 L401X Optical Drive Replacement: step 7, image 1 of 3 Dell XPS 14 L401X Optical Drive Replacement: step 7, image 2 of 3 Dell XPS 14 L401X Optical Drive Replacement: step 7, image 3 of 3
      • Use a JIS 1 screwdriver to remove (2) 2mm screws on the drive's anchoring bracket.

      • This bracket will be transferred to the new optical drive.

      Ask FixBot

      Add Comment

Conclusion

To reassemble your device, follow these instructions in reverse order.

Cancel: I did not complete this guide.

Mark

Member since: 10/19/17

655 Reputation

6 Guides authored

Team

UMass Dartmouth, Team S4-G3, Julie Fall 2017 Member of UMass Dartmouth, Team S4-G3, Julie Fall 2017

UMASSD-JULIE-F17S4G3

3 Members

132 Guides authored

0 Guide Comments

Add Comment

View Statistics:

Past 24 Hours: 1

Past 7 Days: 6

Past 30 Days: 27

All Time: 663