Free Shipping on Domestic Orders $75+

Dell XPS 13 L321X Screen Replacement

What you need

    1. Dell XPS 13 L321X Screen Replacement, Screen: step 1, image 1 of 2 Dell XPS 13 L321X Screen Replacement, Screen: step 1, image 2 of 2
      • Remove ten 3mm screws from the back cover with a "T5" screwdriver.

      Ask FixBot
      Add Comment

    2. Dell XPS 13 L321X Screen Replacement: step 2, image 1 of 1
      • Remove the ribbons from both sides with a plastic iFixit opening tool.

      Ask FixBot
      Add Comment

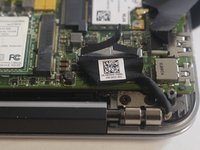
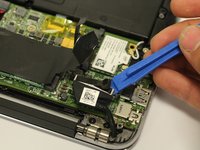
    3. Dell XPS 13 L321X Screen Replacement: step 3, image 1 of 2 Dell XPS 13 L321X Screen Replacement: step 3, image 2 of 2
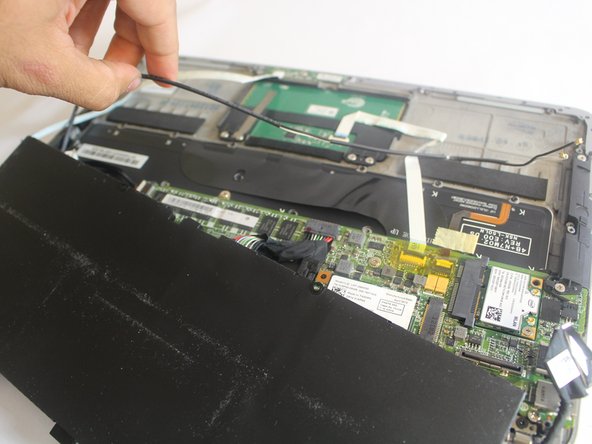
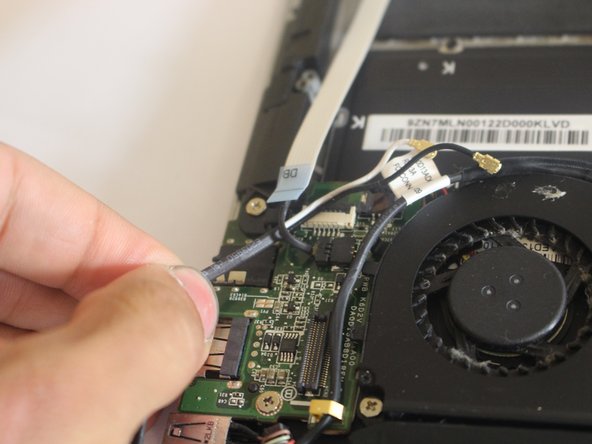
      • Remove the black wire that connects the screen to the motherboard by pulling up with a plastic iFixit opening tool.

      Ask FixBot

      Add Comment

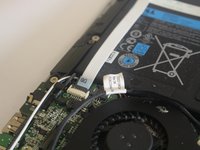
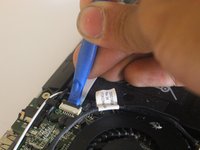
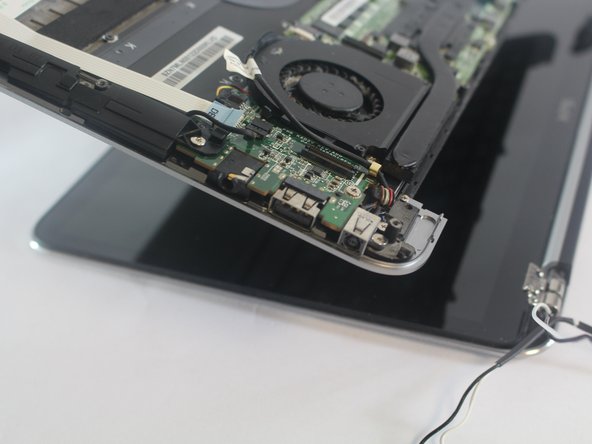
    4. Dell XPS 13 L321X Screen Replacement: step 4, image 1 of 2 Dell XPS 13 L321X Screen Replacement: step 4, image 2 of 2
      • Disconnect the ribbon cable with a plastic iFixit opening tool by lifting up the black clip and pulling the white ribbon off.

      • Pull aside the ribbon cable.

      Ask FixBot
      Add Comment

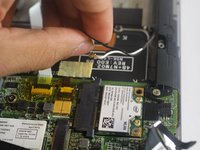
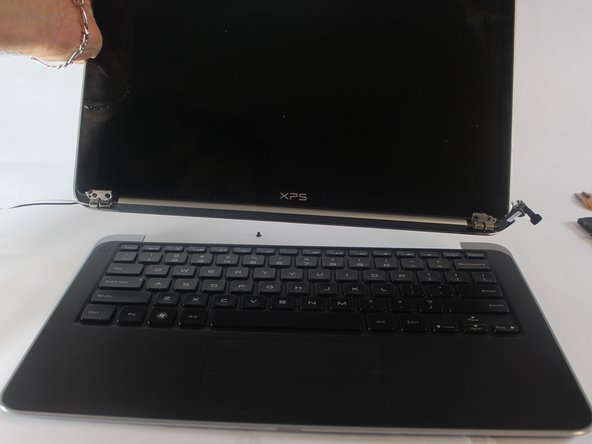
    5. Dell XPS 13 L321X Screen Replacement: step 5, image 1 of 3 Dell XPS 13 L321X Screen Replacement: step 5, image 2 of 3 Dell XPS 13 L321X Screen Replacement: step 5, image 3 of 3
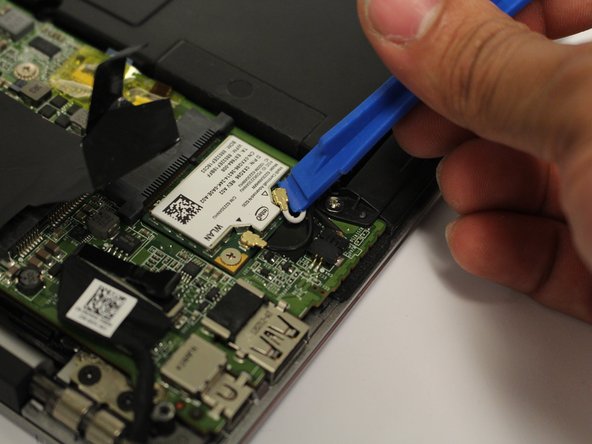
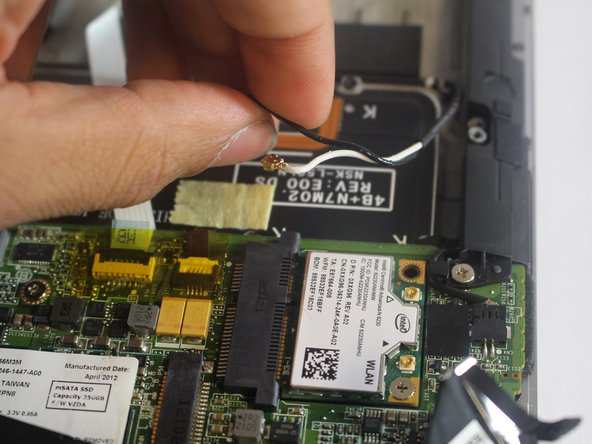
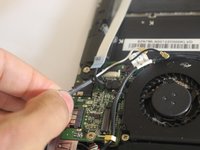
      • Disconnect the wire that is connected to the wireless card with a plastic iFixit opening tool by lifting up slowly, then pulling the wires aside.

      Ask FixBot
      Add Comment

    6. Dell XPS 13 L321X Screen Replacement: step 6, image 1 of 1
      • Use a PH00 size screwdriver to remove the 8 screws that secure the battery.

      • Six 3mm screws.

      • Two 5mm screws.

      Ask FixBot
      Add Comment

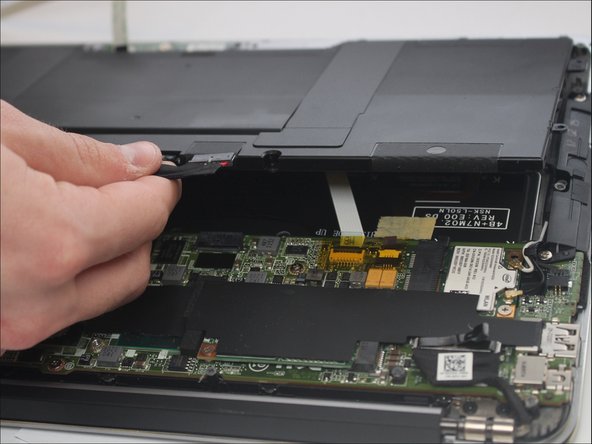
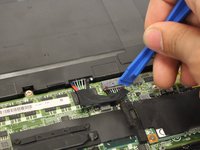
    7. Dell XPS 13 L321X Screen Replacement: step 7, image 1 of 2 Dell XPS 13 L321X Screen Replacement: step 7, image 2 of 2
      • Insert a plastic iFixit opening tool in between the port and the wires to remove the battery cable.

      Ask FixBot
      Add Comment

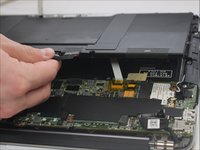
    8. Dell XPS 13 L321X Screen Replacement: step 8, image 1 of 3 Dell XPS 13 L321X Screen Replacement: step 8, image 2 of 3 Dell XPS 13 L321X Screen Replacement: step 8, image 3 of 3
      • After removing the battery, start to remove the wireless wire and making it through the other wires connected under the battery.

      Ask FixBot
      Add Comment

    9. Dell XPS 13 L321X Screen Replacement: step 9, image 1 of 2 Dell XPS 13 L321X Screen Replacement: step 9, image 2 of 2
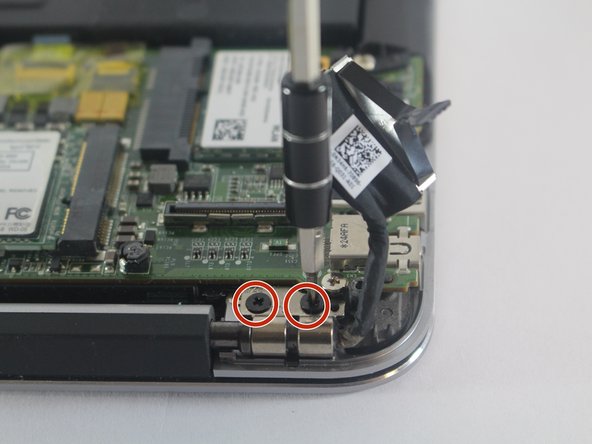
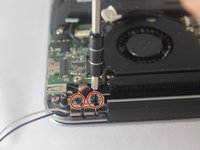
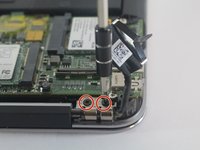
      • Remove the screws with a PH1 size screwdriver.

      • Each side of the brackets that are holding the screen down are going to have two 3mm screws in each side.

      Ask FixBot

      Add Comment

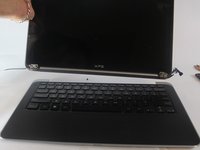
    10. Dell XPS 13 L321X Screen Replacement: step 10, image 1 of 3 Dell XPS 13 L321X Screen Replacement: step 10, image 2 of 3 Dell XPS 13 L321X Screen Replacement: step 10, image 3 of 3
      • Open the laptop by separating the screen from the actual laptop and take it apart.

      Ask FixBot

      Add Comment

Finish Line

Cancel: I did not complete this guide.

2 other people completed this guide.

Molly Skinner

Member since: 02/15/17

270 Reputation

2 Guides authored

Team

USF Tampa, Team S6-G3, Lacy Spring 2017 Member of USF Tampa, Team S6-G3, Lacy Spring 2017

USFT-LACY-S17S6G3

4 Members

59 Guides authored

2 Guide Comments

That would be the guide to take off the upper DISPLAY ASSEMBLY, not the screen.

I was expecting you to bring iOpeners and get the actual glass LCD out …

But it’s a good guide.

Xavier Jiang - Reply Share

Is there a way only the screen can be replaced on Dell XPS 13, not the entire display assembly. From what I have got so far, the entire panel above the keyboard is a single unit

Abhi B - Reply Share

Add Comment

View Statistics:

Past 24 Hours: 1

Past 7 Days: 13

Past 30 Days: 42

All Time: 4,883