
Dell Vostro 5510 Back Cover Replacement

Ky Vang and one other contributor
Last updated on Jan 25, 2024
Views: 912
View statistics:
- Past 24 Hours:
- 1
- Past 7 Days:
- 22
- Past 30 Days:
- 78
- All Time:
- 912
Comments: 0
No one has left comments on this guide. Will you be first?
Go to guide commentsCompleted: 1 2
1 person has marked this guide "completed." Will you be next?
2 people have marked this guide "completed." Including you — great job!
Favorites: 0 1
No one has favorited (and subscribed to) this guide. Will you be the first?
1 person has favorited (and subscribed to) this guide — and that's you!
Introduction
Go to step 1 ↓The first step in any replacement of the internal components of the Dell Vostro 15 5510 is to remove its back cover. To complete this guide, you will need a Phillips #0 screwdriver head and a plastic opening tool. This guide also is necessary for accessing most of the internal components of the laptop.
What you need
Tools


-
-
-
Remove the remaining (M2x4mm) screws with the screwdriver.
-
Loosen the two captive (M2x7.5mm) corner screws with the screwdriver.
-
-
-
-
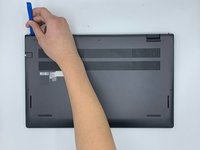
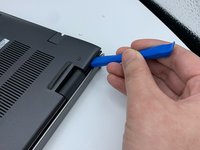
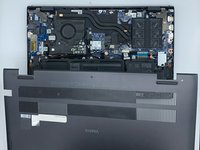
Pry open the top left corner of the cover with the opening tool.
-
Pry open the top right corner of the cover with the opening tool.
-
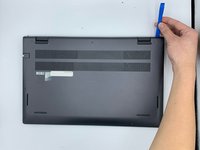
Pry the rest of the cover with the opening tool, working in a clockwise motion until it is completely loosened.
-

 Ask FixBot




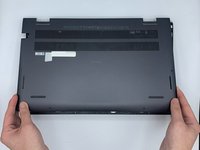
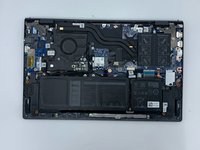
To reassemble your device, follow these instructions in reverse order.
Cancel: I did not complete this guide.
One other person completed this guide.

Team

University of North Texas, Team 3-5, Saru Jimmy Spring 2023 Member of University of North Texas, Team 3-5, Saru Jimmy Spring 2023
UNT-SARU JIMMY-S23S3G5
4 Members
72 Guides authored
