
Free Shipping on Domestic Orders $75+

Dell Vostro 3583 SSD/Memory Replacement

  1. Dell Vostro 3583 SSD/Memory Replacement, Prep: step 1, image 1 of 1
    • Power your Dell Vostro 3583 off and remove all accessories.

    Ask FixBot

    Add Comment

  2. Dell Vostro 3583 SSD/Memory Replacement, Remove the Cover: step 2, image 1 of 1
    • Using a philips head size 1, unscrew all 10 screws and unclip brackets with a pick.

    Ask FixBot

    Add Comment

  3. Dell Vostro 3583 SSD/Memory Replacement, Unplug the Battery: step 3, image 1 of 1
    • Once the cover is removed, Gently wiggle the battery connector out of the slot. This is absolutely required in order to change any parts.

    Ask FixBot

    Add Comment

  4. Dell Vostro 3583 SSD/Memory Replacement, Sata: step 4, image 1 of 1
    • Here you can find your disk bay. Typically, this laptop comes without a disk installed, however I installed one earlier.

    Ask FixBot

    Add Comment

    • Here you can find your Sodimm ddr4 RAM. To remove, follow the video.

    Ask FixBot

    Add Comment

  5. Dell Vostro 3583 SSD/Memory Replacement, M.2 NVME SSD: step 6, image 1 of 3 Dell Vostro 3583 SSD/Memory Replacement, M.2 NVME SSD: step 6, image 2 of 3 Dell Vostro 3583 SSD/Memory Replacement, M.2 NVME SSD: step 6, image 3 of 3
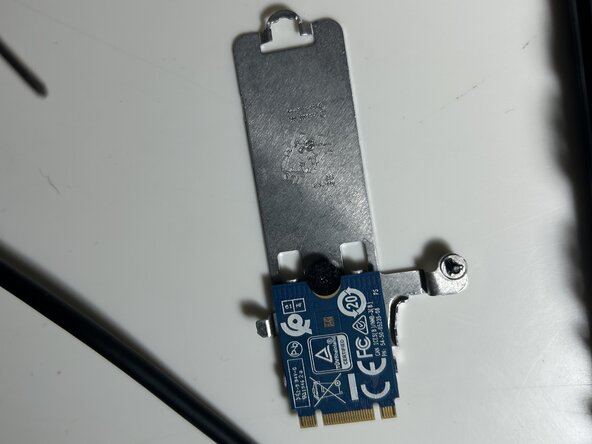
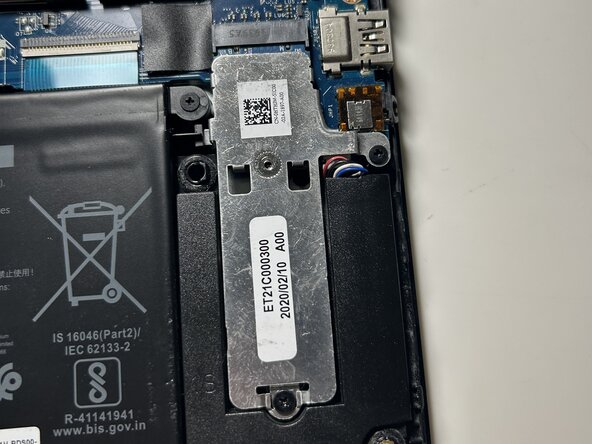
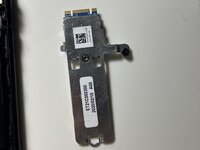
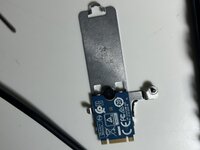
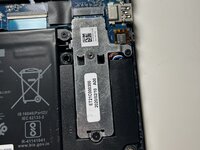
    • Here you can find your primary storage. You can upgrade or remove this by unscrewing the two front screws, then removing it. To remove the plate, remove the tiny screw using a PH 000 screwdriver.

    Ask FixBot

    Add Comment

  6. Ask FixBot

    Add Comment

Conclusion

To reassemble your device, follow these instructions in reverse order.

Cancel: I did not complete this guide.

Lukey T

Member since: 04/26/23

46 Reputation

1 Guide authored

0 Guide Comments

Add Comment

View Statistics:

Past 24 Hours: 1

Past 7 Days: 2

Past 30 Days: 10

All Time: 149