Free Shipping on Domestic Orders $75+

Dell Venue 11 Pro LCD Screen Replacement

What you need

  1. Dell Venue 11 Pro LCD Screen Replacement, Battery: step 1, image 1 of 3 Dell Venue 11 Pro LCD Screen Replacement, Battery: step 1, image 2 of 3 Dell Venue 11 Pro LCD Screen Replacement, Battery: step 1, image 3 of 3
    • Turn your device over to the backside. On the notch at the bottom portion of the tablet, use your fingers to lift up the back cover.

    Ask FixBot

    Add Comment

  2. Dell Venue 11 Pro LCD Screen Replacement: step 2, image 1 of 3 Dell Venue 11 Pro LCD Screen Replacement: step 2, image 2 of 3 Dell Venue 11 Pro LCD Screen Replacement: step 2, image 3 of 3
    • Below the battery pack, there are two lock mechanisms. Push EACH lock to the LEFT until it makes a click noise. Lift the battery from the bottom up and remove.

    Ask FixBot

    Add Comment

  3. Dell Venue 11 Pro LCD Screen Replacement, Frame: step 3, image 1 of 2 Dell Venue 11 Pro LCD Screen Replacement, Frame: step 3, image 2 of 2
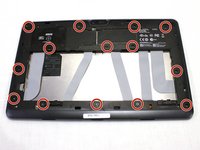
    • Use your Philips #000 screwdriver to unscrew the fourteen 2.5 mm screws marked on the tablet.

    • These screws are extremely small. Place the screws aside in a container or on your magnetic mat to prevent accidental loss.

    Ask FixBot

    Add Comment

  4. Dell Venue 11 Pro LCD Screen Replacement: step 4, image 1 of 3 Dell Venue 11 Pro LCD Screen Replacement: step 4, image 2 of 3 Dell Venue 11 Pro LCD Screen Replacement: step 4, image 3 of 3
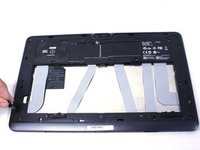
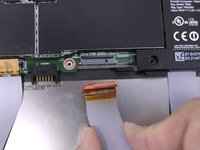
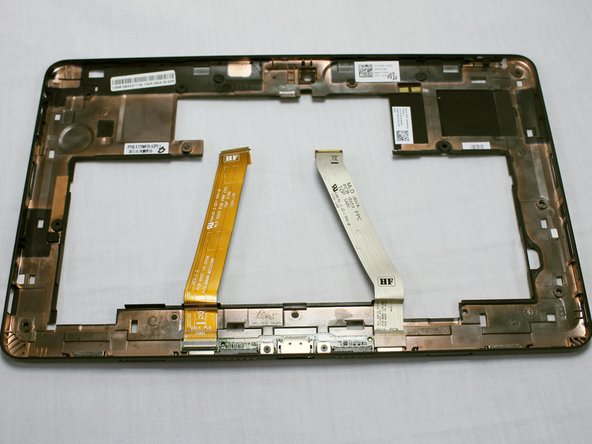
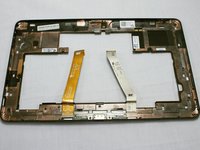
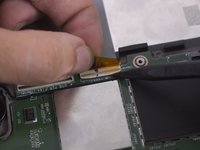
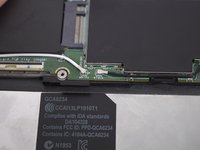
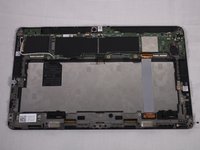
    • Slide the cover on the two middle ribbon cables out to remove it. It should uncover the orange cable connectors.

    Ask FixBot

    Add Comment

  5. Dell Venue 11 Pro LCD Screen Replacement: step 5, image 1 of 3 Dell Venue 11 Pro LCD Screen Replacement: step 5, image 2 of 3 Dell Venue 11 Pro LCD Screen Replacement: step 5, image 3 of 3
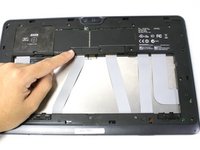
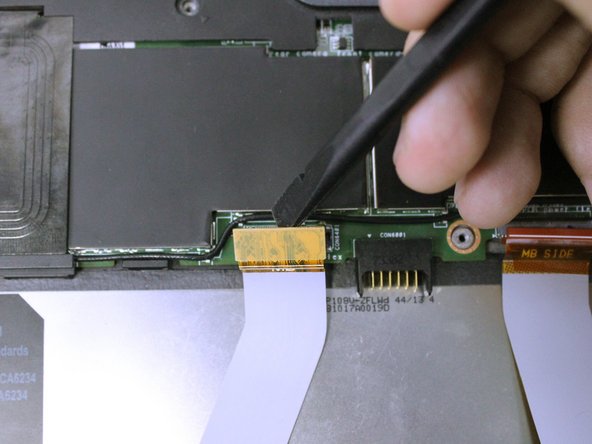
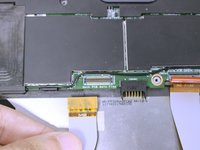
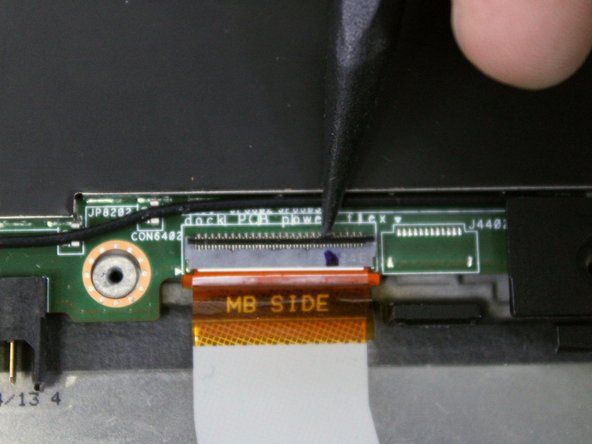
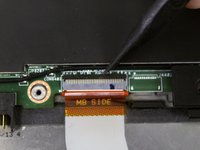
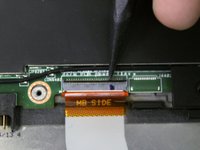
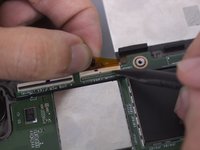
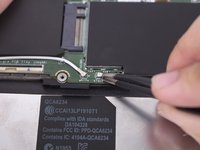
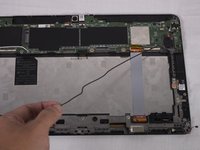
    • To disconnect the left ribbon cable from the motherboard, place the flat end of your spudger under the edge of the pop connector and pry the connector straight up.

    • The two ribbon cables connect the keyboard attachment ports to the motherboard. Damage to either cables can induce problems with the Dell mobile keyboard.

    Ask FixBot

    Add Comment

  6. Dell Venue 11 Pro LCD Screen Replacement: step 6, image 1 of 3 Dell Venue 11 Pro LCD Screen Replacement: step 6, image 2 of 3 Dell Venue 11 Pro LCD Screen Replacement: step 6, image 3 of 3
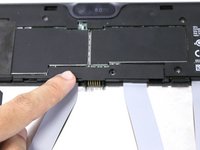
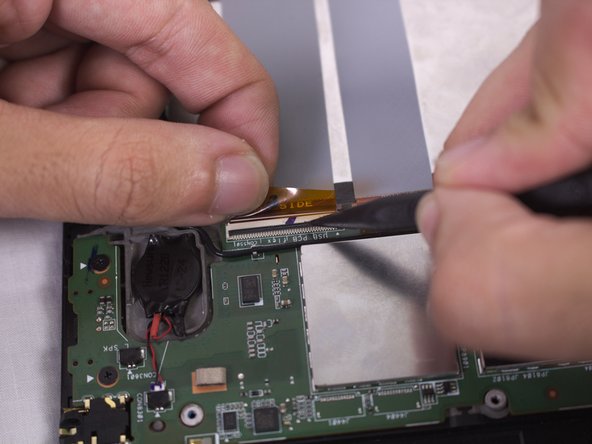
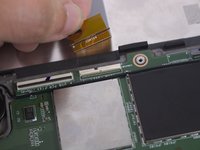
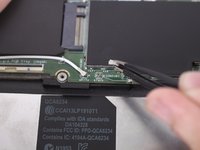
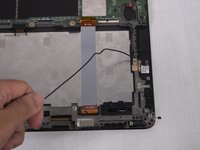
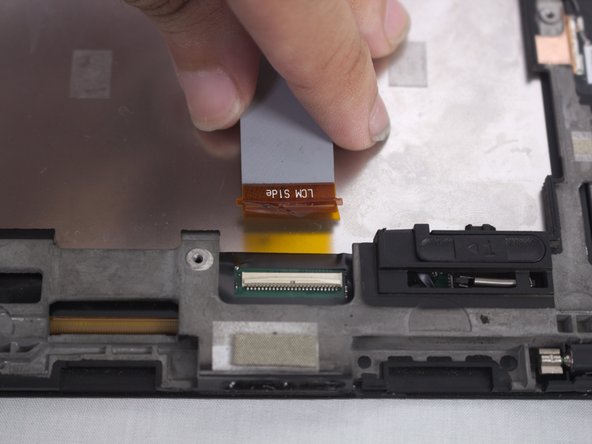
    • The right ribbon cable has a ZIF connector. Use the flat end of your spudger to lift up the small locking flap, then pull out the cable.

    • Pulling the ribbon cable out before unlocking the connector can potentially damage the cable.

    Ask FixBot

    Add Comment

  7. Dell Venue 11 Pro LCD Screen Replacement: step 7, image 1 of 1
    • There are adhesive strips between the device and the two ribbon cables we disconnected. Pull each cable away from the device just enough to break the adhesive bonds.

    Ask FixBot

    Add Comment

  8. Dell Venue 11 Pro LCD Screen Replacement: step 8, image 1 of 3 Dell Venue 11 Pro LCD Screen Replacement: step 8, image 2 of 3 Dell Venue 11 Pro LCD Screen Replacement: step 8, image 3 of 3
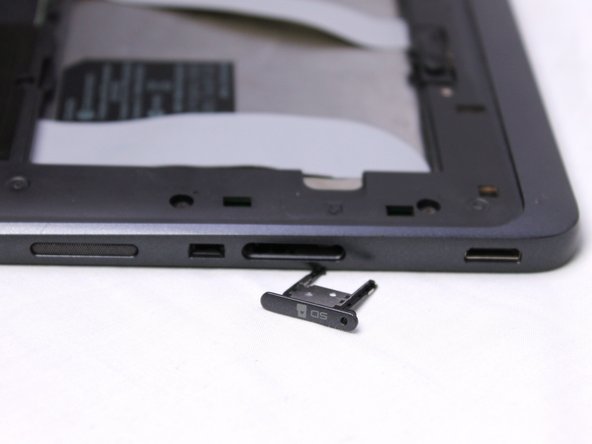
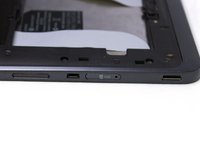
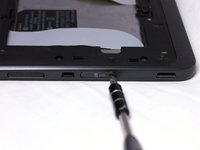
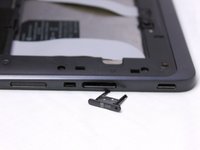
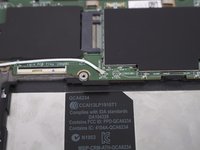
    • Use your pin punch driver to push into the hole on the sim card, then pull out the sim tray.

    Ask FixBot

    Add Comment

  9. Dell Venue 11 Pro LCD Screen Replacement: step 9, image 1 of 3 Dell Venue 11 Pro LCD Screen Replacement: step 9, image 2 of 3 Dell Venue 11 Pro LCD Screen Replacement: step 9, image 3 of 3
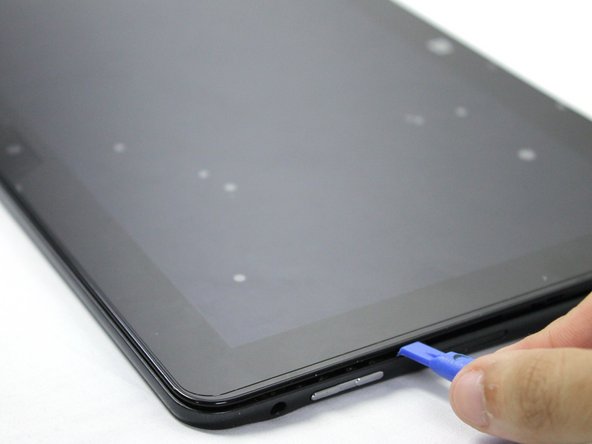
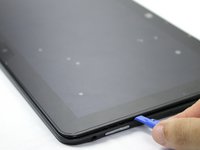
    • Insert your plastic opening tool between the screen and frame, and run the tool around the edges to separate the frame from the tablet.

    Ask FixBot

    Add Comment

  10. Dell Venue 11 Pro LCD Screen Replacement, Mini HDMI Port: step 10, image 1 of 1
    • Identify the location of the HDMI Port, which will be in the left bottom part of the tablet.

    • If you are replacing the motherboard by itself, then skip step 14.

    Ask FixBot

    Add Comment

  11. Dell Venue 11 Pro LCD Screen Replacement: step 11, image 1 of 3 Dell Venue 11 Pro LCD Screen Replacement: step 11, image 2 of 3 Dell Venue 11 Pro LCD Screen Replacement: step 11, image 3 of 3
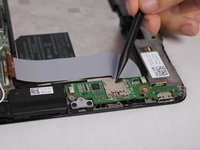
    • Wedge the tip of the plastic spudger in between the ZIF connector lock and flip up the lock. Pull the ribbon cable out.

    Ask FixBot

    Add Comment

  12. Dell Venue 11 Pro LCD Screen Replacement: step 12, image 1 of 2 Dell Venue 11 Pro LCD Screen Replacement: step 12, image 2 of 2
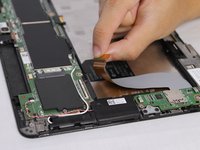
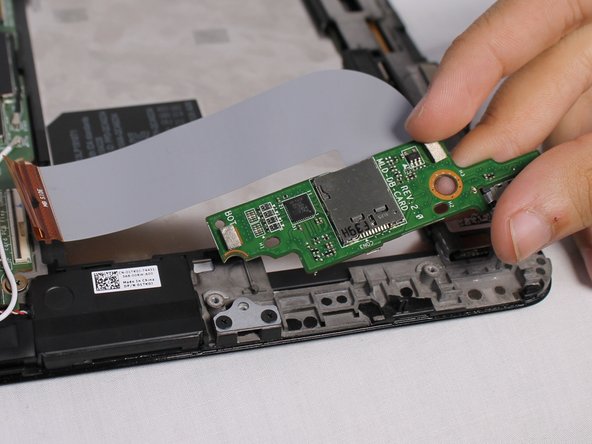
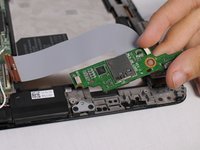
    • Use your fingers to lift up and take out the mini HDMI board.

    Ask FixBot

    Add Comment

  13. Dell Venue 11 Pro LCD Screen Replacement, Speakers: step 13, image 1 of 1
    • Locate the right and left speakers to be replaced. For this guide, we will start with the left speaker, then the right speaker.

    • If you are replacing the motherboard by itself, then skip steps 17 and 19.

    Ask FixBot

    Add Comment

  14. Dell Venue 11 Pro LCD Screen Replacement: step 14, image 1 of 3 Dell Venue 11 Pro LCD Screen Replacement: step 14, image 2 of 3 Dell Venue 11 Pro LCD Screen Replacement: step 14, image 3 of 3
    Tool used on this step:
    Tweezers
    $4.99
    Buy
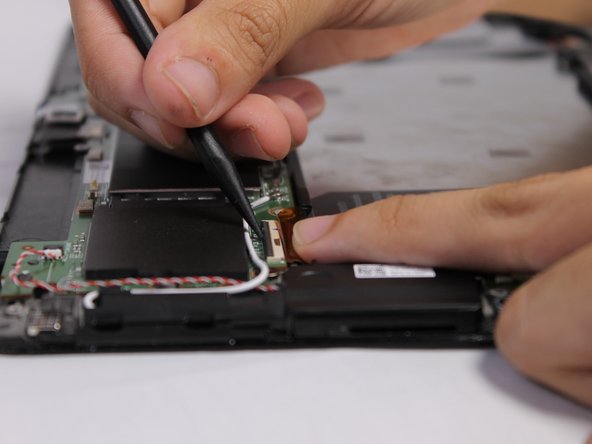
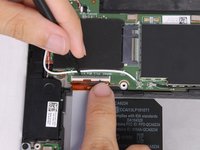
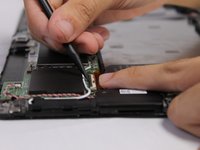
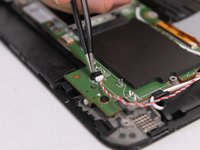
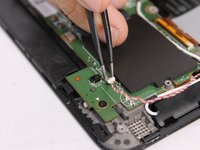
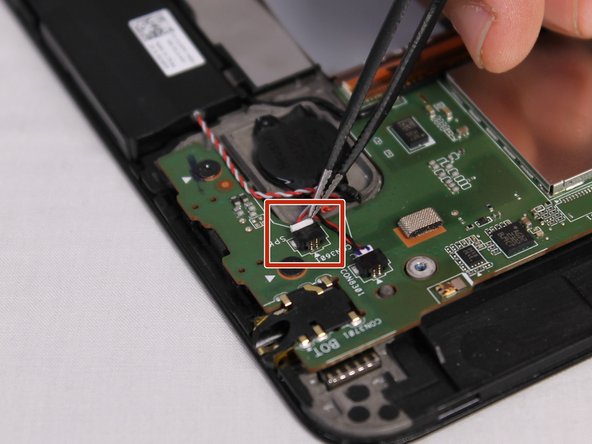
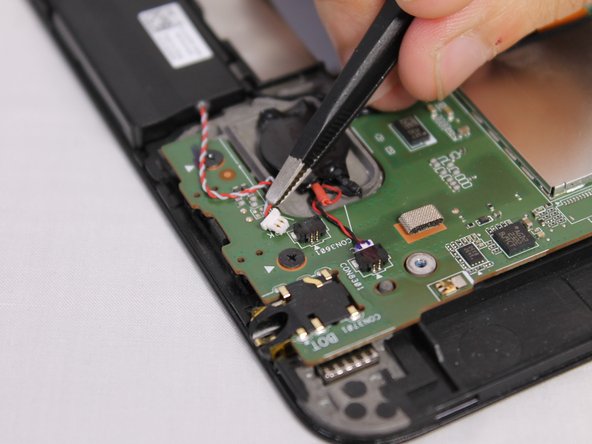
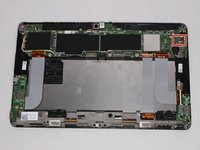
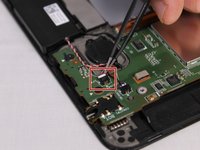
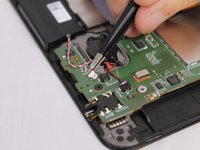
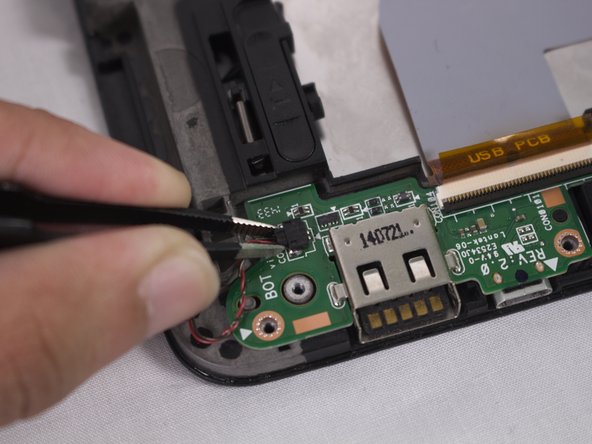
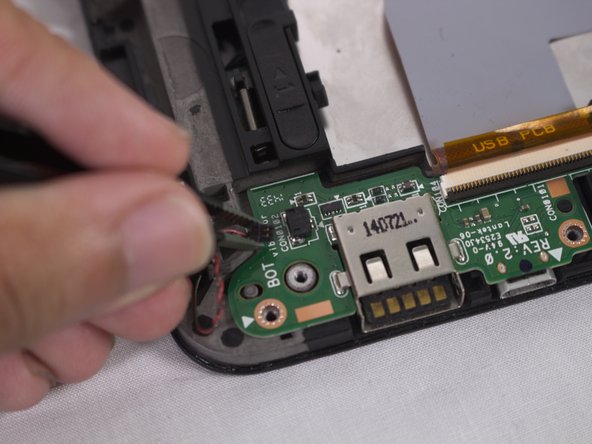
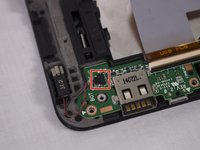
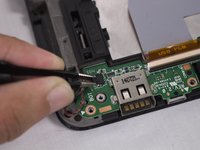
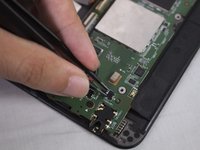
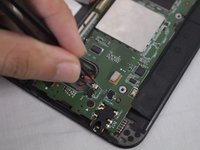
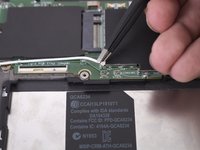
    • Using a pair of tweezers, detach the red and white cable connector from the circuit board.

    • The laptop is rotated 130 degrees counterclockwise for better viewing.

    Ask FixBot

    Add Comment

  15. Dell Venue 11 Pro LCD Screen Replacement: step 15, image 1 of 2 Dell Venue 11 Pro LCD Screen Replacement: step 15, image 2 of 2
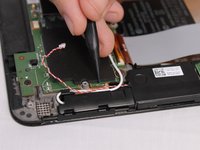
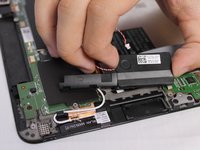
    • Once the cable has been detached, use your fingers to lift the right speaker upwards to remove it.

    Ask FixBot

    Add Comment

  16. Dell Venue 11 Pro LCD Screen Replacement: step 16, image 1 of 3 Dell Venue 11 Pro LCD Screen Replacement: step 16, image 2 of 3 Dell Venue 11 Pro LCD Screen Replacement: step 16, image 3 of 3
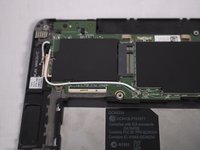
    • On the right side, use a pair of tweezers to detach the red and white cables from the connector.

    • This device is rotated 130 degrees clockwise for better viewing.

    Ask FixBot

    Add Comment

  17. Dell Venue 11 Pro LCD Screen Replacement: step 17, image 1 of 1
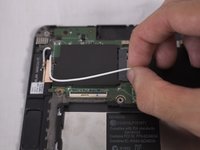
    • Lift the right speaker upwards using your fingers to remove it.

    Ask FixBot

    Add Comment

  18. Dell Venue 11 Pro LCD Screen Replacement, USB Port: step 18, image 1 of 1
    • Start by removing the top ZIF USB ribbon connector

    • If you are replacing the motherboard by itself, then skip steps 23, 24, and 25.

    Ask FixBot

    Add Comment

  19. Dell Venue 11 Pro LCD Screen Replacement: step 19, image 1 of 3 Dell Venue 11 Pro LCD Screen Replacement: step 19, image 2 of 3 Dell Venue 11 Pro LCD Screen Replacement: step 19, image 3 of 3
    • To remove the ribbon cable, move the black retainer upwards. Then pull the ribbon cable rearwards to remove it.

    Ask FixBot

    Add Comment

  20. Dell Venue 11 Pro LCD Screen Replacement: step 20, image 1 of 1
    • You must then remove the ribbon cable connected to the USB port located here.

    Ask FixBot

    Add Comment

  21. Dell Venue 11 Pro LCD Screen Replacement: step 21, image 1 of 3 Dell Venue 11 Pro LCD Screen Replacement: step 21, image 2 of 3 Dell Venue 11 Pro LCD Screen Replacement: step 21, image 3 of 3
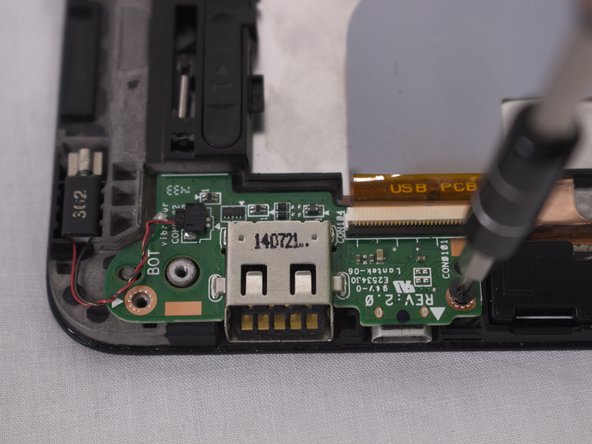
    • Using a Philips #000 screwdriver remove the two 2.5 mm screws indicated.

    Ask FixBot

    Add Comment

  22. Dell Venue 11 Pro LCD Screen Replacement: step 22, image 1 of 3 Dell Venue 11 Pro LCD Screen Replacement: step 22, image 2 of 3 Dell Venue 11 Pro LCD Screen Replacement: step 22, image 3 of 3
    Tool used on this step:
    Tweezers
    $4.99
    Buy
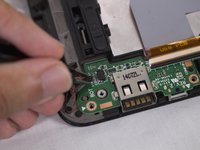
    • Using a pair of tweezers disconnect the connector from the circuit board

    Ask FixBot

    Add Comment

  23. Dell Venue 11 Pro LCD Screen Replacement: step 23, image 1 of 2 Dell Venue 11 Pro LCD Screen Replacement: step 23, image 2 of 2
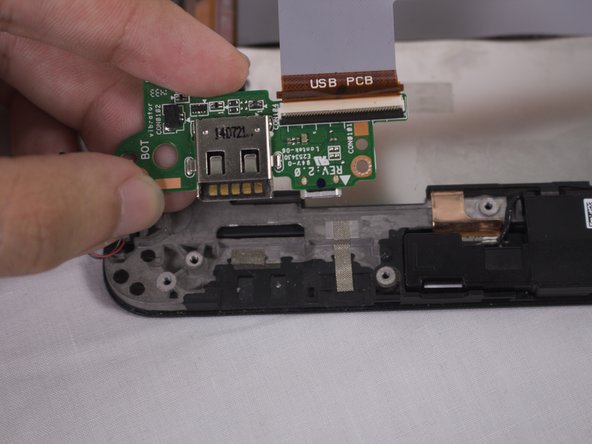
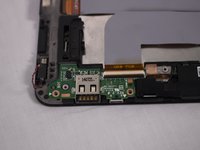
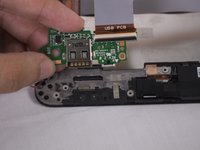
    • After disconnecting all the pieces, remove the USB port circuit board with your fingers

    Ask FixBot

    Add Comment

  24. Dell Venue 11 Pro LCD Screen Replacement, Motherboard: step 24, image 1 of 1
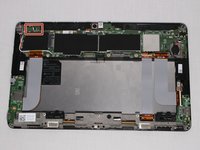
    • This is the tablet with its mini HDMI, speakers, and USB port removed. If you only want to replace your motherboard then all previous components will be disconnected from the board but will remain on the tablet.

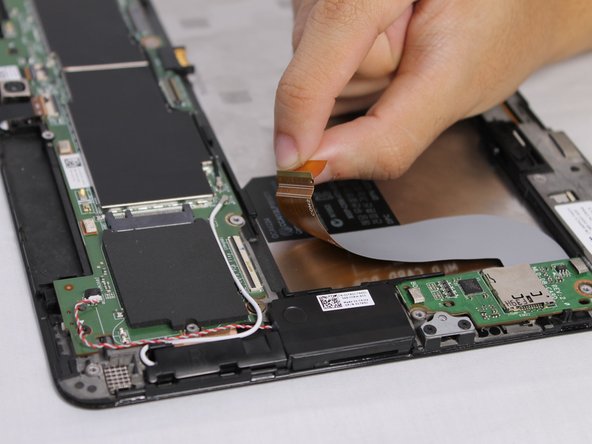
    • You must first disconnect the ribbon cable highlighted here.

    Ask FixBot

    Add Comment

  25. Dell Venue 11 Pro LCD Screen Replacement: step 25, image 1 of 3 Dell Venue 11 Pro LCD Screen Replacement: step 25, image 2 of 3 Dell Venue 11 Pro LCD Screen Replacement: step 25, image 3 of 3
    • Use the pointy end of your spudger to lift up the ZIF lock. Afterwards, pull the ribbon cable rearwards to disconnect it.

    Ask FixBot

    Add Comment

  26. Dell Venue 11 Pro LCD Screen Replacement: step 26, image 1 of 1
    • Now you must disconnect the small battery wire located here on the device.

    Ask FixBot

    Add Comment

  27. Dell Venue 11 Pro LCD Screen Replacement: step 27, image 1 of 2 Dell Venue 11 Pro LCD Screen Replacement: step 27, image 2 of 2
    Tool used on this step:
    Tweezers
    $4.99
    Buy
    • To disconnect the wire, use the tweezers to grab a hold of it and pull rearwards.

    Ask FixBot

    Add Comment

  28. Dell Venue 11 Pro LCD Screen Replacement: step 28, image 1 of 1
    Ask FixBot

    Add Comment

  29. Dell Venue 11 Pro LCD Screen Replacement: step 29, image 1 of 3 Dell Venue 11 Pro LCD Screen Replacement: step 29, image 2 of 3 Dell Venue 11 Pro LCD Screen Replacement: step 29, image 3 of 3
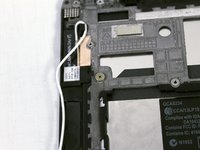
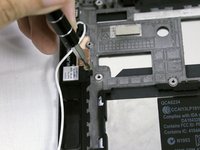
    • Use the tweezers again to grab hold of the black coaxial connector and pull upwards to disconnect.

    Ask FixBot

    Add Comment

  30. Dell Venue 11 Pro LCD Screen Replacement: step 30, image 1 of 3 Dell Venue 11 Pro LCD Screen Replacement: step 30, image 2 of 3 Dell Venue 11 Pro LCD Screen Replacement: step 30, image 3 of 3
    • Now remove the black cable from the motherboard with you fingers.

    Ask FixBot

    Add Comment

  31. Dell Venue 11 Pro LCD Screen Replacement: step 31, image 1 of 2 Dell Venue 11 Pro LCD Screen Replacement: step 31, image 2 of 2
    • Now remove the white coaxial connector using the tweezers to pull the connector upwards.

    Ask FixBot

    Add Comment

  32. Dell Venue 11 Pro LCD Screen Replacement: step 32, image 1 of 2 Dell Venue 11 Pro LCD Screen Replacement: step 32, image 2 of 2
    • Next simply move the white wire away from the motherboard using your fingers.

    Ask FixBot

    Add Comment

  33. Dell Venue 11 Pro LCD Screen Replacement: step 33, image 1 of 1
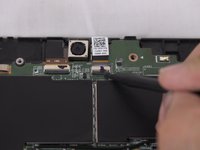
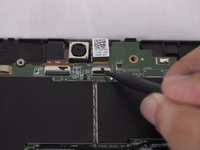
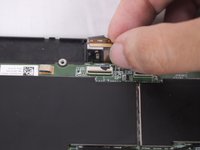
    • Now turn your attention to the two ZIF connectors at the top. The left ribbon cable connects to the webcam, the right ribbon cable connects to the back camera.

    Ask FixBot

    Add Comment

  34. Dell Venue 11 Pro LCD Screen Replacement: step 34, image 1 of 3 Dell Venue 11 Pro LCD Screen Replacement: step 34, image 2 of 3 Dell Venue 11 Pro LCD Screen Replacement: step 34, image 3 of 3
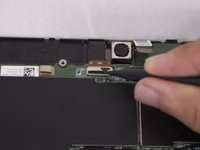
    • To remove the right ribbon cable, use the pointy end of your spudger to flip the black ZIF lock upwards. Then pull the ribbon cable rearwards to disconnect it.

    Ask FixBot

    Add Comment

  35. Dell Venue 11 Pro LCD Screen Replacement: step 35, image 1 of 3 Dell Venue 11 Pro LCD Screen Replacement: step 35, image 2 of 3 Dell Venue 11 Pro LCD Screen Replacement: step 35, image 3 of 3
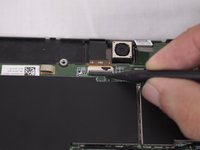
    • To remove the left ribbon cable, use the pointy end of your spudger to flip the black ZIF retainer into the up position. Then simply pull it rearwards to remove it.

    Ask FixBot

    Add Comment

  36. Dell Venue 11 Pro LCD Screen Replacement: step 36, image 1 of 2 Dell Venue 11 Pro LCD Screen Replacement: step 36, image 2 of 2
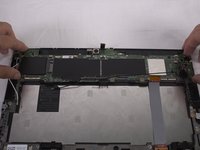
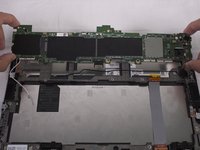
    • Finally the motherboard can be lifted out by hand.

    Ask FixBot

    Add Comment

  37. Dell Venue 11 Pro LCD Screen Replacement, LCD Screen: step 37, image 1 of 1
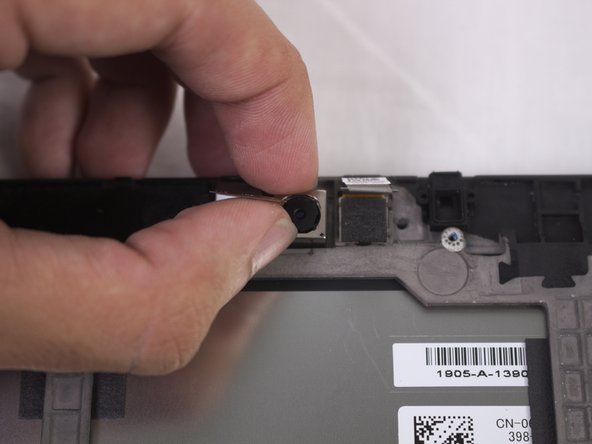
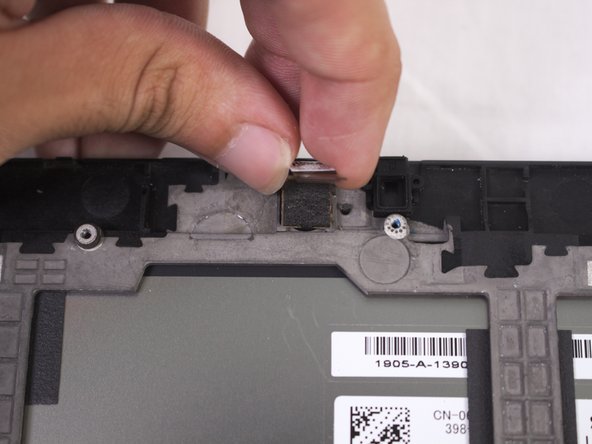
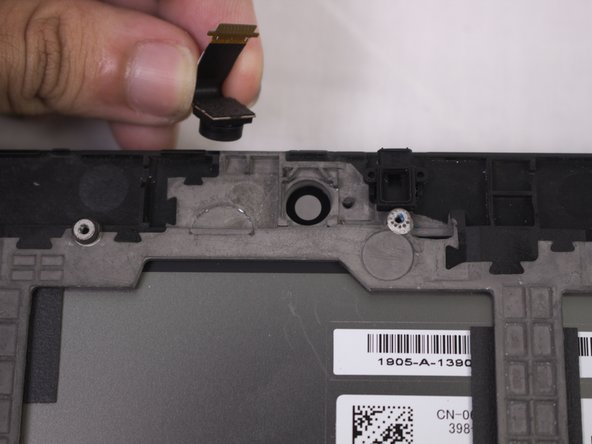
    • Now we turn our attention to the backside webcam on the top portion of the shell.

    Ask FixBot

    Add Comment

  38. Dell Venue 11 Pro LCD Screen Replacement: step 38, image 1 of 3 Dell Venue 11 Pro LCD Screen Replacement: step 38, image 2 of 3 Dell Venue 11 Pro LCD Screen Replacement: step 38, image 3 of 3
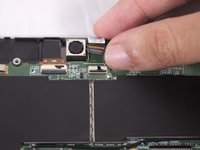
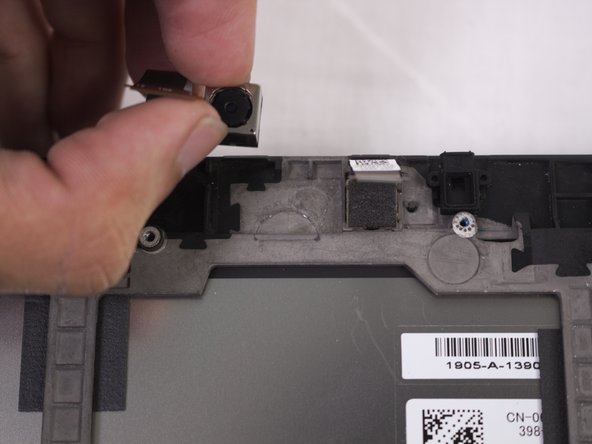
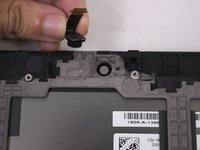
    • Lift the back side camera with your fingers.

    Ask FixBot

    Add Comment

  39. Dell Venue 11 Pro LCD Screen Replacement: step 39, image 1 of 3 Dell Venue 11 Pro LCD Screen Replacement: step 39, image 2 of 3 Dell Venue 11 Pro LCD Screen Replacement: step 39, image 3 of 3
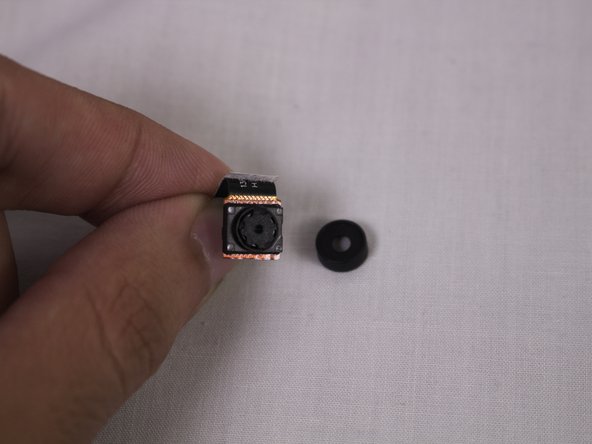
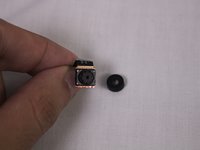
    • Lift the front side camera with your fingers.

    Ask FixBot

    Add Comment

  40. Dell Venue 11 Pro LCD Screen Replacement: step 40, image 1 of 2 Dell Venue 11 Pro LCD Screen Replacement: step 40, image 2 of 2
    • Take caution when removing the front camera with the rubber cover. The cover can easily fall off from any slight movement.

    Ask FixBot

    Add Comment

  41. Dell Venue 11 Pro LCD Screen Replacement: step 41, image 1 of 2 Dell Venue 11 Pro LCD Screen Replacement: step 41, image 2 of 2
    • Grab the small battery unit with your hands and lift up to remove.

    • There is a strong adhesive between the battery and shell. This may require more force so take precaution.

    Ask FixBot

    Add Comment

  42. Dell Venue 11 Pro LCD Screen Replacement: step 42, image 1 of 3 Dell Venue 11 Pro LCD Screen Replacement: step 42, image 2 of 3 Dell Venue 11 Pro LCD Screen Replacement: step 42, image 3 of 3
    • Now we turn our attention to the bottom right hand side of the back where the ribbon is secured in place.

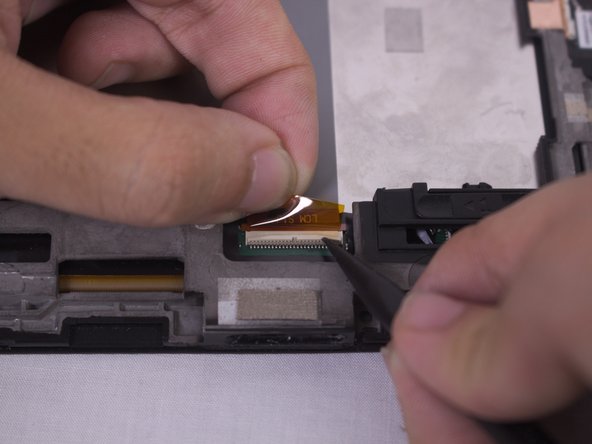
    • Using the sharp end of the plastic spudger, lift the ZIF lock to release the ribbon and pull rearwards to separate.

    Ask FixBot

    Add Comment

  43. Dell Venue 11 Pro LCD Screen Replacement: step 43, image 1 of 3 Dell Venue 11 Pro LCD Screen Replacement: step 43, image 2 of 3 Dell Venue 11 Pro LCD Screen Replacement: step 43, image 3 of 3
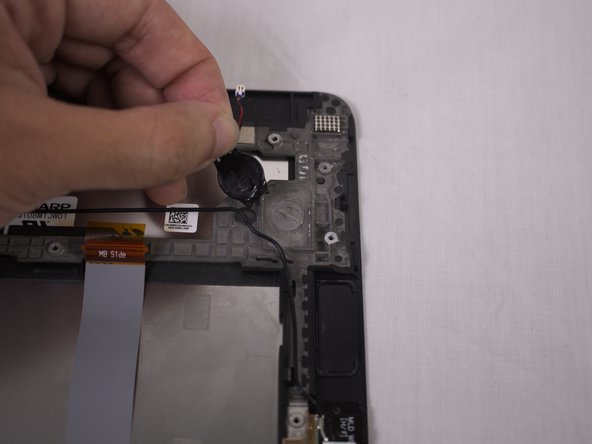
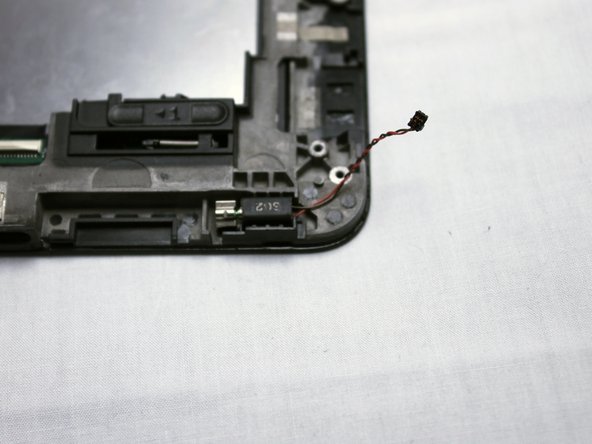
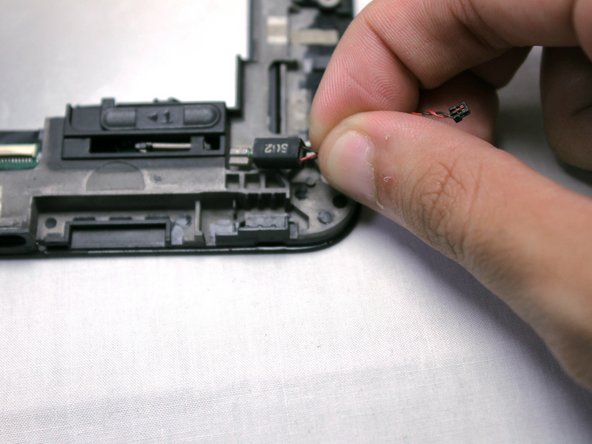
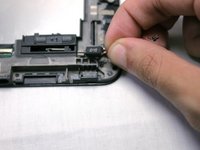
    • Locate the vibration motor at the bottom right corner of the screen shell. Grab the motor by the cable and pull upwards to remove.

    Ask FixBot

    Add Comment

  44. Dell Venue 11 Pro LCD Screen Replacement: step 44, image 1 of 3 Dell Venue 11 Pro LCD Screen Replacement: step 44, image 2 of 3 Dell Venue 11 Pro LCD Screen Replacement: step 44, image 3 of 3
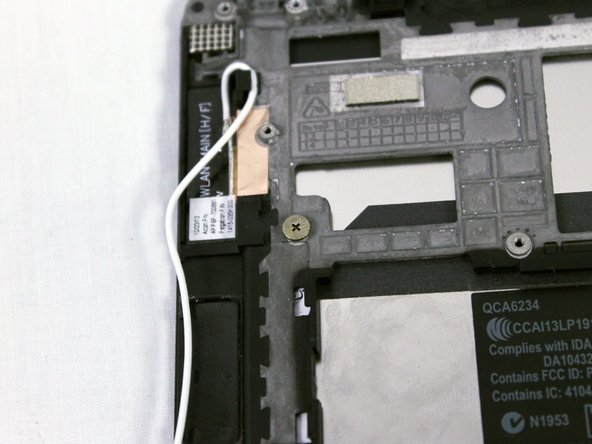
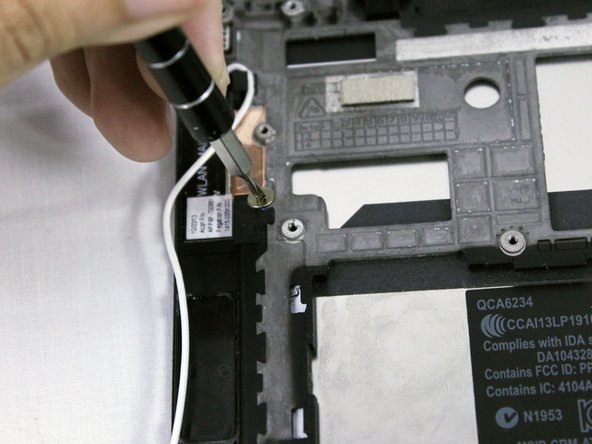
    • The final step is to remove the 2.5 mm bronze screw using a Philips #000 screwdriver.

    Ask FixBot

    Add Comment

Conclusion

To reassemble your device, follow these instructions in reverse order.

Cancel: I did not complete this guide.

5 other people completed this guide.

Tom Nguyen

Member since: 09/28/17

1,295 Reputation

6 Guides authored

Team

USF Tampa, Team S3-G1, Nance Fall 2017 Member of USF Tampa, Team S3-G1, Nance Fall 2017

USFT-NANCE-F17S3G1

4 Members

8 Guides authored

0 Guide Comments

Add Comment

View Statistics:

Past 24 Hours: 1

Past 7 Days: 8

Past 30 Days: 36

All Time: 5,079