
Dell VRP100 Lens Replacement

Chris Grabow and 3 other contributors
Last updated on Dec 6, 2018
Views: 1.4K
View statistics:
- Past 24 Hours:
- 1
- Past 7 Days:
- 12
- Past 30 Days:
- 74
- All Time:
- 1,372
Comments: 5
5 comments on steps.
Completed: 1 2
1 person has marked this guide "completed." Will you be next?
2 people have marked this guide "completed." Including you — great job!
Favorites: 0 1
No one has favorited (and subscribed to) this guide. Will you be the first?
1 person has favorited (and subscribed to) this guide — and that's you!
Featured Student Guide
This guide has been the hard work of our awesome students and is found to be exceptionally cool by the iFixit staff.
Introduction
Go to step 1 ↓If your Dell VRP100 headset has a cracked, scratched or broken lens you are definitely going to want to replace it. This guide has all the steps for you need replace those beat up lenses with new ones. You will need a metal spudger for parts of this guide.
What you need
Tools


-
-
-
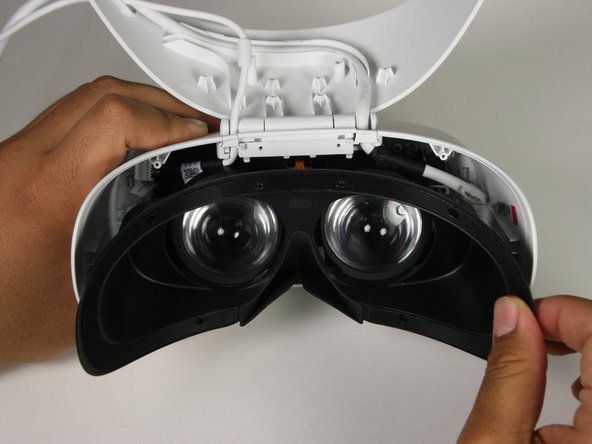
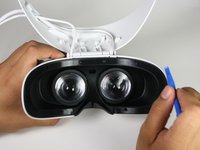
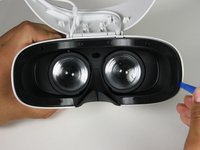
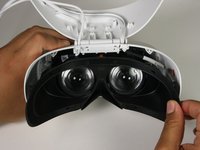
Remove the black foam padding by peeling away slowly.
-
Remove the front and back padding from the headset by peeling away slowly.
 Ask FixBot
-
-
-
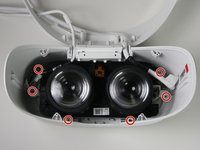
Remove the six 5.5mm PH000 screws from the cover by rotating counter-clockwise.
-
-
-
Remove the cover using one of the plastic opening tools, and then carefully pull it from the casing.
-
-
-
Remove the six 5.5mm PH000 screws from the cover by rotating counter-clockwise.
-
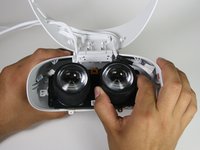
Carefully remove the lens and motherboard assembly from the white casing.
-
-
-
-
-
-
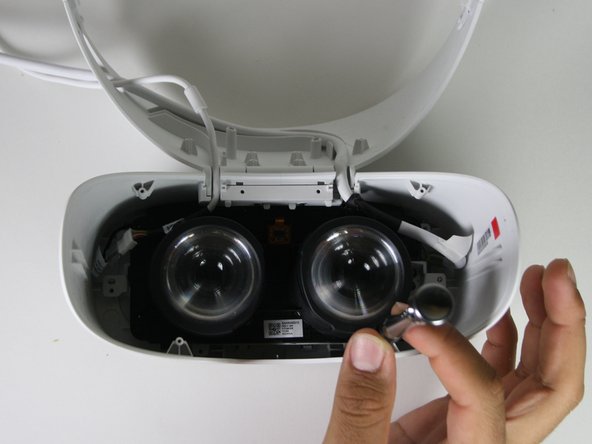
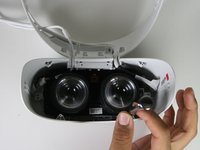
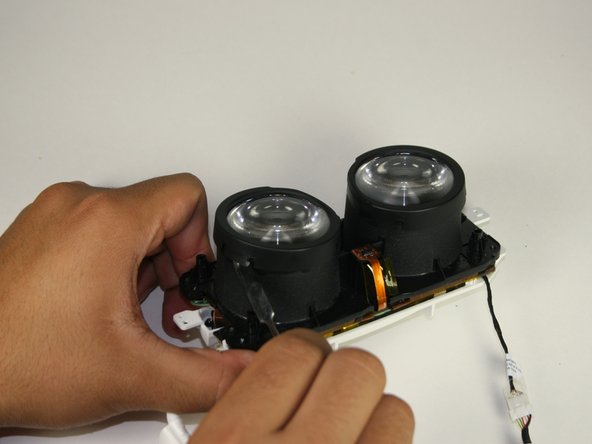
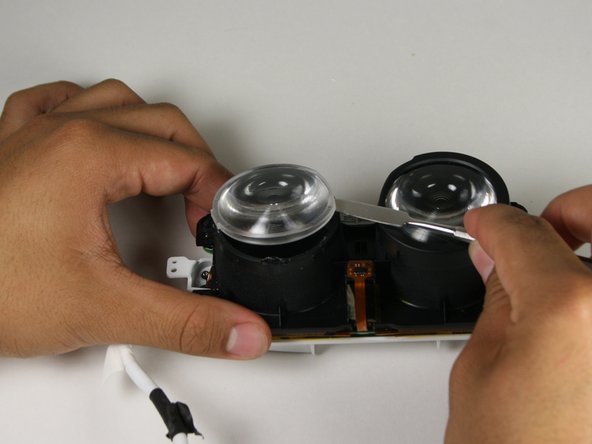
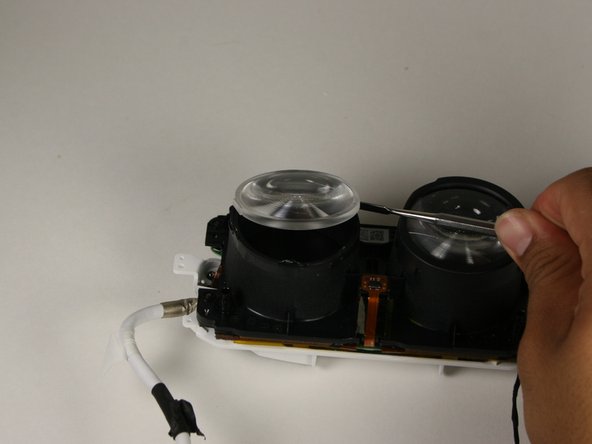
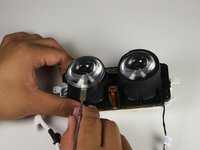
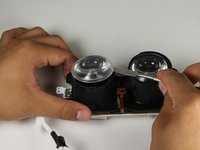
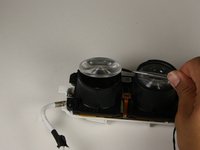
Gently insert the metal spudger between the lens and the lens casing.
-
Rotate the spudger around the exterior of the lens and lens housing, separating them.
-







To reassemble your device, follow these instructions in reverse order.
Cancel: I did not complete this guide.
One other person completed this guide.

Team

Cal Poly, Team S17-G1, White Fall 2018 Member of Cal Poly, Team S17-G1, White Fall 2018
CPSU-WHITE-F18S17G1
4 Members
72 Guides authored
