
Dell VRP100 Camera Replacement

Lauren Monzon and 5 other contributors
Last updated on May 7, 2024
Views: 872
View statistics:
- Past 24 Hours:
- 1
- Past 7 Days:
- 9
- Past 30 Days:
- 70
- All Time:
- 872
Comments: 5
5 comments on steps.
Completed: 1 2
1 person has marked this guide "completed." Will you be next?
2 people have marked this guide "completed." Including you — great job!
Favorites: 0 1
No one has favorited (and subscribed to) this guide. Will you be the first?
1 person has favorited (and subscribed to) this guide — and that's you!
Introduction
Go to step 1 ↓Some reasons you would want to replace the camera in the Dell VRP100 are screen image drifting, image freezing, or tracking/calibration issues. You should be cautious when removing the camera, so the camera lens does not get scratched in the process.
What you need
Tools


-
-
-
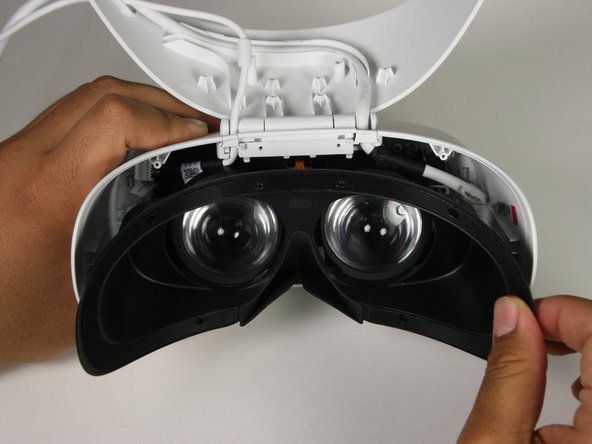
Remove the black foam padding by peeling away slowly.
-
Remove the front and back padding from the headset by peeling away slowly.
 Ask FixBot
-
-
-
Remove the six 5.5mm PH000 screws from the cover by rotating counter-clockwise.
-
-
-
Remove the cover using one of the plastic opening tools, and then carefully pull it from the casing.
-
-
-
Remove the six 5.5mm PH000 screws from the cover by rotating counter-clockwise.
-
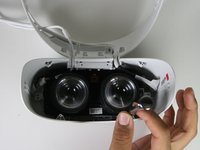
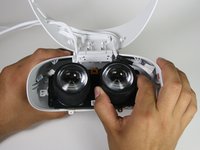
Carefully remove the lens and motherboard assembly from the white casing.
-
-
-
-
-
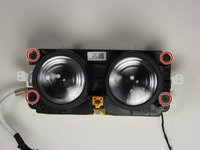
Remove the four 2.5mm PH000 screws by rotating counter-clockwise.
-
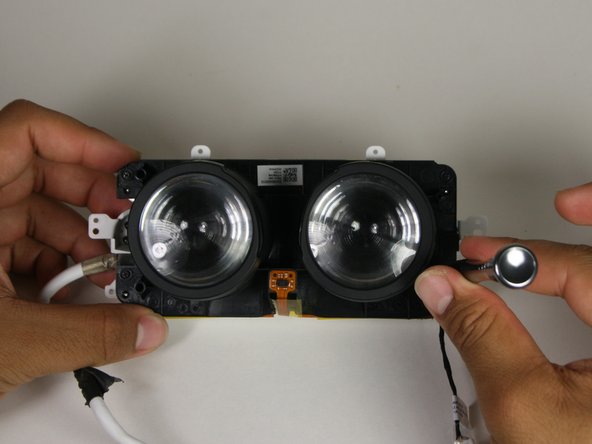
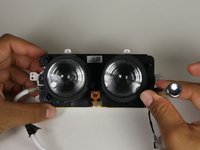
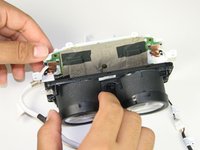
Separate the lens housing from the motherboard panel.
-
-
-
-
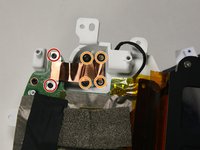
Remove the two 2.5mm PH000 screws from the motherboard by rotating counter-clockwise.
-
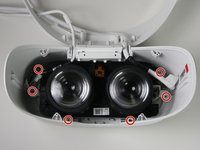
Remove the four 3.9mm PH000 screws from the white casing by rotating counter-clockwise.
-
-
Tool used on this step:Tweezers$4.99
-
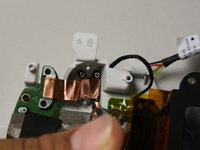
Remove the flat-topped connector by lifting it straight up from the motherboard.
-
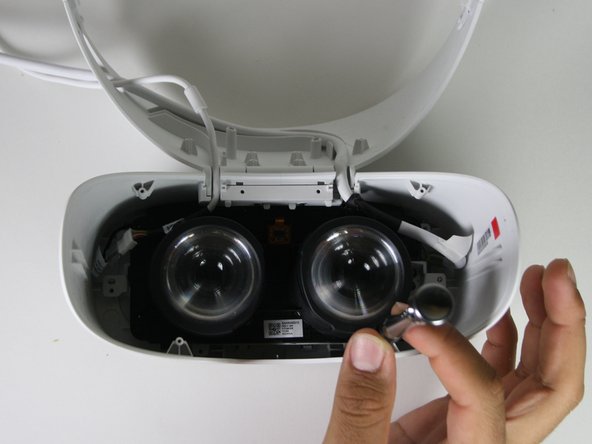
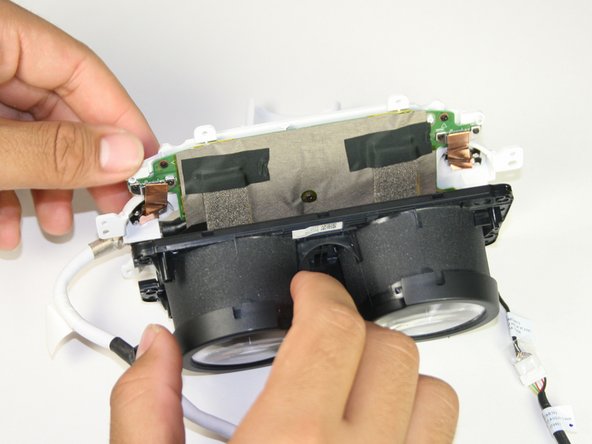
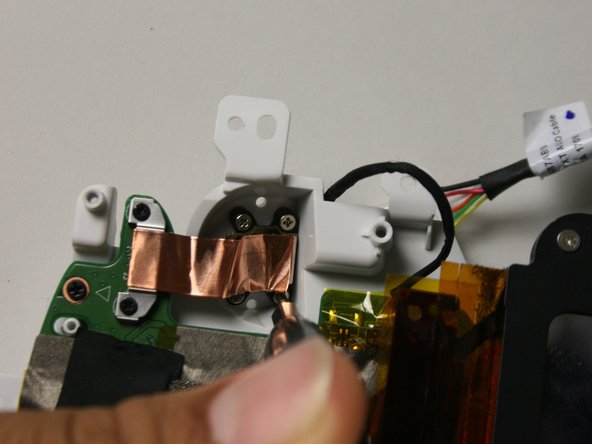
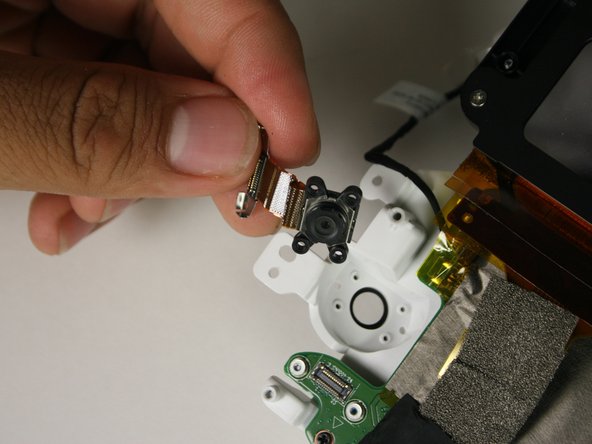
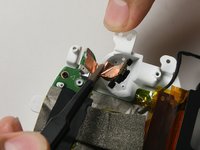
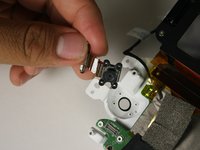
Carefully remove the camera from the casing with the blunt nose tweezers by holding onto the copper tape.
-
-









To reassemble your device, follow these instructions in reverse order.
Cancel: I did not complete this guide.
One other person completed this guide.

Team

Cal Poly, Team S17-G1, White Fall 2018 Member of Cal Poly, Team S17-G1, White Fall 2018
CPSU-WHITE-F18S17G1
4 Members
72 Guides authored
