Free Shipping on Domestic Orders $75+

Dell Photo Printer 540 Mother Board Replacement

What you need

  1. Dell Photo Printer 540 Mother Board Replacement, Case: step 1, image 1 of 1
    • Rotate the photo printer so that the bottom of the case faces upward.

    Ask FixBot
    Add Comment

  2. Dell Photo Printer 540 Mother Board Replacement: step 2, image 1 of 1
    • Use a Phillips #2 screwdriver to remove the three 5.65 mm screws on the bottom panel of the case in a counter-clockwise fashion.

    Ask FixBot

    Add Comment

  3. Dell Photo Printer 540 Mother Board Replacement: step 3, image 1 of 1
    • Rotate the device so that it is upright again. Under the LCD Panel there is a 9.62 mm screw, unscrew using a Phillips #2 screwdriver.

    Ask FixBot
    Add Comment

  4. Dell Photo Printer 540 Mother Board Replacement: step 4, image 1 of 1
    • Remove the back panel of the case by pulling directly back.

    • Some carefully applied force may be required to remove this part.

    Ask FixBot
    Add Comment

  5. Dell Photo Printer 540 Mother Board Replacement: step 5, image 1 of 1
    • Rotate the photo printer so that the bottom panel faces up once again. Now lift off the bottom panel of the case to access all internal components.

    Ask FixBot
    Add Comment

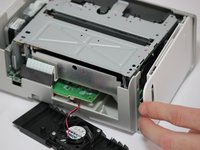
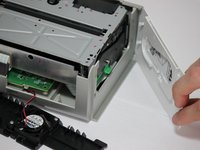
  6. Dell Photo Printer 540 Mother Board Replacement: step 6, image 1 of 2 Dell Photo Printer 540 Mother Board Replacement: step 6, image 2 of 2
    • Finally remove the side panel with the ink-cartridge door by holding the right side and pulling backwards with the left side.

    • Caution! The side panel is held in by tabs; don't break these.

    Ask FixBot

    Add Comment

  7. Dell Photo Printer 540 Mother Board Replacement, Cooling Fan: step 7, image 1 of 1
    • Carefully remove the inner components of the device by lifting the inner components up and out of the casing.

    Ask FixBot

    Add Comment

  8. Dell Photo Printer 540 Mother Board Replacement: step 8, image 1 of 1
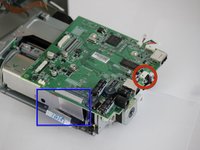
    • Locate the red and black cable that is connecting the fan to the top of the logic board.

    Ask FixBot

    Add Comment

  9. Dell Photo Printer 540 Mother Board Replacement: step 9, image 1 of 1
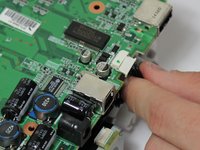
    • Carefully, remove the red and black cable from the logic board by pulling gently in order to isolate the cooling fan from the device.

    Ask FixBot

    Add Comment

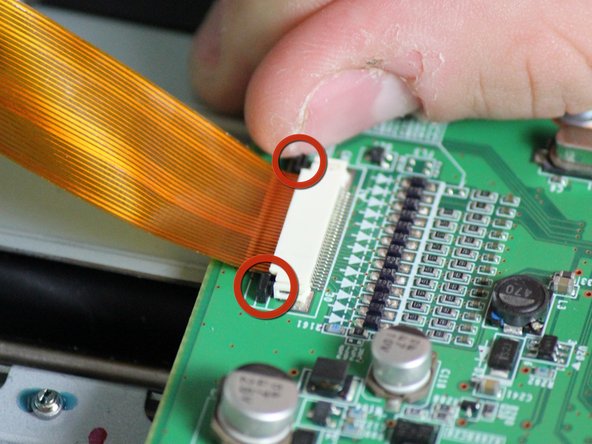
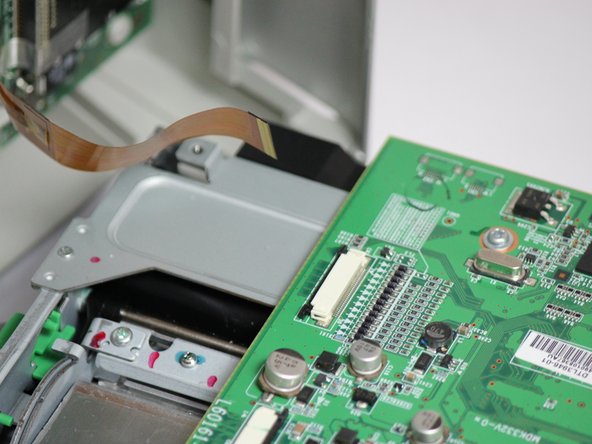
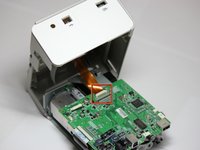
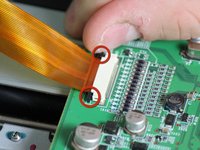
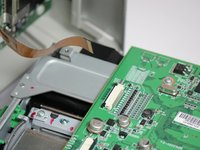
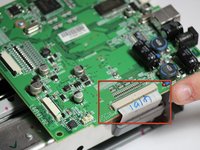
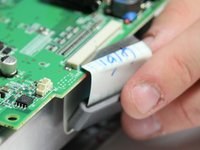
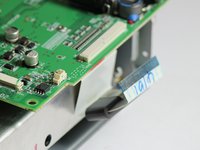
  10. Dell Photo Printer 540 Mother Board Replacement, Mother Board: step 10, image 1 of 3 Dell Photo Printer 540 Mother Board Replacement, Mother Board: step 10, image 2 of 3 Dell Photo Printer 540 Mother Board Replacement, Mother Board: step 10, image 3 of 3
    • Locate the data ribbon that connects the LCD panel to the mother board.

    • Loosen the fasteners next to the ribbon by carefully pushing them away from the white ribbon holder.

    • Once the fasteners are loosened the ribbon should easily slide away from the motherboard.

    Ask FixBot

    Add Comment

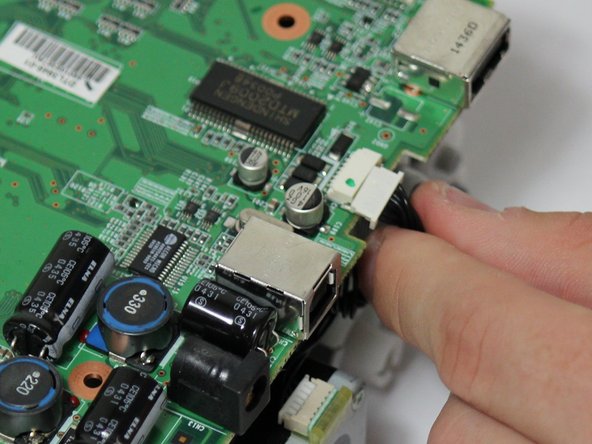
  11. Dell Photo Printer 540 Mother Board Replacement: step 11, image 1 of 3 Dell Photo Printer 540 Mother Board Replacement: step 11, image 2 of 3 Dell Photo Printer 540 Mother Board Replacement: step 11, image 3 of 3
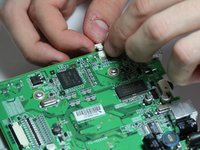
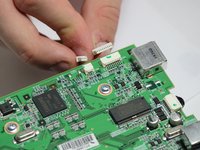
    • Locate the clips with multi-colored wires that connect the motherboard to the printing unit.

    • Disconnect both of them by gently pulling them away from the motherboard.

    Ask FixBot

    Add Comment

  12. Dell Photo Printer 540 Mother Board Replacement: step 12, image 1 of 3 Dell Photo Printer 540 Mother Board Replacement: step 12, image 2 of 3 Dell Photo Printer 540 Mother Board Replacement: step 12, image 3 of 3
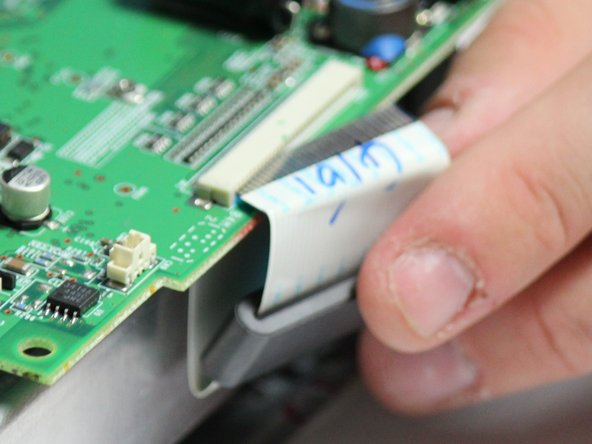
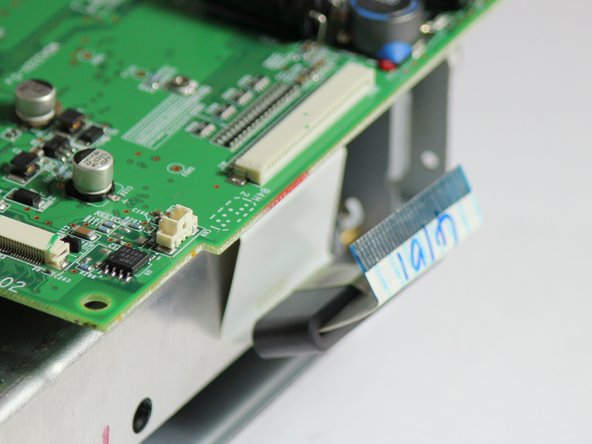
    • Locate the white ribbon that connects the motherboard to the printing feed.

    • Disconnect the ribbon by gently pulling the ribbon away from the motherboard.

    Ask FixBot

    Add Comment

  13. Dell Photo Printer 540 Mother Board Replacement: step 13, image 1 of 2 Dell Photo Printer 540 Mother Board Replacement: step 13, image 2 of 2
    • The mother board has changed orientation. Notice the new orientation based on the white data ribbon we removed in the previous step.

    • Locate the black data ribbon that connects the mother board to the printing motors.

    • Disconnect it from the logic board, by gently pulling the wire away from the mother board.

    Ask FixBot

    Add Comment

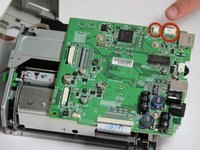
  14. Dell Photo Printer 540 Mother Board Replacement: step 14, image 1 of 1
    • Now unscrew the three screws 7.89mm (counter-clockwise) using a Phillips #1 screwdriver.

    Ask FixBot

    Add Comment

  15. Dell Photo Printer 540 Mother Board Replacement: step 15, image 1 of 1
    • Once screws and ribbons are disconnected, you can pull mother board away from the printing unit.

    Ask FixBot

    Add Comment

Conclusion

To reassemble your device, follow these instructions in reverse order.

Cancel: I did not complete this guide.

Cory Peterson

Member since: 04/04/12

133 Reputation

1 Guide authored

0 Guide Comments

Add Comment

View Statistics:

Past 24 Hours: 0

Past 7 Days: 7

Past 30 Days: 34

All Time: 1,126