
Dell Optiplex SX280 RAM Replacement

Wyatt and 5 other contributors
Last updated on Jan 28, 2014
Views: 6.1K
View statistics:
- Past 24 Hours:
- 4
- Past 7 Days:
- 16
- Past 30 Days:
- 98
- All Time:
- 6,056
Comments: 0
No one has left comments on this guide. Will you be first?
Go to guide commentsCompleted: 8 9
8 people have marked this guide "completed." Will you be next?
9 people have marked this guide "completed." Including you — great job!
Favorites: 3 4
3 people have favorited (and subscribed to) this guide. Will you be next?
4 people have favorited (and subscribed to) this guide — including you!
Featured Guide
This guide has been found to be exceptionally cool by the iFixit staff.
Introduction
Go to step 1 ↓Replace the old RAM cards to greatly enhance computer speed.
-
-
-
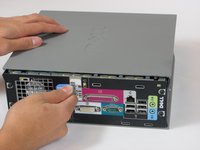
Lay the computer on its side; you will see a blue knob.
-
Turn this knob 90 deg clockwise.
-
-
-
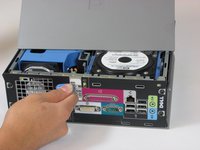
Slide the panel case forward about 1/2 inch while knob is turned.
-
Lift panel case off computer.
-
-
-
-
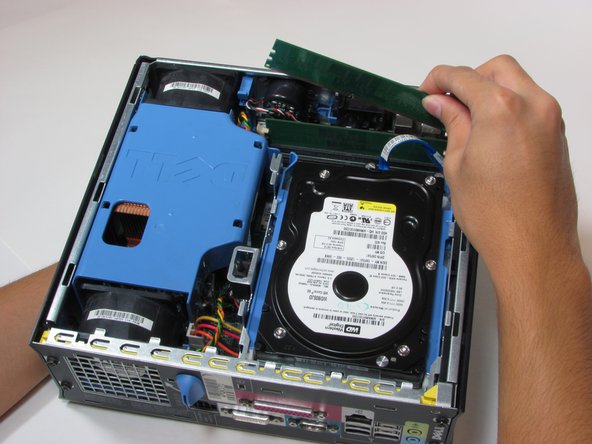
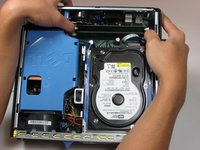
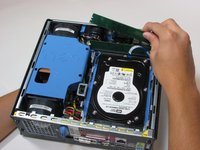
The RAM are the two green cards in the corner of the computer.
-
At each end of the card, there are two white clips securing the RAM to the Motherboard.
-
-
-
-
Push down both white clips with your thumbs until you hear a click.
-
The RAM cards can now be removed.
-
-

 Ask FixBot




To reassemble your device, follow these instructions (steps 1-3) in reverse order.
Cancel: I did not complete this guide.
8 other people completed this guide.

Team

Cal Poly, Team 22-4, Maness Fall 2010 Member of Cal Poly, Team 22-4, Maness Fall 2010
CPSU-MANESS-F10S22G4
4 Members
156 Guides authored
