Introduction
This guide was created to aid someone who would need to replace the memory board for the Dell Optiplex FX 170. Someone may need to replace the memory board if it is not working correctly or has failed. This is an easy component to replace with no hazards. One should, however, be familiar with electro-static discharge.
What you need
-
-
-
With the base stand facing upwards, unscrew the 6mm Phillips #2 screw.
-
Pull the base stand straight up from the device.
 Ask FixBot
-
-
-
Unscrew and remove the eight 4mm Phillips #0 screws (four on top, four on bottom) from the top and bottom of the device.
-
-
-
-
Run the flat side of the spudger along the entire line of the case starting from the back where the power plug and a small screw are located.
-
-
-
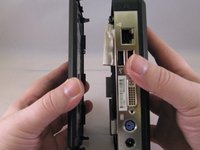
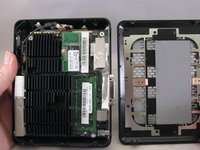
Once the clips have been released, gently disengage the cover from the rest of case by pulling in opposite directions.
-
-
-
-
-
Using the spudger, gently push on the underside of the memory board to loosen it. Gently grasp each side and pull up to release the memory board.
-
-


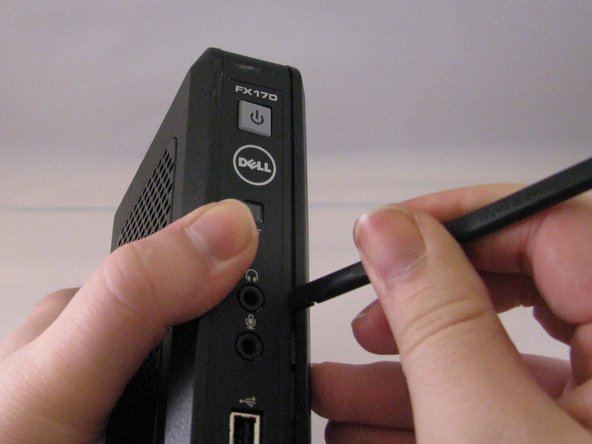



To reassemble your device, follow these instructions in reverse order.

Team

Eastern Washington University, Team 1-4, Carnegie Winter 2015 Member of Eastern Washington University, Team 1-4, Carnegie Winter 2015
EWU-CARNEGIE-W15S1G4
3 Members
84 Guides authored
