Free Shipping on Domestic Orders $75+

Dell Latitude E6540 Hard Drive Replacement

What you need

    1. Dell Latitude E6540 Hard Drive Replacement, Change note: step 1, image 1 of 2 Dell Latitude E6540 Hard Drive Replacement, Change note: step 1, image 2 of 2
      Tool used on this step:
      Essential Electronics Toolkit
      $29.95
      Buy
      • Due to the EET missing several components present in the Pro Tech Go and only being $20 cheaper, the EET has been removed. The EET will work for this guide as-is, but if you are shopping for a new toolkit to complete this guide, the Pro Tech Go (new or refurbished, refurbished is ~$32 cheaper), or Pro Tech ($79 new/~$59.95 refurb) is the current recommended toolkit for this guide.

      • If you are interested in a refurbished kit stock levels change frequently but can be found here.

      Ask FixBot

      Add Comment

    1. Dell Latitude E6540 Hard Drive Replacement, Hibernate your laptop: step 2, image 1 of 2 Dell Latitude E6540 Hard Drive Replacement, Hibernate your laptop: step 2, image 2 of 2
      • It is possible to plug the laptop in to avoid hibernating the system.

      • Locate the Hibernate option in the Start menu. Let the system fully hibernate (or shut down) before removing the battery.

      Ask FixBot

      Add Comment

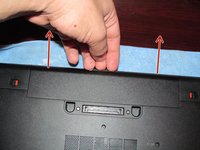
    2. Dell Latitude E6540 Hard Drive Replacement, Unlock the battery: step 3, image 1 of 2 Dell Latitude E6540 Hard Drive Replacement, Unlock the battery: step 3, image 2 of 2
      • Flip the laptop over and unlock the 2 battery tabs. The tabs will remain unlocked until the battery is removed.

      Ask FixBot

      Add Comment

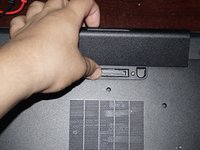
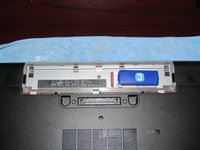
    3. Dell Latitude E6540 Hard Drive Replacement, Remove the old battery: step 4, image 1 of 3 Dell Latitude E6540 Hard Drive Replacement, Remove the old battery: step 4, image 2 of 3 Dell Latitude E6540 Hard Drive Replacement, Remove the old battery: step 4, image 3 of 3
      • The "extended runtime" battery on this model will stick out a few inches by design. This cannot be avoided.

      • Remove the battery. Pull the battery up from the back.

      Ask FixBot

      Add Comment

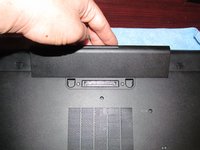
    4. Dell Latitude E6540 Hard Drive Replacement, Install the new battery: step 5, image 1 of 3 Dell Latitude E6540 Hard Drive Replacement, Install the new battery: step 5, image 2 of 3 Dell Latitude E6540 Hard Drive Replacement, Install the new battery: step 5, image 3 of 3
      • This step does not apply if this guide is being used as a prerequisite.

      • Align the battery with the tabs on the chassis. Drop the battery in place once lined up. If needed, use light pressure to seat it in the computer.

      Ask FixBot

      Add Comment

    5. Dell Latitude E6540 Hard Drive Replacement, Plug your laptop in: step 6, image 1 of 1
      • This step does not apply if this guide is being used as a prerequisite.

      • Turn the computer on and plug the charger in.

      Ask FixBot

      Add Comment

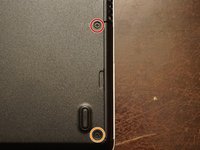
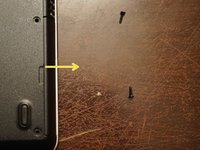
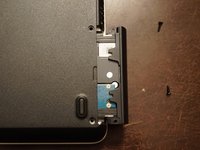
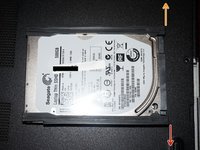
    1. Dell Latitude E6540 Hard Drive Replacement, Remove the chassis screws: step 7, image 1 of 3 Dell Latitude E6540 Hard Drive Replacement, Remove the chassis screws: step 7, image 2 of 3 Dell Latitude E6540 Hard Drive Replacement, Remove the chassis screws: step 7, image 3 of 3
      • EET owners: Your kit has this bit. No purchase needed.

      • The screw marked in orange is directly screwed into the chassis. This point WILL break if overtightended.

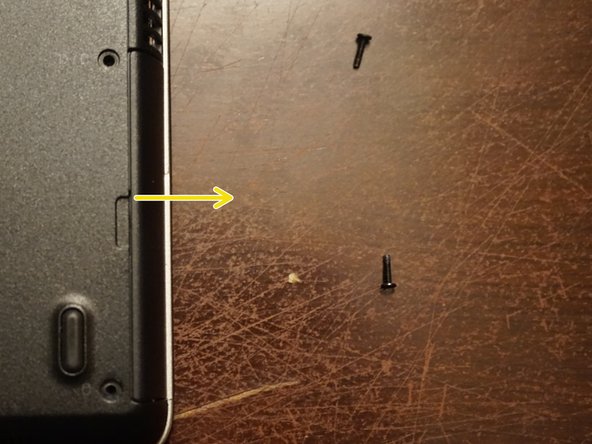
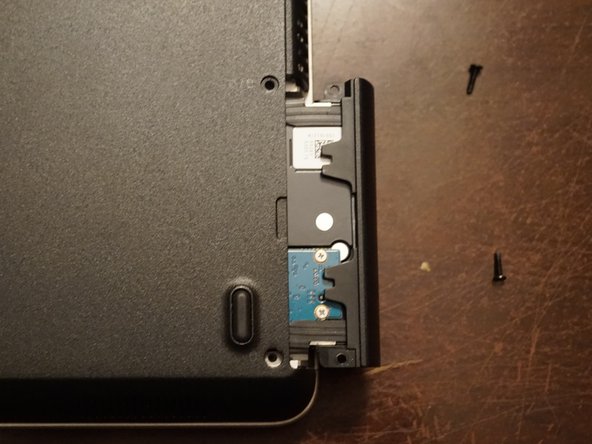
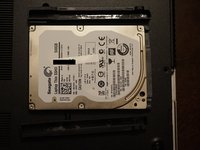
      • To remove the hard drive from the computer, remove the two screws. Use the Phillips #1 bit.

      Ask FixBot

      Add Comment

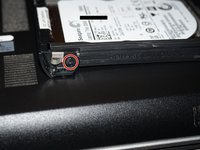
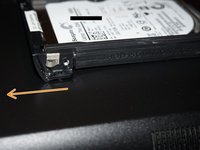
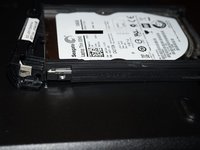
    2. Dell Latitude E6540 Hard Drive Replacement, Remove the drive clip: step 8, image 1 of 3 Dell Latitude E6540 Hard Drive Replacement, Remove the drive clip: step 8, image 2 of 3 Dell Latitude E6540 Hard Drive Replacement, Remove the drive clip: step 8, image 3 of 3
      • EET owners: Your kit has this bit. No purchase needed.

      • This step is not required if you are moving the drive to an identical Dell computer.

      • To remove the drive clip, remove the Phillips #0 screw holding the hard drive to the clip.

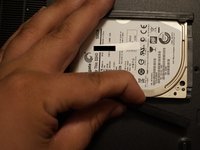
      • Once the screw is removed, remove the drive starting from the side with the screw.

      • Remove the drive from the right side by removing the drive from the alignment pin.

      Ask FixBot

      Add Comment

    3. Dell Latitude E6540 Hard Drive Replacement, Remove the rubber bumpers: step 9, image 1 of 3 Dell Latitude E6540 Hard Drive Replacement, Remove the rubber bumpers: step 9, image 2 of 3 Dell Latitude E6540 Hard Drive Replacement, Remove the rubber bumpers: step 9, image 3 of 3
      • The bumpers are held on with double sided tape. This does not have to be replaced.

      • Once the drive is removed from the clip, remove the rubber bumpers. Transfer them to your new drive.

      Ask FixBot

      Add Comment

Conclusion

To reassemble your device, follow these instructions in reverse order.

Cancel: I did not complete this guide.

3 other people completed this guide.

Nick

Member since: 11/10/09

105,738 Reputation

72 Guides authored

0 Guide Comments

Add Comment

View Statistics:

Past 24 Hours: 2

Past 7 Days: 14

Past 30 Days: 67

All Time: 8,354