Introduction
If you need to reinstall a new LCD screen, access the screen with this guide. For this guide, you will need a Phillips #0 screwdriver head. You will not need to do any difficult steps, but unscrew screws, and detach wires.
What you need
-
-
-
Orient your laptop so that the bottom is facing up towards you.
-
Place your thumbs on the grooved sections above the battery and firmly pull away from each other.
-
Slide the battery out and separate it from the laptop.
 Ask FixBot
-
-
-
Remove the 5 screws from the back panel with a type 0 Philips head.
-
Then pull the panel towards you in a slightly upwards motion.
-
Separate the panel from the laptop.
-
-
-
-
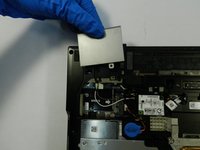
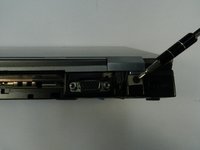
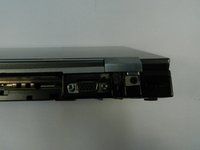
Take the silver panels from both sides of the back of the laptop by removing the screw using a type 0 Philips head.
-
Slide the silver panel away from you to revel some wires.
-
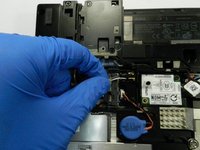
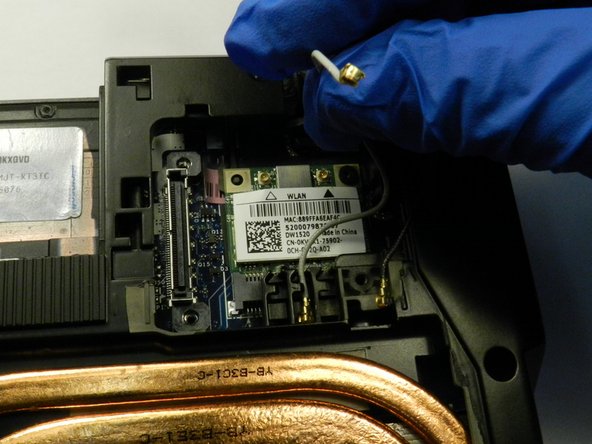
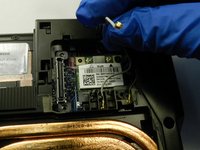
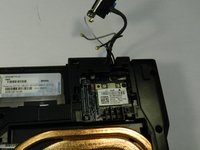
Remove the two wires white and gray by gently pulling up and detaching them.
-
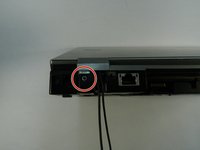
After the wires are detached, gently pull the wires away from you to remove them from the groove they are in.
-
-
-
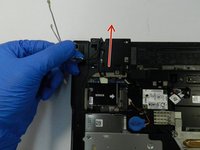
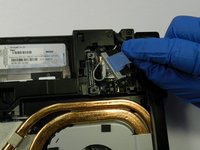
Under the ride silver panel, there is a channel. To disconnect gently use your nail and flick it up and to the right.
-
Once the channel is disconnect, there are two wires. Repeat the same method as the channel to disconnect the wires.
-
Move the channel and wires out of the groove to remove the screen.
-
-
-
Orient the laptop on its side, prop it slightly open to keep it stable on your desk.
-
Unscrew the silver screw on the left side using a type 0 Phillip's head.
-
Unscrew the black screw on the right side using a type 0 Philips head.
-
-
-
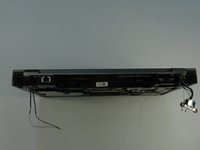
Since the screws and wires are disconnect, the screen is ready to be disconnected also.
-
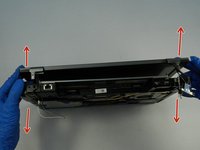
Gently hold the LCD screen with your pointer fingers on either side.
-
While firmly holding the bottom of the laptop with your thumbs pull the two parts away from each other.
-
-








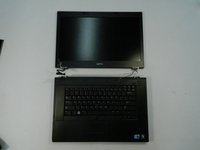
To reassemble your device, follow these instructions in reverse order.
Cancel: I did not complete this guide.
3 other people completed this guide.

Team

The Citadel Military College of South Carolina, Team S2-G1, Eggleston Spring 2019 Member of The Citadel Military College of South Carolina, Team S2-G1, Eggleston Spring 2019
CMCSC-EGGLESTON-S19S2G1
3 Members
35 Guides authored
