Free Shipping on Domestic Orders $75+

Dell Latitude E6510 Hard Drive Replacement

What you need

    1. Dell Latitude E6510 Hard Drive Replacement, Battery: step 1, image 1 of 1
      • Unlock the two latches on the back by sliding them inwards.

      Ask FixBot

      Add Comment

    2. Dell Latitude E6510 Hard Drive Replacement: step 2, image 1 of 2 Dell Latitude E6510 Hard Drive Replacement: step 2, image 2 of 2
      • Slide the battery out from the laptop.

      Ask FixBot

      Add Comment

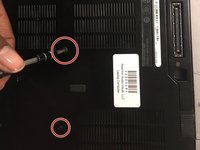
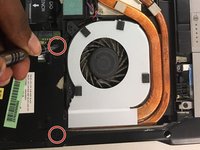
    1. Dell Latitude E6510 Hard Drive Replacement, Hard Drive: step 3, image 1 of 2 Dell Latitude E6510 Hard Drive Replacement, Hard Drive: step 3, image 2 of 2
      • After removing the battery, unscrew the four 3 mm screws on the back plate using a Phillips #1 screwdriver.

      • The back plate does not need to be removed. Removed only for a clear view.

      Ask FixBot

      Add Comment

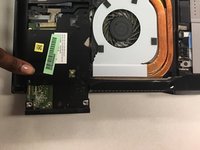
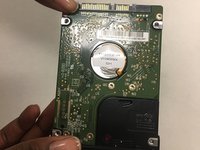
    2. Dell Latitude E6510 Hard Drive Replacement: step 4, image 1 of 2 Dell Latitude E6510 Hard Drive Replacement: step 4, image 2 of 2
      • The hard drive should slide out of the laptop. However, if not, use a spudger to pry the hard drive out of the laptop.

      Ask FixBot

      Add Comment

Conclusion

To reassemble your device, follow these instructions in reverse order.

Cancel: I did not complete this guide.

One other person completed this guide.

Kolin Doyle

Member since: 11/06/17

500 Reputation

4 Guides authored

Team

Baylor, Team S8-G4, Johnson Fall 2017 Member of Baylor, Team S8-G4, Johnson Fall 2017

BU-JOHNSON-F17S8G4

1 Member

48 Guides authored

0 Guide Comments

Add Comment

View Statistics:

Past 24 Hours: 3

Past 7 Days: 11

Past 30 Days: 45

All Time: 4,929