
Dell Latitude E6510 USB Ports Replacement

Ronald Denardo and 4 other contributors
Last updated on Oct 1, 2020
Views: 1.9K
View statistics:
- Past 24 Hours:
- 4
- Past 7 Days:
- 18
- Past 30 Days:
- 75
- All Time:
- 1,922
Comments: 0
No one has left comments on this guide. Will you be first?
Go to guide commentsCompleted: 0 1
No one has marked this guide "completed." Will you be the first?
1 person has marked this guide "completed." It's you — great job!
Favorites: 0 1
No one has favorited (and subscribed to) this guide. Will you be the first?
1 person has favorited (and subscribed to) this guide — and that's you!
In Progress
This guide is a work in progress. Reload periodically to see the latest changes!
Introduction
Go to step 1 ↓The prerequisite guide that is recommended to read before this guide will cover removing the fan from a Dell Latitude E6510.
This guide will cover how to replace the USB ports whether they are damaged or you are replacing them as a precautionary item. The product is the Dell Latitude E6510 computer.
Before using this guide make sure that the computer is powered off and that you have a clean workspace in which it is easy to keep track of all parts.
This guide requires you to know how to use a soldering iron safely as well as having a basic knowledge of how to use tools like a screwdriver.
What you need
Tools
-
Spudger4.9
-


-
-
Step 1 Fan
Careful: steps 1-3 are sourced from a guide that's marked as in-progress.
-
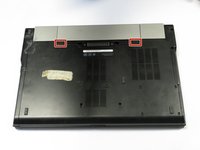
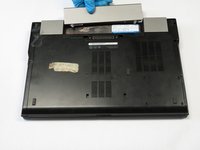
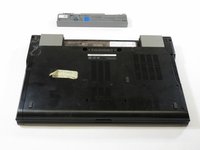
Slide the two black clips toward the middle to release battery
 Ask FixBot
-
-
-
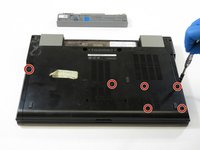
Remove the back plate from the back of the device
-
Remove the 6 screws with the J1 screwdriver.
-
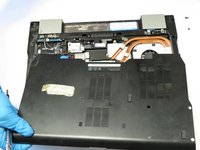
once the screws are out, slide back panel towards front of the device and lift up
-
-
-
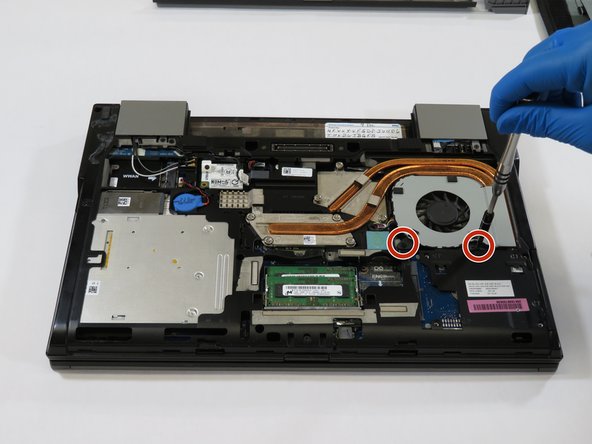
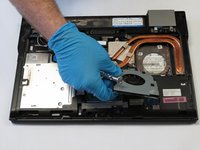
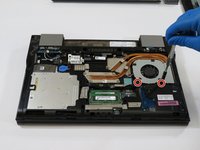
Remove two screws holding the fan
-
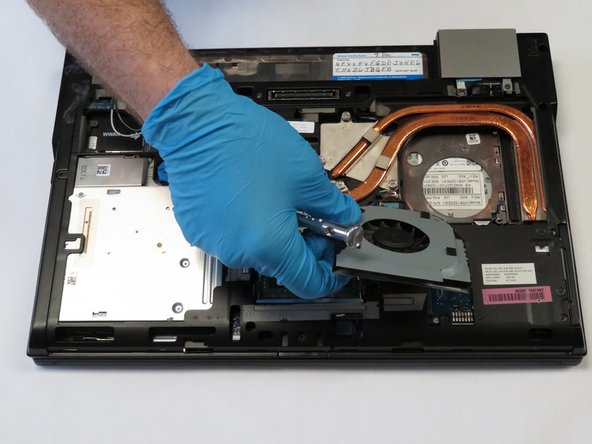
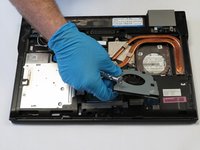
Slide from under copper heat sink
-
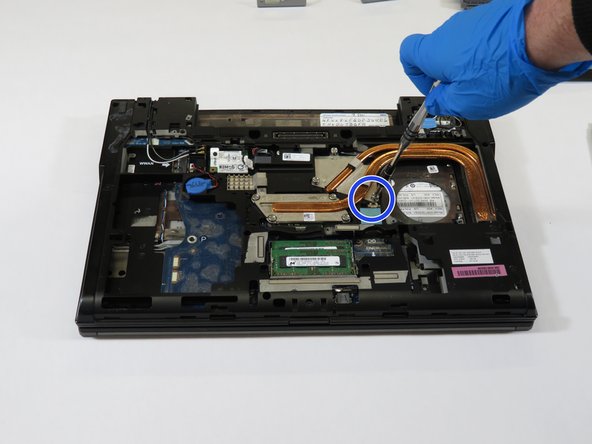
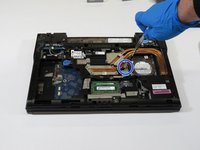
Unplug connector and remove
-
To reassemble, follow directions in reverse
-
-
-
-
-
Remove the battery
-
Flip the computer so that it is facing downward.
-
Next locate the two black clips as shown in the image.
-
Slide the clips toward the middle in order to release the battery.
-
-
-
-
Remove the back plate from the back of the device.
-
Using the Philips head screwdriver remove the 6 screws marked in red.
-
Next, slide the panel down and then lift up til completely removed.
-
-
-
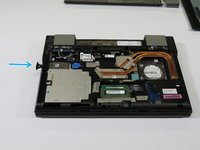
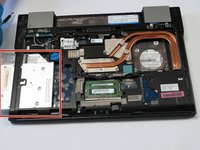
Press the button on the side of the optical drive in order to release the pull tab.
-
Next, pull out the optical drive located on the lower left hand side.
-
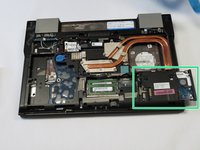
Locate the hard drive on the lower right hand side and remove it from the computer.
-
-
-
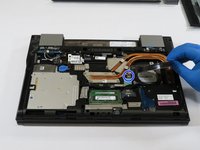
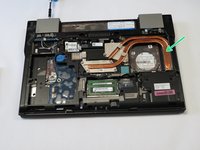
Using the Philips head screwdriver unscrew the two screws holding the fan.
-
Next, slide the fan out from under the copper heat sink.
-
Unplug the connector marked in blue and remove the fan.
-
-
-
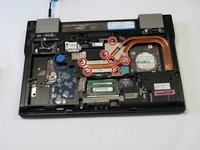
Using the Philips head screwdriver unscrew the seven screws holding down the copper heat sink.
-
Lift the heat sink slightly and slide out to remove it.
-
-
-
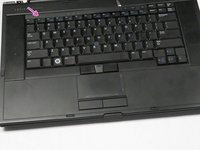
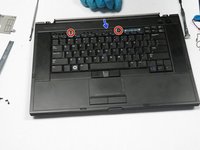
Using a spudger remove the volume bar above the keyboard
-
Using the Philips head screwdriver unscrew the two screws near the top of the keyboard.
-
Lift the keyboard membrane slightly by tab, and slide the keyboard towards the screen in order to remove.
-
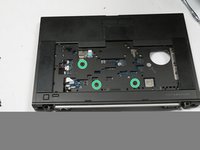
Using the Philips head screwdriver unscrew the three screws marked in green.
-
-
-
Using the Philip head screwdriver unscrew the eight screws holding down the chassis to get to the USB ports.
-
-
-
Remove the USB port by using a soldering iron to take out the connections on either side of the port.
-
-
















To reassemble your device, follow these instructions in reverse order.

Team

The Citadel Military College of South Carolina, Team S3-G12, Eggleston Spring 2019 Member of The Citadel Military College of South Carolina, Team S3-G12, Eggleston Spring 2019
CMCSC-EGGLESTON-S19S3G12
4 Members
12 Guides authored
