Introduction
This guide will show you the process of removing and replacing the heat sink system in your Latitude E6510.
What you need
-
-
-
Locate the tabs that lock the battery in place.
-
Push tabs towards each other while simultaneously pushing the battery away from the device.
 Ask FixBot
-
-
-
Unscrew the screw located in the center of the back panel. Do not completely remove the screw, a spring will keep it in place when it has been loosened.
-
Slide the panel back until it unlocks.
-
-
-
-
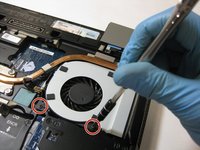
Unscrew the two 5.5 mm screws securing the fan.
-
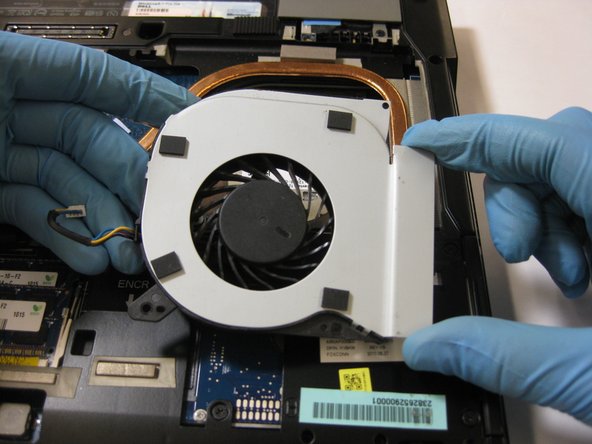
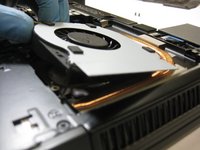
Lift the end of the fan opposite the copper wire up.
-
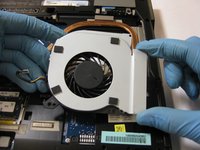
Pull the fan away from the device.
-
-
-
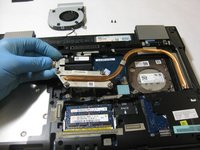
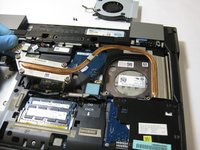
Locate and loosen the four silver screws holding down the heat redistribute component.
-
Do not competely remove the screws as springs keep the screws attached to the metal plate after you loosen them.
-
-
-
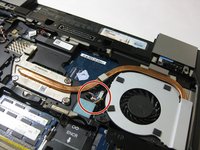
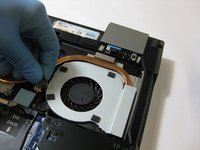
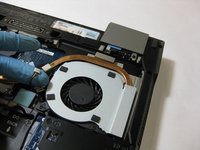
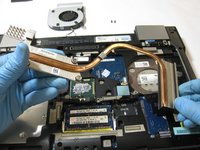
Lift the metal plate up on the end closest to the screws.
-
Slide the whole assembly away from where you removed the fan.
-
-






To reassemble your device, follow these instructions in reverse order.
Cancel: I did not complete this guide.
2 other people completed this guide.

Team

The Citadel Military College of South Carolina, Team S2-G2, Eggleston Spring 2019 Member of The Citadel Military College of South Carolina, Team S2-G2, Eggleston Spring 2019
CMCSC-EGGLESTON-S19S2G2
2 Members
24 Guides authored
