
Dell Latitude E4310 Keyboard Replacement

Laura Lujan and 2 other contributors
Last updated on Jun 14, 2018
Views: 3.5K
View statistics:
- Past 24 Hours:
- 2
- Past 7 Days:
- 17
- Past 30 Days:
- 88
- All Time:
- 3,476
Comments: 1
1 comment on steps.
Completed: 3 4
3 people have marked this guide "completed." Will you be next?
4 people have marked this guide "completed." Including you — great job!
Favorites: 1 2
1 person has favorited (and subscribed to) this guide. Will you be next?
2 people have favorited (and subscribed to) this guide — including you!
Introduction
Go to step 1 ↓Use this guide to replace an unresponsive or sticky keyboard on your Dell Latitude E4310.
What you need
Tools
-
Spudger4.9


-
-
-
Push in the battery release button with your thumb.
-
Pull up on the battery to remove.
-
-
-
-
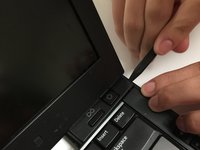
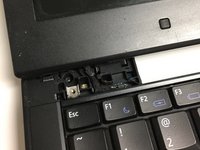
Insert the pointy end of the spudger underneath the power button panel and pry upwards to pop off.
-
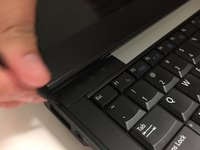
Do the same steps for the other side.
-
-
-
-
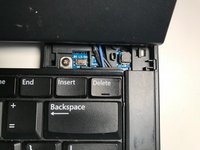
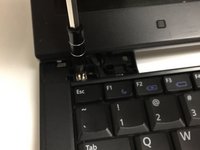
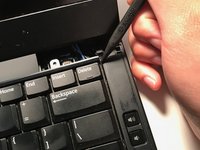
Insert the pointy end of the spudger underneath the edge of the keyboard and pry upwards to lift up.
-
Once lifted, grab the keyboard and pull out to remove.
-
-

 Ask FixBot







To reassemble your device, follow these instructions in reverse order.
Cancel: I did not complete this guide.
3 other people completed this guide.

Team

University of North Texas, Team S1-G5, Thompson Spring 2018 Member of University of North Texas, Team S1-G5, Thompson Spring 2018
UNT-THOMPSON-S18S1G5
4 Members
96 Guides authored
