
Dell Latitude E4310 Display Replacement

Aylin and 3 other contributors
Last updated on May 7, 2024
Views: 2.1K
View statistics:
- Past 24 Hours:
- 2
- Past 7 Days:
- 22
- Past 30 Days:
- 80
- All Time:
- 2,137
Comments: 2
2 comments on steps.
Completed: 6 7
6 people have marked this guide "completed." Will you be next?
7 people have marked this guide "completed." Including you — great job!
Favorites: 1 2
1 person has favorited (and subscribed to) this guide. Will you be next?
2 people have favorited (and subscribed to) this guide — including you!
Introduction
Go to step 1 ↓This guide walks through how to remove and replace a display on the Dell Latitude E4310 laptop in the event of a broken or bad display.
What you need
Tools


-
-
-
Push in the battery release button with your thumb.
-
Pull up on the battery to remove.
-
-
-
-
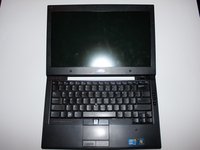
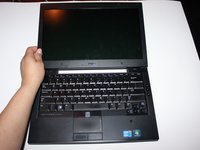
Open up the laptop and flatten it down on a workable surface.
-
Turn it around so that the screen is closest to you.
-
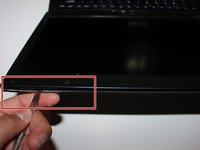
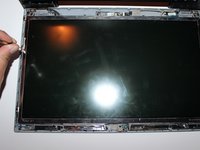
Insert the flat end of a spudger, or plastic opening tool, into the groove between the screen bezel and top case.
-
Twist the spudger, or plastic opening tool, until you hear a clicking sound and continue doing this around the entirety of the display.
-
Remove the bezel.
-
-
-
-
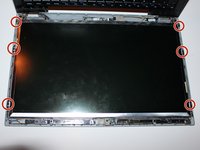
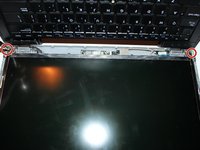
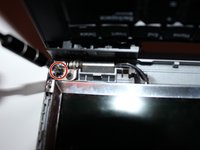
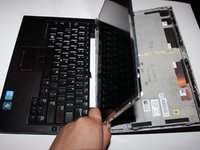
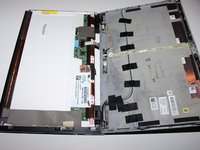
Carefully lift the screen up and flip it over onto the keyboard side as if you were turning the page of a book.
-
-
Tool used on this step:Tweezers$4.99
-
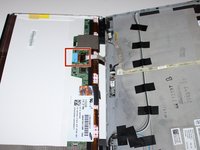
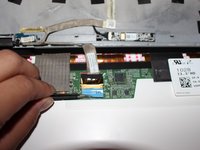
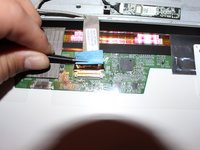
Use a pair of tweezers to flip the blue tape 180 degrees.
-
-

 Ask FixBot











To reassemble your device, follow these instructions in reverse order.
Cancel: I did not complete this guide.
6 other people completed this guide.

Team

University of North Texas, Team S1-G5, Thompson Spring 2018 Member of University of North Texas, Team S1-G5, Thompson Spring 2018
UNT-THOMPSON-S18S1G5
4 Members
96 Guides authored
