What you need
-
-
-
Orient the laptop so that the back is facing you.
-
With a phillip's head screwdriver, remove the two screws on the back corners of the laptop.
 Ask FixBot
-
-
-
Flip the laptop over, with the opening still facing toward you.
-
With a phillip's head screwdriver remove the two screws in the upper two corners
-
-
-
Open the laptop up, displaying the keyboard and screen.
-
Take a spudger and insert it under the left edge of the panel located between the keyboard and screen.
-
Use the spudger to pry under the panel.
-
-
-
Place the spudger under the middle of the panel and use it to pry the panel off.
-
-
-
Place the spudger under the right side of the panel and use it to pry the panel off.
-
If additional help is needed place the spudger in various places around the edge of the panel.
-
-
-
-
After the panel has been popped off you must the pull the screen up as shown in the picture.
-
-
-
The screen will only be connected by the wiring.
-
Take the screen and gently lay it on the table as shown.
-
Now you must remove the three screws marked in the picture.
-
-
-
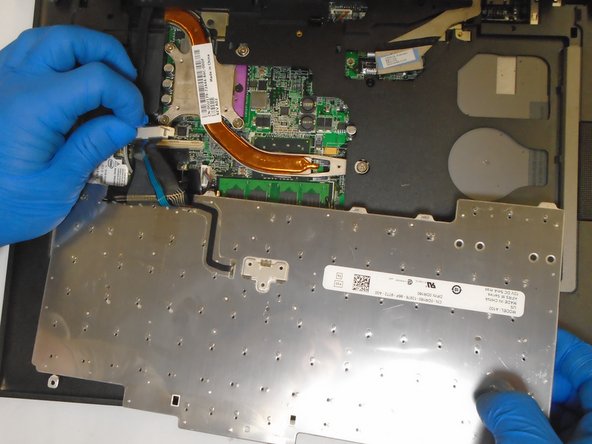
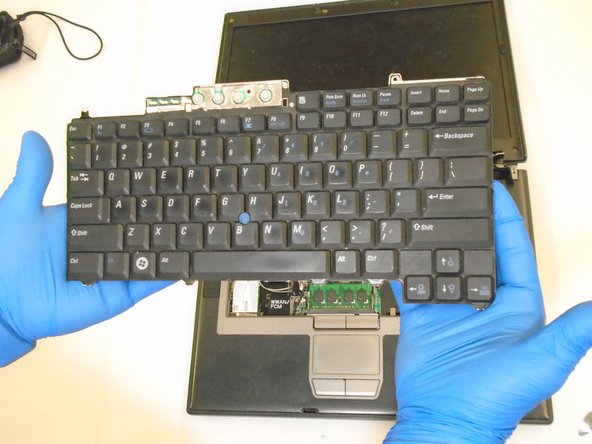
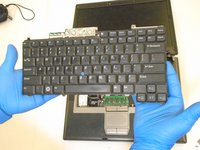
After removing the three screws, slide the keyboard out so the mainframe of it is loose.
-
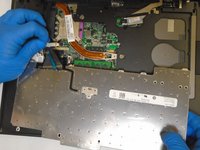
There is still a component attached underneath.
-
-
-
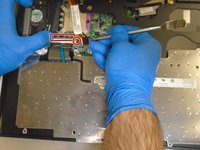
Where the highlighted rectangle is, there is a silver lever that you must push back.
-
Then where the highlighted circle is, you must take a spudger and push in.
-
This will then pop the white clip off, and the keyboard will be completely free.
-
-
-
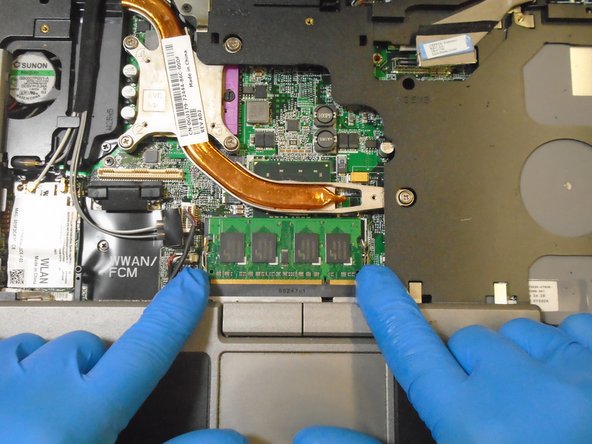
Once the keyboard has been removed you will see many of the circuit boards that lie underneath it.
-
The item highlighted is the RAM.
-
-
-
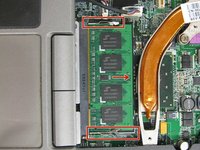
The two clips highlighted are what hold the RAM in place.
-
Each of the clips should be pushed outward, freeing the RAM
-
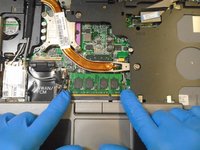
The edge of the RAM that the arrow is pointing to should the be pulled, removing the RAM
-
-





To reassemble your device, follow these instructions in reverse order.

Team

The Citadel Military College of South Carolina, Team S3-G13, Eggleston Spring 2019 Member of The Citadel Military College of South Carolina, Team S3-G13, Eggleston Spring 2019
CMCSC-EGGLESTON-S19S3G13
3 Members
36 Guides authored
