
Dell Latitude D530 Screen Replacement

Kyle Cabral and 2 other contributors
Last updated on Jun 12, 2018
Views: 1.4K
View statistics:
- Past 24 Hours:
- 2
- Past 7 Days:
- 17
- Past 30 Days:
- 73
- All Time:
- 1,414
Comments: 0
No one has left comments on this guide. Will you be first?
Go to guide commentsCompleted: 0 1
No one has marked this guide "completed." Will you be the first?
1 person has marked this guide "completed." It's you — great job!
Favorites: 0 1
No one has favorited (and subscribed to) this guide. Will you be the first?
1 person has favorited (and subscribed to) this guide — and that's you!
Introduction
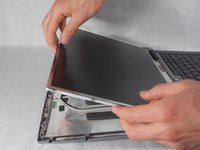
Go to step 1 ↓The screen to a device may break due to an accident or suddenly stop to function. If the rest of the laptop is fine and is able to function, the screen can be replaced to restore the laptop to working order. During the replacing process, try to avoid touching any 'do not touch' area's of the replacement screen. This may damage the new screen and another replacement may be needed if so.
What you need
Tools


-
-
-
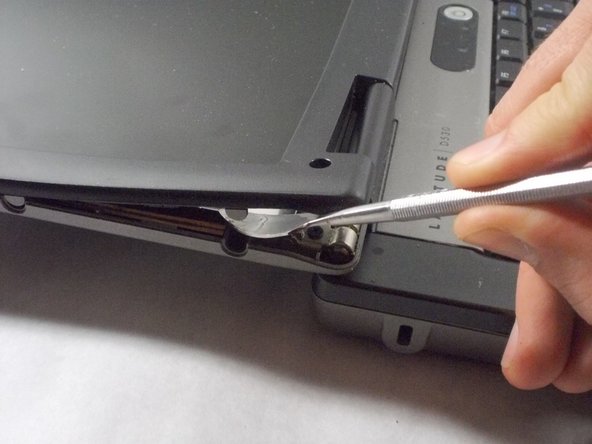
Remove the 4 small circle dots from the borders of the laptop screen. Simply pull the dots out of their sockets.
-
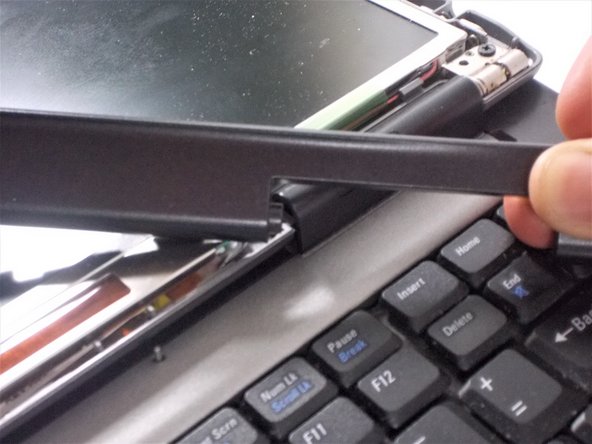
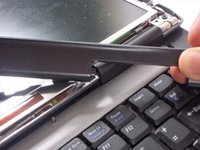
Also remove the one longer rubber piece from the top of the screen. Simply peel the rubber piece from its place.
 Ask FixBot
-
-
-
Unscrew and remove the 6 6mm screws that were under the rubber pieces using a Phillips #1.
-
-
-
-
Unscrew the 8 6mm screws located on the outer border of the screen using a Phillips #1.
-
-
-
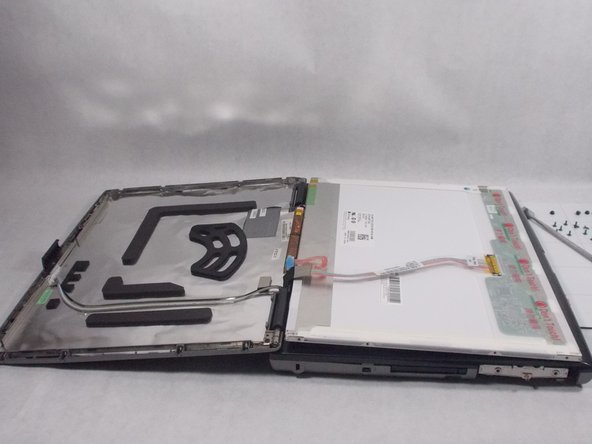
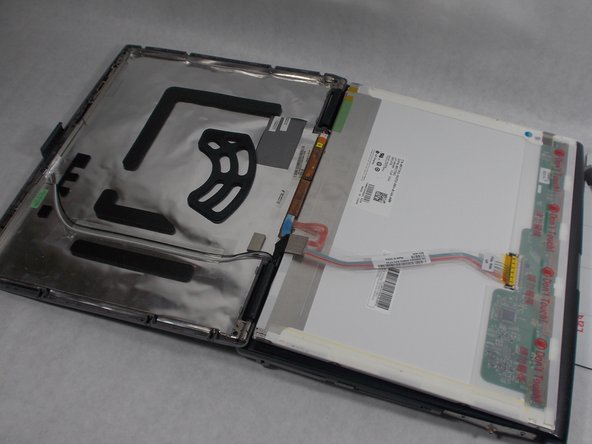
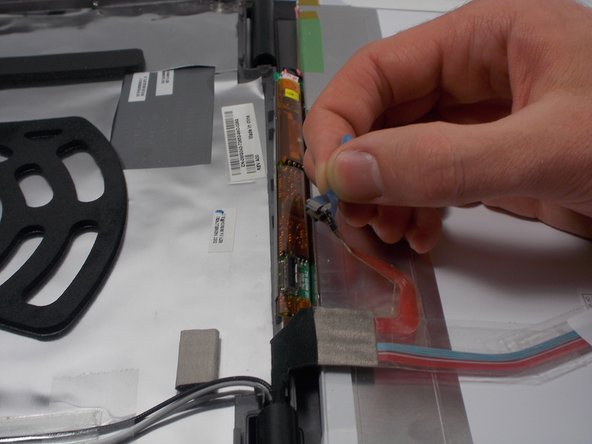
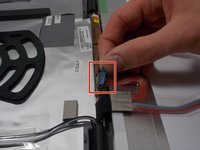
Pull on the blue tag sticking out at the bottom of the screen and disconnect the wire.
-
-
-
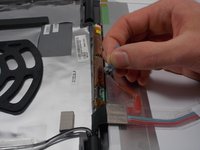
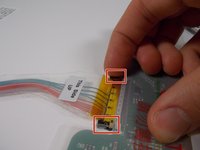
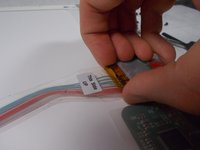
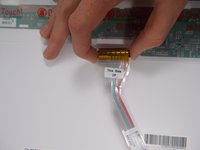
Towards the top of the screen on the back, unplug the “this side up” wire.
-
This can be done by squeezing the 2 metal side clips of the wire.
-
-




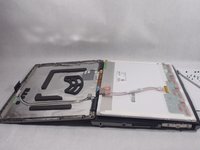
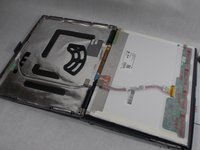



To reassemble your device, follow these instructions in reverse order.

Team

UMass Dartmouth, Team S2-G6, Bernier Spring 2018 Member of UMass Dartmouth, Team S2-G6, Bernier Spring 2018
UMASSD-BERNIER-S18S2G6
3 Members
48 Guides authored
