
Dell Latitude 7420 Fan Assembly Replacement

Nick B. and 3 other contributors
Last updated on Jun 15, 2026
Views: 5.1K
View statistics:
- Past 24 Hours:
- 8
- Past 7 Days:
- 78
- Past 30 Days:
- 275
- All Time:
- 5,136
Comments: 6
1 comment on steps, 5 guide comments.
Go to guide commentsCompleted: 4 5
4 people have marked this guide "completed." Will you be next?
5 people have marked this guide "completed." Including you — great job!
Favorites: 0 1
No one has favorited (and subscribed to) this guide. Will you be the first?
1 person has favorited (and subscribed to) this guide — and that's you!
Introduction
Go to step 1 ↓If your laptop keeps overheating, you may need to replace the fans and heat sink. Your Dell Latitude 7420 laptop may overheat due to dirty or dusty vents or fans. This can often be fixed by cleaning out the vents or fan with a dust blower. If that doesn't fix the issue, checking the thermal paste under the heat sink is a good idea because it may need to be replaced too.
Before starting, please ensure the device is turned off and disconnected from any adaptors or charging cables.
Likewise, use an anti-static band or mat when opening computers or handling components.
If the thermal paste in the Dell Latitude 7420 needs to be replaced, an in-depth application guide can be found here.
What you need


-
-
-
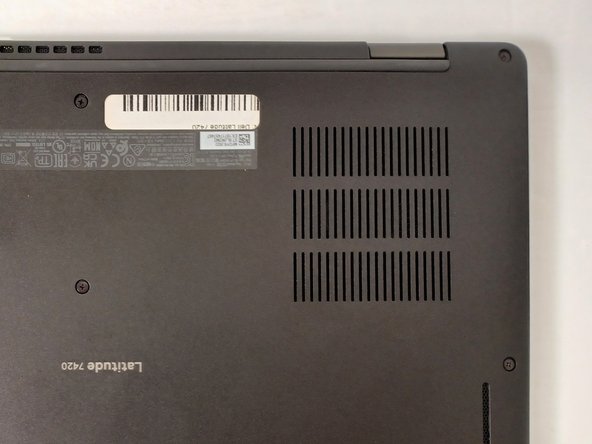
Remove the eight, 7 mm screws from the back case using a Phillips #0 screwdriver.
-
Use an opening pick or opening tool and work your way around the periphery of the base cover to separate it from the chassis.
 Ask FixBot
-
-
-
-
-
Using the Phillips #1 screwdriver, remove the five 5 mm screws securing the battery to the motherboard.
-
-
-
Use a spudger to pry up each side of the battery connector. Then, lift the connector straight up from its socket.
-
-
-
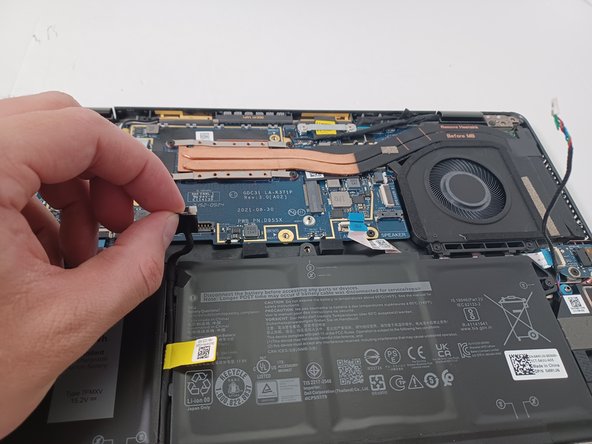
Unplug the speaker cable by pulling it down, then carefully unthread the cable from the battery
-
-
-
-
Tool used on this step:Dust Blower$5.99
-
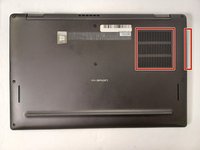
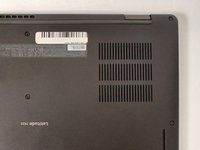
Use a cloth and dust blower to clean the vents.
-
-
-
-
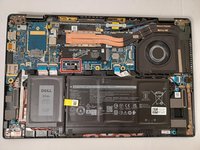
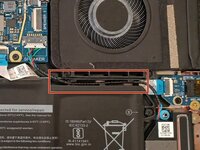
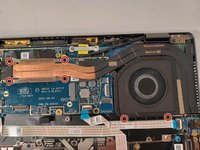
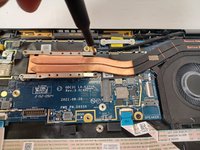
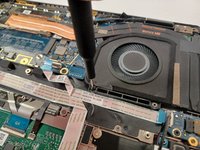
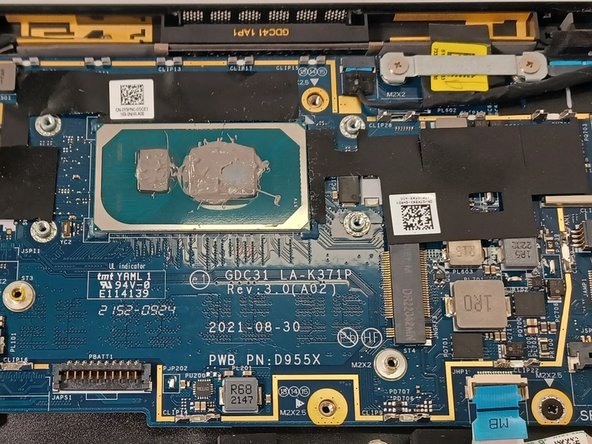
Use a Phillips #00 screwdriver to remove the six 2.5 mm screws securing the fan assembly.
-
-
-
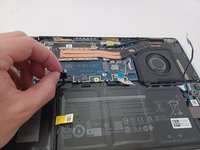
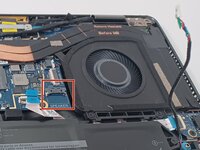
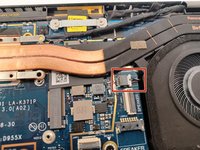
Use the pointed tip of a spudger to carefully push on each side of the connector and remove it from the socket.
-
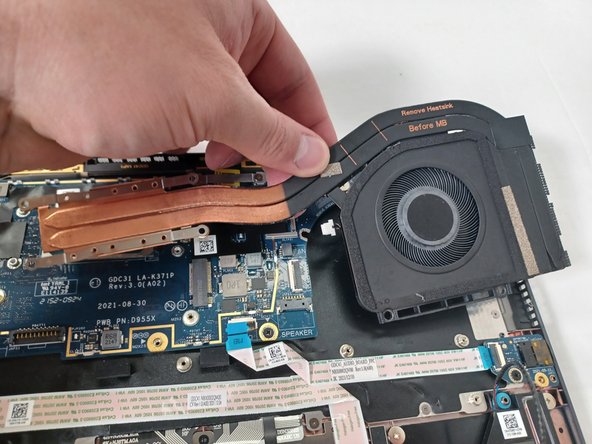
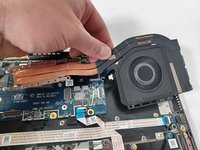
Remove the fan assembly.
-
-










To reassemble your device, follow these instructions in reverse order. Take your e-waste to an R2 or e-Stewards certified recycler.
Cancel: I did not complete this guide.
4 other people completed this guide.

Team

Gateway, Team 1-2, Pee Spring 2023 Member of Gateway, Team 1-2, Pee Spring 2023
GCC-PEE-S23S1G2
4 Members
72 Guides authored
5 Guide Comments
Hi. Is it possibel to replace the fan only?
I ordered some fan part from amazon which looks identical but the fan is attached to the heartsink element and its not clear how to detach it.
@mustaffaab64308 Usually fans are glued ore taped to heatsinks. There may be a model where it is screwed to it but thats rather rare. If you look online, you find nothing about detaching the fan from the heatsink. Is it possible that you ordered a fan for the Inspiron 7420 ? In that model, you can detach it easily.
@olli_wuff Thanks for your follow up. The Fan I ordered was a standalone part (without the heatsink). I was about to return the fan but then found the very small screws under this foam, which allows you to detach the fan from the heatsink and replace the fan only :)
And, yes. there is absolutely nothing on the internet or AI about that, so I guess I made a worlds-first discovery? :D
@mustaffaab64308 Very Cool! Congratulations for your succesfull repair!
@mustaffaab64308 yes it is possible to change only the fan - I can confirm what @olli_wuff said: there are screws under the foam, there are three screws. you actually don't need to do any other step besides take the back off: find the three screws under the foam, and the two screws on the left that aren't covered by foam, then disconnect the fan power and gently lift the fan assembly (which is connected to the heat sink) about 2 cm or 0.5 inch. when you lift it, you can slide out the fan itself and slide in your new replacement part which is around $15.
