Free Shipping on Domestic Orders $75+

Dell Latitude 7410 Back Cover Replacement

Views: 973

View statistics:

Past 24 Hours:
4
Past 7 Days:
24
Past 30 Days:
93
All Time:
973
Comments: 0

No one has left comments on this guide. Will you be first?

Go to guide comments
Completed: 0

No one has marked this guide "completed." Will you be the first?

Favorites: 0

No one has favorited (and subscribed to) this guide. Will you be the first?

Time Required: 10 - 15 minutes
Difficulty: Easy
Dell Latitude 7410 Back Cover Replacement

Introduction

Go to step 1 ↓

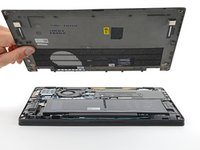
Use this guide to remove or replace the back cover on your Dell Latitude 7410 laptop.

What you need

Tools

    1. Dell Latitude 7410 Back Cover Replacement, Unfasten the back cover: step 1, image 1 of 1
      • Use a Phillips screwdriver to loosen the eight captive screws securing the back cover.

      Ask FixBot

      Add Comment

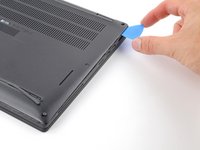
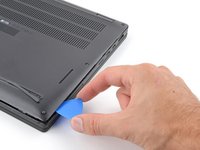
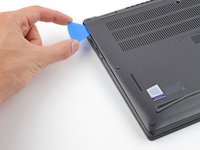
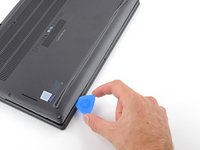
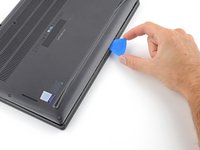
    2. Dell Latitude 7410 Back Cover Replacement, Insert an opening pick: step 2, image 1 of 2 Dell Latitude 7410 Back Cover Replacement, Insert an opening pick: step 2, image 2 of 2
      • Insert an opening pick between the right edge of the back cover and the frame, just below the middle right screw.

      Ask FixBot

      Add Comment

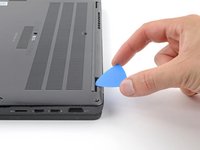
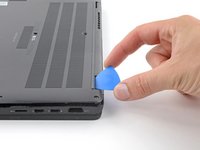
    3. Dell Latitude 7410 Back Cover Replacement, Unclip the right edge: step 3, image 1 of 2 Dell Latitude 7410 Back Cover Replacement, Unclip the right edge: step 3, image 2 of 2
      • Slide your pick along the right edge to release the clips securing the back cover.

      Ask FixBot

      Add Comment

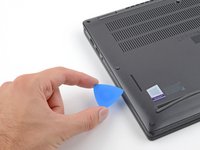
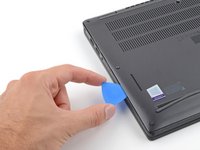
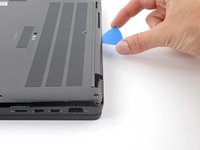
    4. Dell Latitude 7410 Back Cover Replacement, Unclip the left edge: step 4, image 1 of 3 Dell Latitude 7410 Back Cover Replacement, Unclip the left edge: step 4, image 2 of 3 Dell Latitude 7410 Back Cover Replacement, Unclip the left edge: step 4, image 3 of 3
      • Insert your pick between the left edge of the back cover and the frame, next to the speaker cutout.

      • Slide your pick along the left edge to release the clips.

      Ask FixBot

      Add Comment

    5. Dell Latitude 7410 Back Cover Replacement, Unclip the back edge: step 5, image 1 of 3 Dell Latitude 7410 Back Cover Replacement, Unclip the back edge: step 5, image 2 of 3 Dell Latitude 7410 Back Cover Replacement, Unclip the back edge: step 5, image 3 of 3
      • Insert your pick between the back cover and the right display-hinge to release the first clip along the back edge.

      • Slide your pick toward the left hinge until the second clip releases.

      Ask FixBot

      Add Comment

    6. Dell Latitude 7410 Back Cover Replacement, Unclip the front edge: step 6, image 1 of 2 Dell Latitude 7410 Back Cover Replacement, Unclip the front edge: step 6, image 2 of 2
      • Insert your pick between the front edge of the back cover and the frame, just to the right of the bottom left screw.

      • Slide your pick toward the right edge until the front edge releases from the frame.

      Ask FixBot

      Add Comment

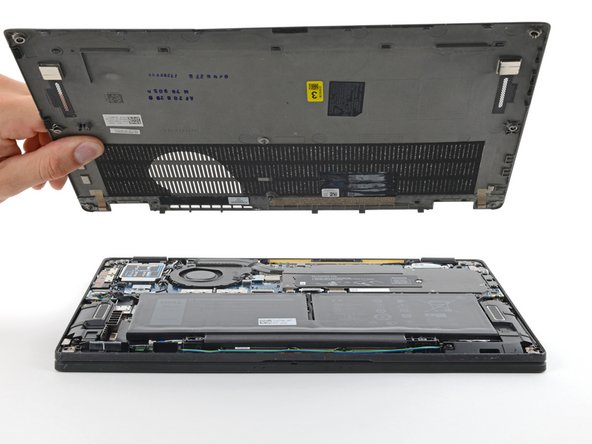
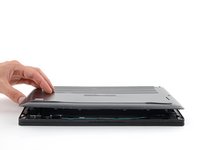
    7. Dell Latitude 7410 Back Cover Replacement, Remove the back cover: step 7, image 1 of 2 Dell Latitude 7410 Back Cover Replacement, Remove the back cover: step 7, image 2 of 2
      • Remove the back cover.

      Ask FixBot

      Add Comment

Conclusion

To reassemble your device, follow these instructions in reverse order.

Repair didn’t go as planned? Try some basic troubleshooting, or ask our Answers community for help.

Cancel: I did not complete this guide.

Clay Eickemeyer

Member since: 09/19/22

108,052 Reputation

471 Guides authored

Team

Guide Team Member of Guide Team

Staff

10 Members

62,132 Guides authored

0 Guide Comments

Add Comment

View Statistics:

Past 24 Hours: 4

Past 7 Days: 24

Past 30 Days: 93

All Time: 973