
Dell Latitude 5580 Fan Replacement

Abbey and one other contributor
Last updated on Jun 27, 2025
Views: 516
View statistics:
- Past 24 Hours:
- 1
- Past 7 Days:
- 20
- Past 30 Days:
- 94
- All Time:
- 516
Comments: 0
No one has left comments on this guide. Will you be first?
Go to guide commentsCompleted: 0 1
No one has marked this guide "completed." Will you be the first?
1 person has marked this guide "completed." It's you — great job!
Favorites: 0 1
No one has favorited (and subscribed to) this guide. Will you be the first?
1 person has favorited (and subscribed to) this guide — and that's you!
Introduction
Go to step 1 ↓The fan on your device may need to be cleaned or replaced if your device is experiencing overheating, making unusual sounds or no sound at all, or if your device is frequently shutting down due to overheating.
You can attempt to clean your fan or remove any debris before using this guide. If cleaning the fan has not proved beneficial, you can check the status of your fan in the BIOS settings, and additionally running a fan test.
If you have tried troubleshooting and the issue persists, follow this guide to replace the fan in your Dell Latitude 5580 laptop.
Before beginning, ensure your device isn't plugged in and it is completely turned off. Also, disconnect the battery cable from the motherboard.
What you need
Tools


-
-
-
Orient your laptop so you can access the bottom cover, with the fan vents facing upwards.
-
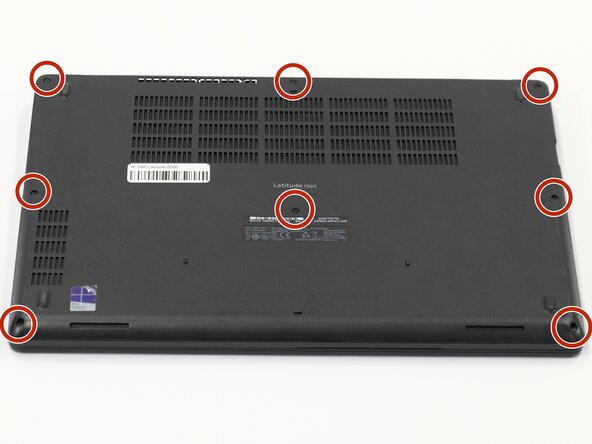
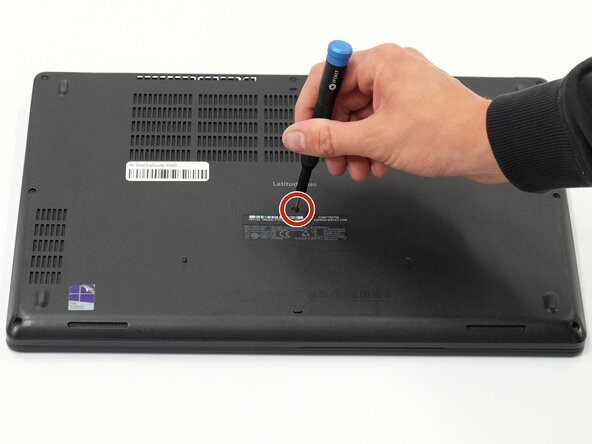
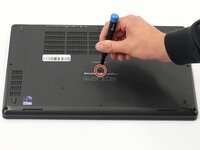
Use a Phillips #00 screwdriver to loosen the eight screws securing the bottom cover.
-
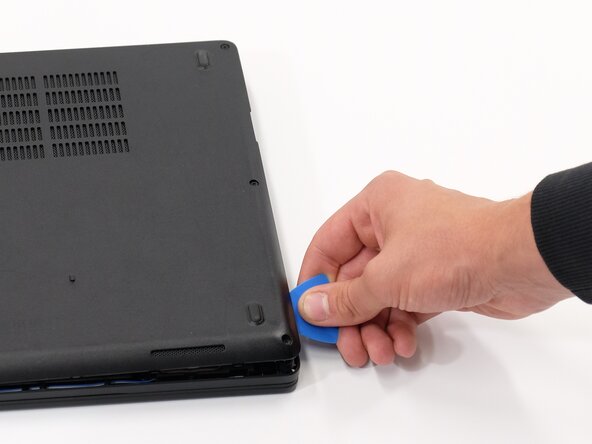
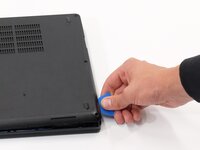
Insert the end of an iFixit opening tool or opening picks into the seam between the bottom and top case to release the clips holding them together.
-
Slide the opening tool or pick around the edge of the laptop until it is fully separated.
-
Remove the bottom cover.
 Ask FixBot
-
-
-
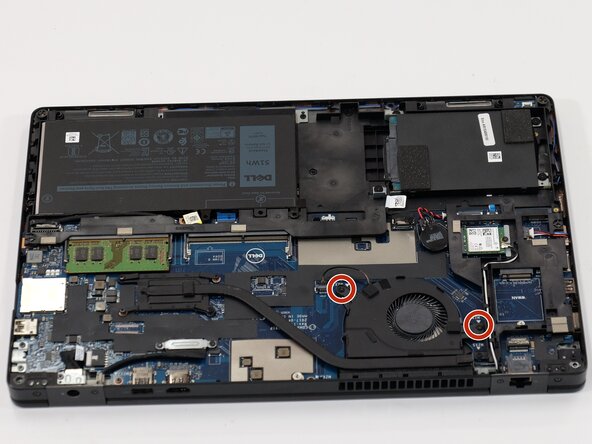
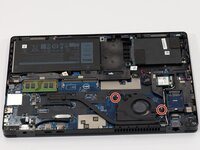
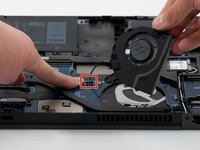
Use a Phillips #00 screwdriver to remove the two 3.1 mm screws holding the fan down.
-
-
-
-
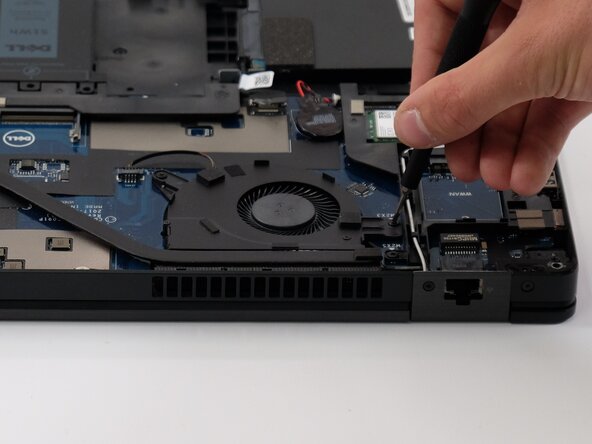
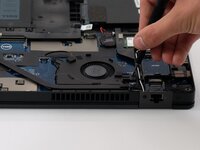
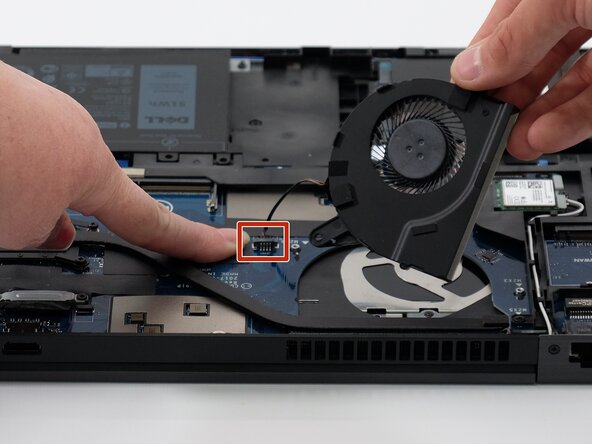
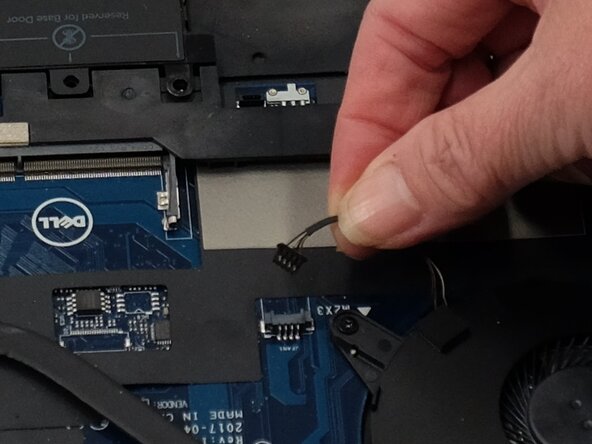
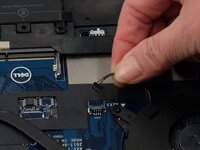
Use the point of a spudger to push on alternating sides of the connector to "walk" the JST connector out of its socket.
-
If that doesn't work, use a pair of tweezers to firmly grip the sides of the connector and pull straight away from the socket. Hold the tweezers closer to the connector to get a better grip.
-
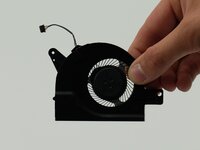
Remove the fan from your laptop.
-
-
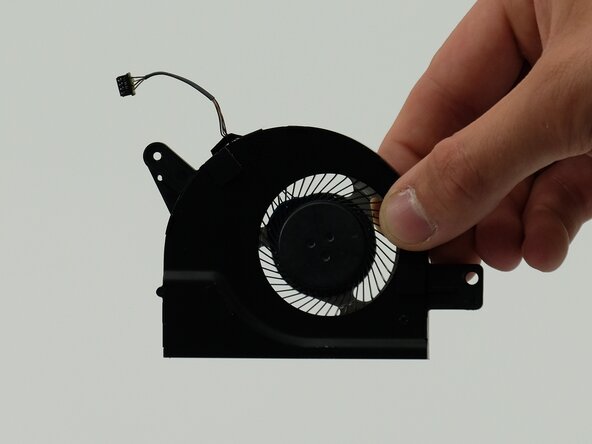
To reassemble your device, follow these instructions in reverse order. Take your e-waste to an R2 or e-Stewards certified recycler.

Team

Linn Benton Community College, Team 1-5, Karnes Spring 2025 Member of Linn Benton Community College, Team 1-5, Karnes Spring 2025
LBCC-KARNES-S25S1G5
4 Members
60 Guides authored
