Introduction
This guide shows how to replace the network card in a Dell Latitude 3310. Rest assured, a network card is not the hardest thing to replace on a laptop. Follow this guide and you'll be connected in no time!
What you need
-
-
-
Remove seven 8.0 mm screws using a Phillips #1 screwdriver.
-
Remove three 5.0 mm screws using a Phillips #1 screwdriver.
 Ask FixBot
-
-
-
Using the iFixit opening tool, gently pry between the body of the laptop and the bottom cover. Make your way around the laptop carefully releasing all plastic clips.
-
The screen hinges are an ideal spot to begin prying.
-
-
-
-
-
-
Locate the white-and-black wire connected to the network card, then trace it and remove it from the fan’s retaining clips.
-
-
-
Using a Phillips #1 screwdriver, remove the screw fastening the network card to the board.
-
Using your fingers, gently pull straight up on the white/black connectors.
-
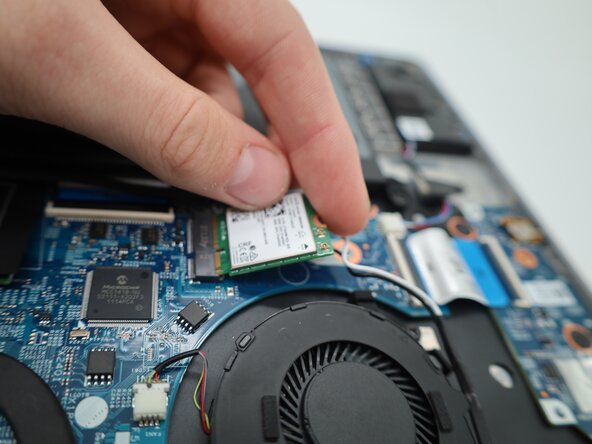
Remove the Wi-Fi card.
-
-
-
Insert the replacement card into the slot.
-
Reconnect the white/black wires.
-
Reinstall the metal plate & screw to fasten the card to the board.
-
-




To reassemble your device, follow these instructions in reverse order.

Team

University of North Texas, Team 1-2, Rea Fall 2025 Member of University of North Texas, Team 1-2, Rea Fall 2025
UNT-REA-F25S1G2
3 Members
60 Guides authored
