
Dell Latitude 3190 Keyboard Replacement

Haley Smith and 4 other contributors
Last updated on Jun 19, 2024
Views: 2.3K
View statistics:
- Past 24 Hours:
- 4
- Past 7 Days:
- 31
- Past 30 Days:
- 101
- All Time:
- 2,275
Comments: 0
No one has left comments on this guide. Will you be first?
Go to guide commentsCompleted: 0 1
No one has marked this guide "completed." Will you be the first?
1 person has marked this guide "completed." It's you — great job!
Favorites: 0 1
No one has favorited (and subscribed to) this guide. Will you be the first?
1 person has favorited (and subscribed to) this guide — and that's you!
Inconsistent Images
Updating the images on this guide to be more consistent with the prerequisites would increase its awesomeness.
Introduction
Go to step 1 ↓The keyboard is the main source of communication between the user and the laptop. Without it, the laptop has very limited capability. Before replacing your keyboard, attempt to clean under the keys with a can of air and a microfiber cloth. If your Dell Latitude 3190 keyboard has missing or broke keys or has stopped functioning altogether, follow this guide to replace the keyboard. Make sure your device is powered off and unplugged from external power before beginning the repair.
What you need
Tools
-
Spudger4.9


-
-
-
Use a Phillips #0 screwdriver to remove the seven 7 mm screws securing the back case.
 Ask FixBot
-
-
-
Using a plastic opening tool carefully separate the plastic base cover from the rest of the laptop.
-
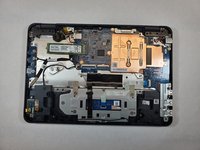
Lift the bottom cover from the laptop.
-
-
-
-
-
-
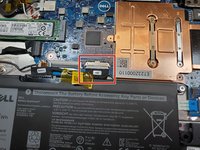
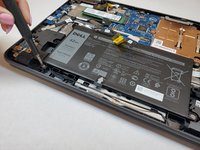
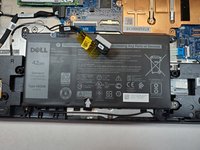
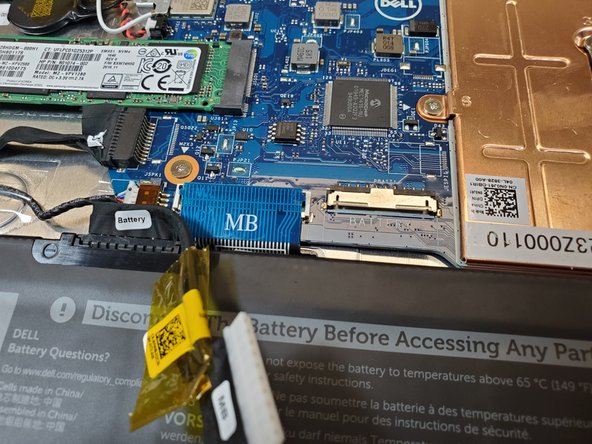
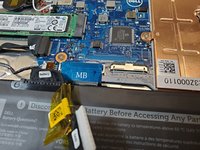
Disconnect the battery cable located on the top of the battery.
-
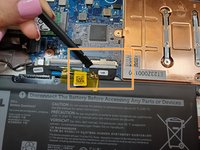
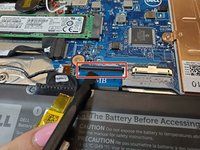
Use the spudger and disconnect the battery cable.
-
Pull the cable out of the way.
-
-
-
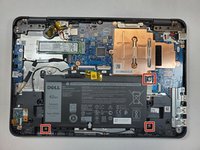
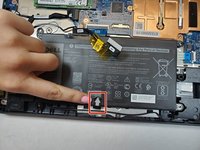
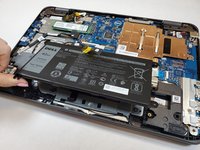
Use a Phillips #0 screwdriver to remove the three 3 mm screws from the battery.
-
-
-
-
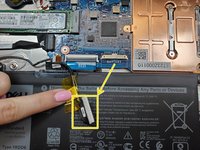
Use the spudger to release the small black tab locking down the connector by lightly pushing up on it.
-
Disconnect the keyboard cable from the connector on the system board.
-
-
-
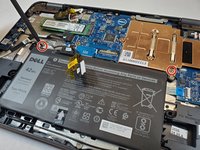
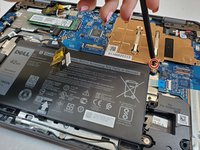
Hold down the laptop securely while pushing into the two release holes using a spudger.
-
-
-
Turn the laptop over, so the keyboard is facing up
-
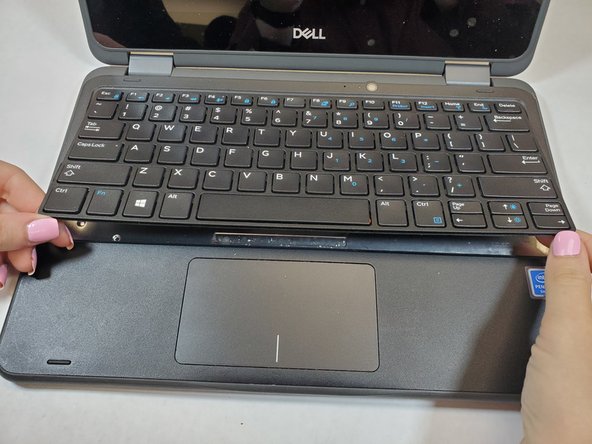
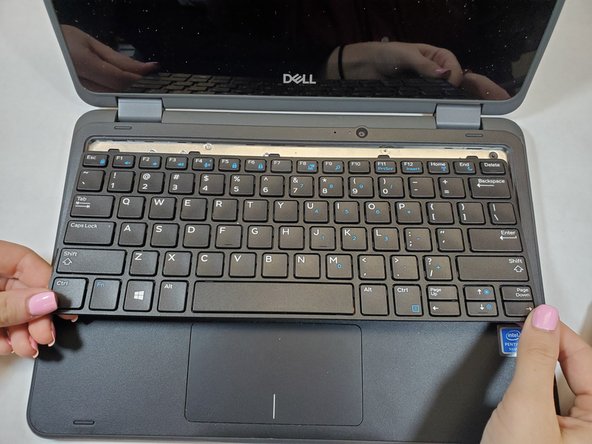
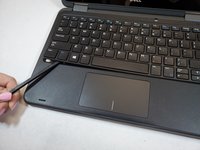
Pry the bottom of the keyboard using a spudger to the release the keyboard.
-
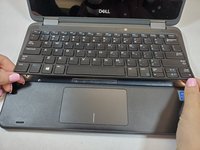
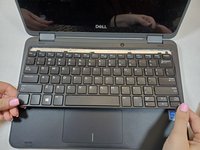
Slide the keyboard outwards, away from the computer, and lift the keyboard away from the computer.
-
-










To reassemble your device, follow these instructions in reverse order.

Team

Gateway, Team 1-5, Saknee Fall 2021 Member of Gateway, Team 1-5, Saknee Fall 2021
GCC-SAKNEE-F21S1G5
3 Members
72 Guides authored
