Free Shipping on Domestic Orders $75+

Dell Latitude 3189 Trackpad Replacement

Views: 374

View statistics:

Past 24 Hours:
1
Past 7 Days:
11
Past 30 Days:
51
All Time:
374
Comments: 0

No one has left comments on this guide. Will you be first?

Go to guide comments
Completed: 0

No one has marked this guide "completed." Will you be the first?

Favorites: 0

No one has favorited (and subscribed to) this guide. Will you be the first?

Time Required: 30 - 45 minutes
Difficulty: Moderate
Featured Student Guide

This guide has been the hard work of our awesome students and is found to be exceptionally cool by the iFixit staff.

Dell Latitude 3189 Trackpad Replacement

Introduction

Go to step 1 ↓

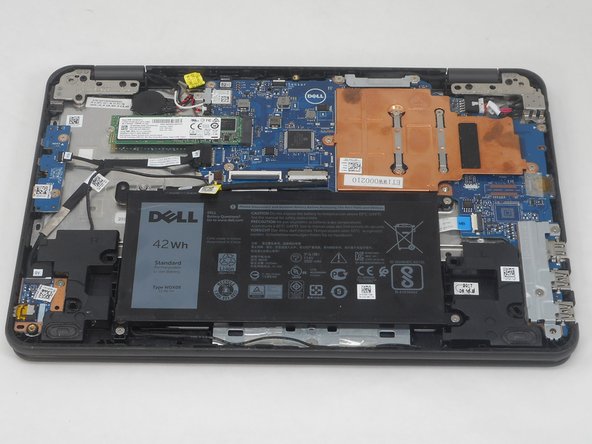
The trackpad of your laptop is a touch-sensitive surface used to communicate with the laptop to move the cursor on your screen. If you are not getting an on-screen response from your Dell Latitude 3189 when you interact with the trackpad, you may need to replace the trackpad to resolve the issue.

The cable connector can damage easily, be careful when moving the ribbon as to not break the connector socket.

You will need to reference the base cover replacement guide to remove the base cover from your device before continuing to the rest of this guide. Make sure that your device is completely powered off before using this guide.

What you need

Tools

    1. Dell Latitude 3189 Trackpad Replacement, Lower Case: step 1, image 1 of 2 Dell Latitude 3189 Trackpad Replacement, Lower Case: step 1, image 2 of 2
      • Before beginning, power off and unplug the device.

      • Use a Phillips screwdriver to loosen the seven captive screws that secure the lower case.

      Ask FixBot

      Add Comment

    2. Dell Latitude 3189 Trackpad Replacement: step 2, image 1 of 3 Dell Latitude 3189 Trackpad Replacement: step 2, image 2 of 3 Dell Latitude 3189 Trackpad Replacement: step 2, image 3 of 3
      • Insert a nylon spudger between the lower case and chassis at the two hinge spaces on the back side of the laptop and pry up the lower case.

      • Do not use metal items to pry the base cover off, like a screwdriver, as it could slip and damage internal components.

      • Avoid prying at the ports.

      Ask FixBot

      Add Comment

    3. Dell Latitude 3189 Trackpad Replacement: step 3, image 1 of 2 Dell Latitude 3189 Trackpad Replacement: step 3, image 2 of 2
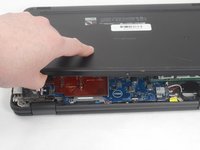
      • Grip and lift the lower case up and away.

      • If you feel any significant resistance, double check that all of the screws are loosened.

      Ask FixBot

      Add Comment

    4. Dell Latitude 3189 Trackpad Replacement: step 4, image 1 of 3 Dell Latitude 3189 Trackpad Replacement: step 4, image 2 of 3 Dell Latitude 3189 Trackpad Replacement: step 4, image 3 of 3
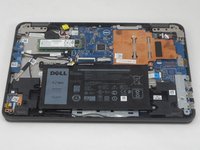
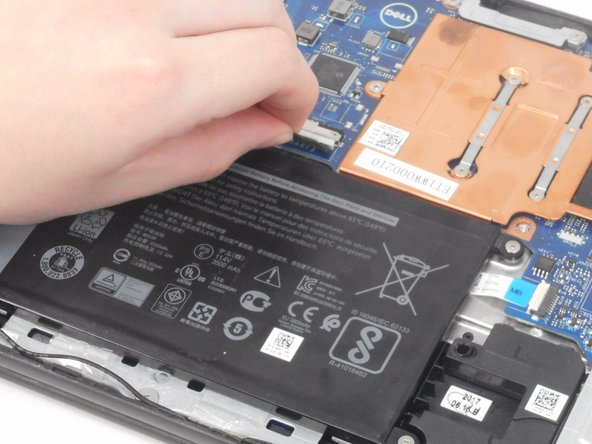
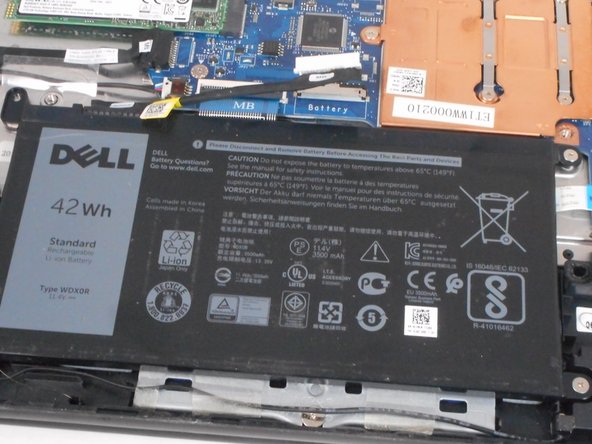
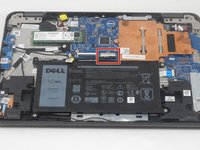
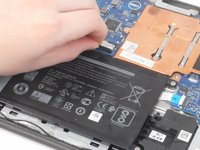
      • Before performing any operations within the laptop, unplug the battery.

      • Pull the white battery connector directly out of its motherboard port.

      • Do not pull on the wires.

      Ask FixBot

      Add Comment

    1. Dell Latitude 3189 Trackpad Replacement, Battery: step 5, image 1 of 2 Dell Latitude 3189 Trackpad Replacement, Battery: step 5, image 2 of 2
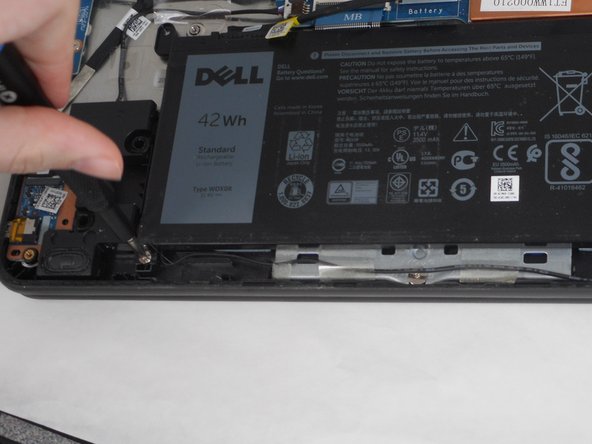
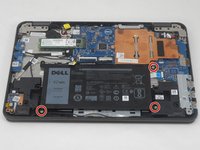
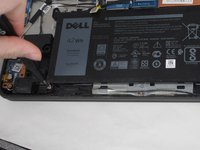
      • Use a Phillips #0 screwdriver to remove the three 3.2 mm screws that secure the battery.

      Ask FixBot

      Add Comment

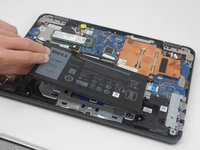
    2. Dell Latitude 3189 Trackpad Replacement: step 6, image 1 of 2 Dell Latitude 3189 Trackpad Replacement: step 6, image 2 of 2
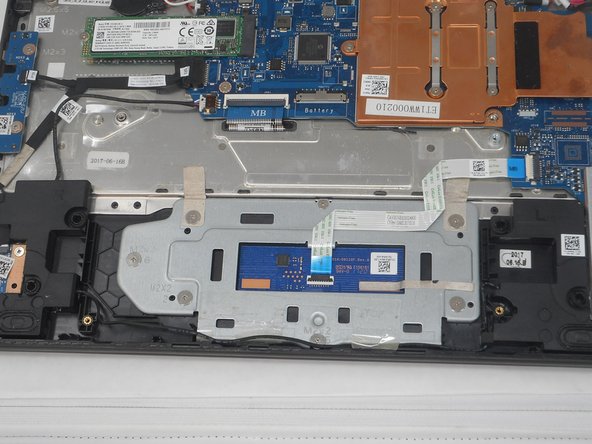
      • Grip the battery and lift it up and out of the chassis.

      Ask FixBot

      Add Comment

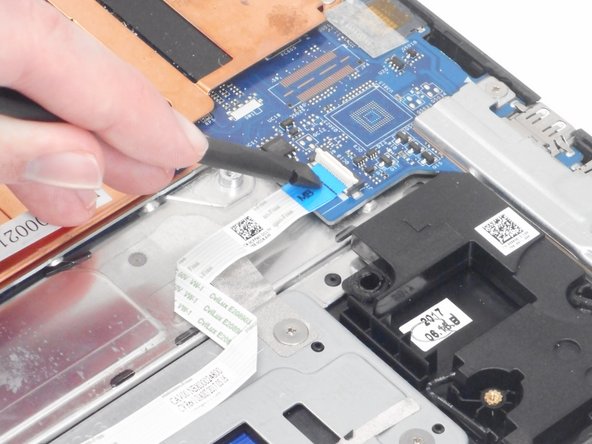
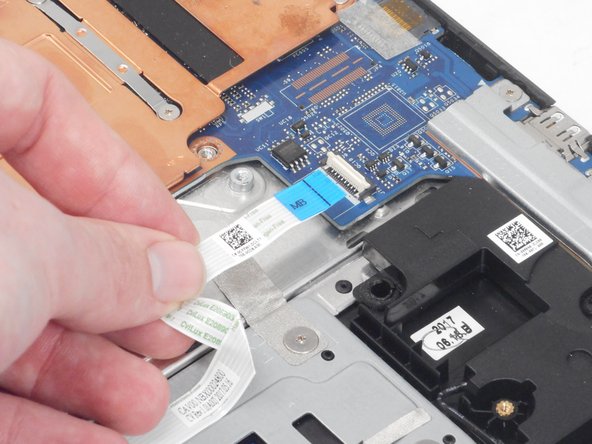
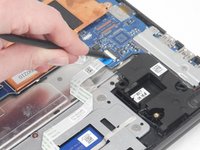
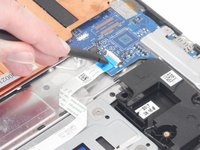
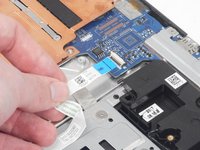
    1. Dell Latitude 3189 Trackpad Replacement, Trackpad: step 7, image 1 of 3 Dell Latitude 3189 Trackpad Replacement, Trackpad: step 7, image 2 of 3 Dell Latitude 3189 Trackpad Replacement, Trackpad: step 7, image 3 of 3
      • Flip up the white ZIF lock bar on the trackpad motherboard socket.

      • Make sure to only lift the flap and not the connector socket because the socket easily breaks off.

      • Gently pull the ribbon cable directly out of its motherboard socket.

      Ask FixBot

      Add Comment

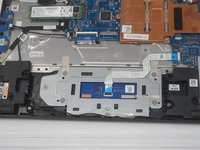
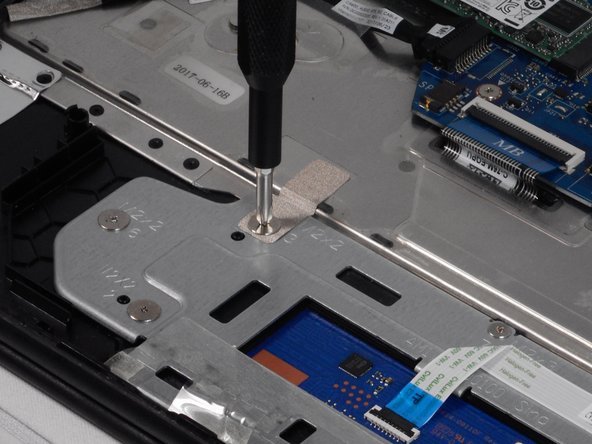
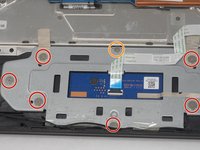
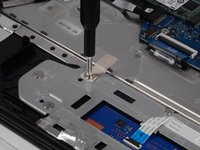
    2. Dell Latitude 3189 Trackpad Replacement: step 8, image 1 of 2 Dell Latitude 3189 Trackpad Replacement: step 8, image 2 of 2
      • Use a Phillips #1 screwdriver to remove the following screws:

      • Six 2.4 mm screws

      • The single 3.6 mm screw

      Ask FixBot

      Add Comment

    3. Dell Latitude 3189 Trackpad Replacement: step 9, image 1 of 1
      • Grip the the trackpad and lift it directly out of the chassis.

      Ask FixBot

      Add Comment

Conclusion

To reassemble your device, follow these instructions in reverse order.

Cancel: I did not complete this guide.

0 Guide Comments

Add Comment

View Statistics:

Past 24 Hours: 1

Past 7 Days: 11

Past 30 Days: 51

All Time: 374