Introduction
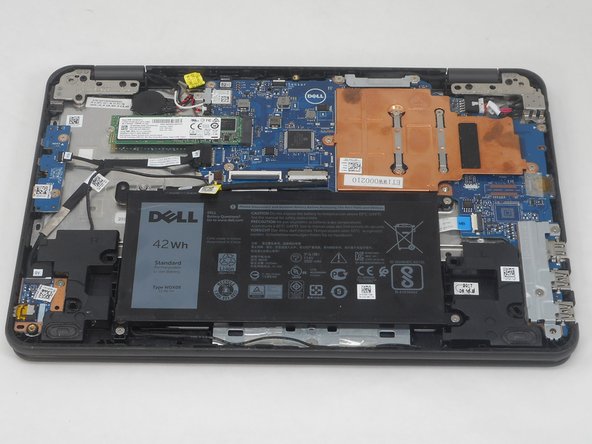
The SSD is the primary storage device for the operating system and personal files on the Dell Latitude 3189. Use this guide to replace the SSD if you have issues such as a faulty SSD, or if you simply need more space.
Exercise caution when removing and reinstalling the SSD, the port is fragile and the contact pins may be damaged if you use too much force when removing or reinserting. The SSD should not need to be tugged and should gently come out without resistance.
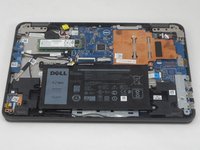
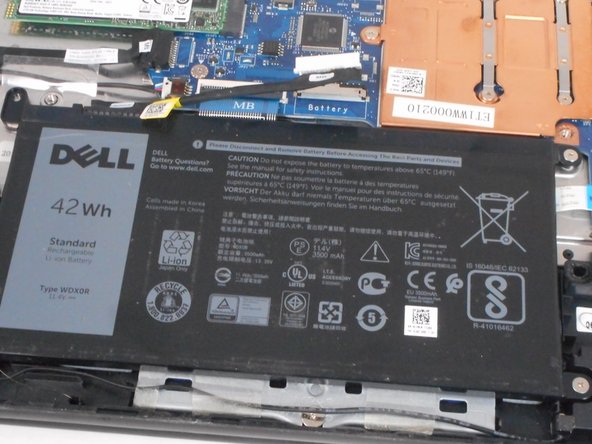
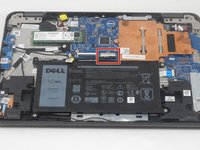
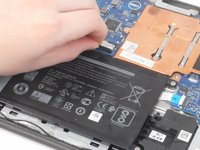
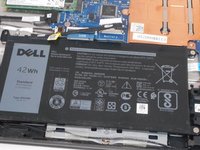
The prerequisite for this guide is the Base Cover Replacement Guide, as in order to access the SSD you will need to remove the base cover. Before using this guide, completely power down the device, and unplug any cords or devices in the ports.
What you need
-
-
-
Use a Phillips screwdriver to loosen the seven captive screws that secure the lower case.
 Ask FixBot
-
-
-
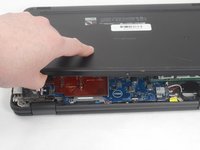
Insert a nylon spudger between the lower case and chassis at the two hinge spaces on the back side of the laptop and pry up the lower case.
-
-
-
-
-
-
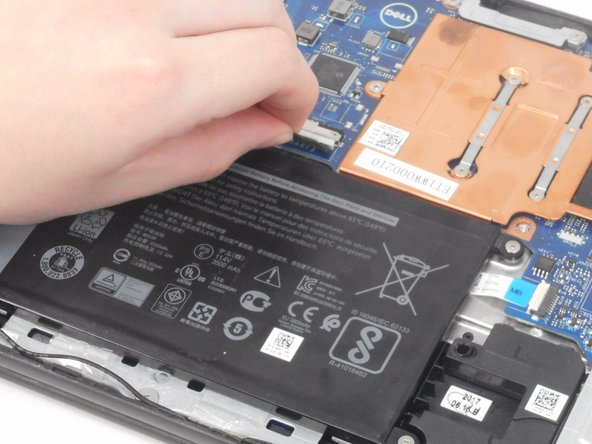
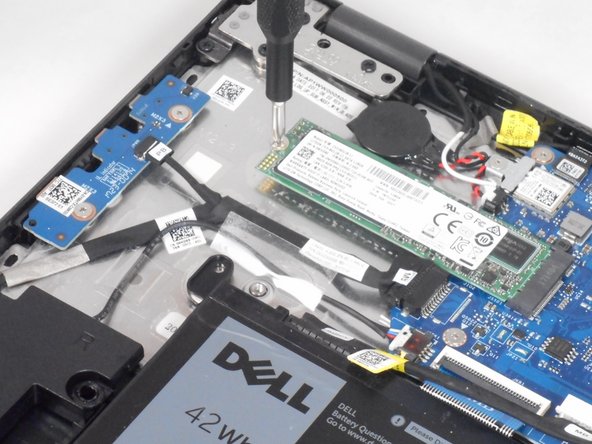
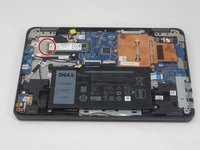
Use a Phillips screwdriver to remove the single 3.2 mm screw that secures the SSD.
-
-
-
Gently pull the SSD out of its socket, maintaining the same angle that it flipped up to.
-
-





To reassemble your device, follow these instructions in reverse order.
Cancel: I did not complete this guide.
3 other people completed this guide.

Team

University of Memphis, Team 2-3, Sneed Spring 2024 Member of University of Memphis, Team 2-3, Sneed Spring 2024
UM-SNEED-S24S2G3
4 Members
84 Guides authored
