Free Shipping on Domestic Orders $75+

Dell Latitude 3189 Power Jack Replacement

What you need

    1. Dell Latitude 3189 Power Jack Replacement, Lower Case: step 1, image 1 of 2 Dell Latitude 3189 Power Jack Replacement, Lower Case: step 1, image 2 of 2
      • Before beginning, power off and unplug the device.

      • Use a Phillips screwdriver to loosen the seven captive screws that secure the lower case.

      Ask FixBot

      Add Comment

    2. Dell Latitude 3189 Power Jack Replacement: step 2, image 1 of 3 Dell Latitude 3189 Power Jack Replacement: step 2, image 2 of 3 Dell Latitude 3189 Power Jack Replacement: step 2, image 3 of 3
      • Insert a nylon spudger between the lower case and chassis at the two hinge spaces on the back side of the laptop and pry up the lower case.

      • Do not use metal items to pry the base cover off, like a screwdriver, as it could slip and damage internal components.

      • Avoid prying at the ports.

      Ask FixBot

      Add Comment

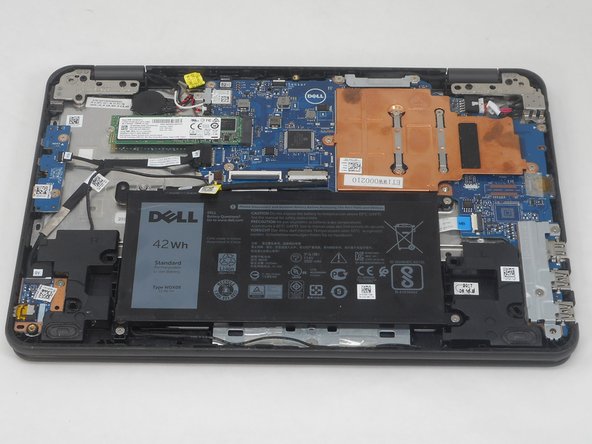
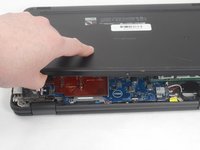
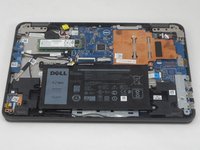
    3. Dell Latitude 3189 Power Jack Replacement: step 3, image 1 of 2 Dell Latitude 3189 Power Jack Replacement: step 3, image 2 of 2
      • Grip and lift the lower case up and away.

      • If you feel any significant resistance, double check that all of the screws are loosened.

      Ask FixBot

      Add Comment

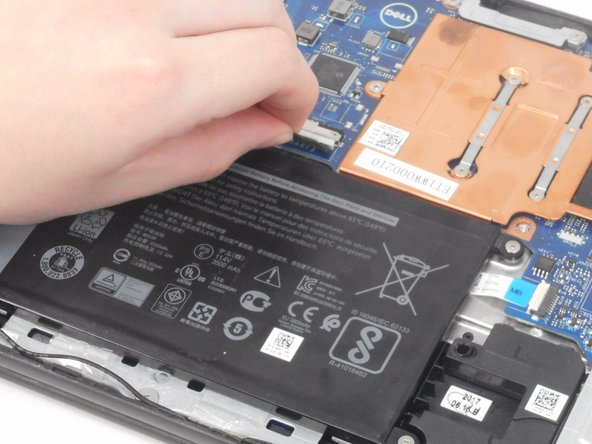
    4. Dell Latitude 3189 Power Jack Replacement: step 4, image 1 of 3 Dell Latitude 3189 Power Jack Replacement: step 4, image 2 of 3 Dell Latitude 3189 Power Jack Replacement: step 4, image 3 of 3
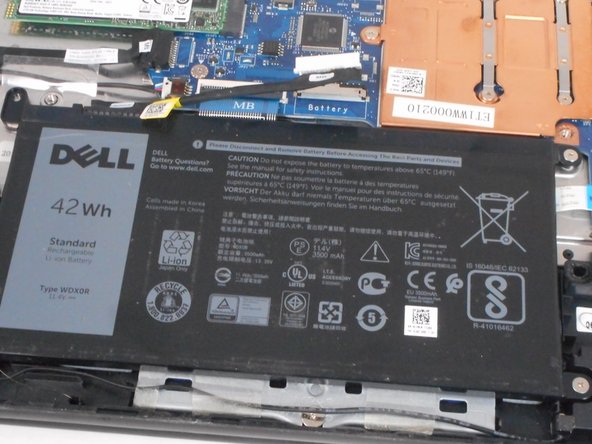
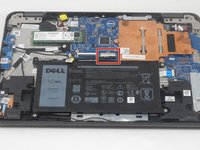
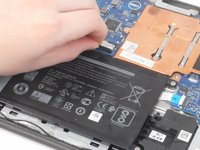
      • Before performing any operations within the laptop, unplug the battery.

      • Pull the white battery connector directly out of its motherboard port.

      • Do not pull on the wires.

      Ask FixBot

      Add Comment

    1. Dell Latitude 3189 Power Jack Replacement, Power Jack: step 5, image 1 of 1
      • Use a spudger to push the charging port connector directly out of its motherboard port.

      • The charging port is located in the top-right corner of the device, near the hinge.

      Ask FixBot

      Add Comment

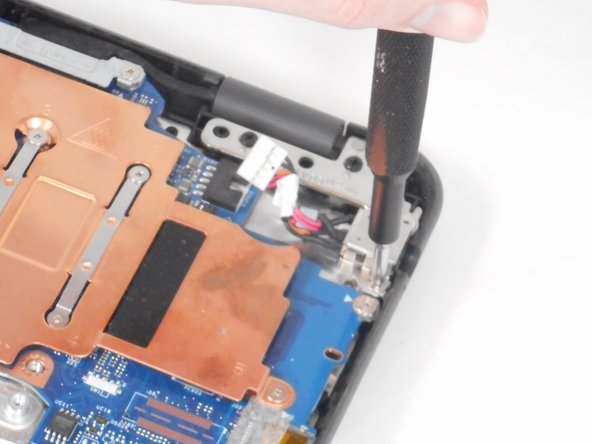
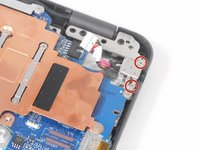
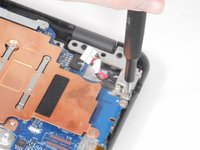
    2. Dell Latitude 3189 Power Jack Replacement: step 6, image 1 of 2 Dell Latitude 3189 Power Jack Replacement: step 6, image 2 of 2
      • Use a Phillips #0 screwdriver to remove the two 3.3 mm screws that secure the power jack to the chassis.

      Ask FixBot

      Add Comment

    3. Dell Latitude 3189 Power Jack Replacement: step 7, image 1 of 1
      • Slide and lift the power connector port away from the computer.

      Ask FixBot

      Add Comment

Conclusion

To reassemble your device, follow these instructions in reverse order.

Cancel: I did not complete this guide.

One other person completed this guide.

0 Guide Comments

Add Comment

View Statistics:

Past 24 Hours: 2

Past 7 Days: 5

Past 30 Days: 26

All Time: 521