Introduction
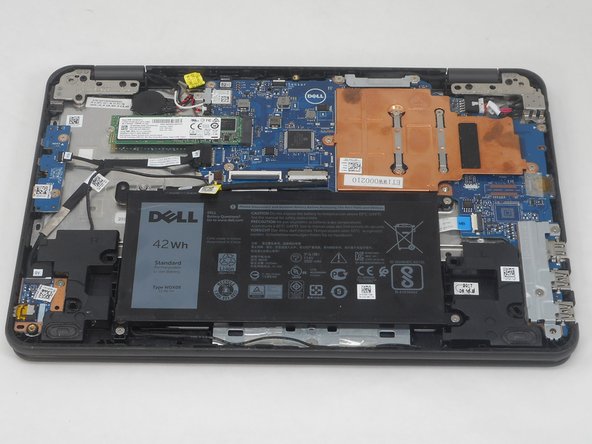
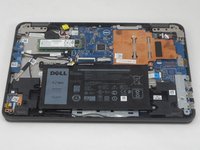
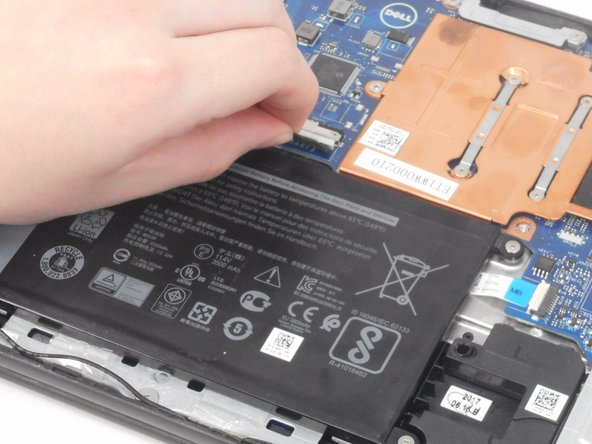
In order to perform any repairs in the Dell Latitude 3189, you will need to open up the base cover. Use this guide to open up the base cover in order to perform any internal repairs.
The screws on the base cover are captive, which means you won't have to track any screws for this guide. In step 2, when prying at the base cover to remove it, avoid using metal implements, such as a screwdriver, as you could slip and damage internal components.
Before using this guide, completely power down the device, and unplug any cords or devices in any ports.
What you need
-
-
-
Use a Phillips screwdriver to loosen the seven captive screws that secure the lower case.
 Ask FixBot
-
-
-
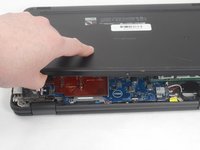
Insert a nylon spudger between the lower case and chassis at the two hinge spaces on the back side of the laptop and pry up the lower case.
-
-
-



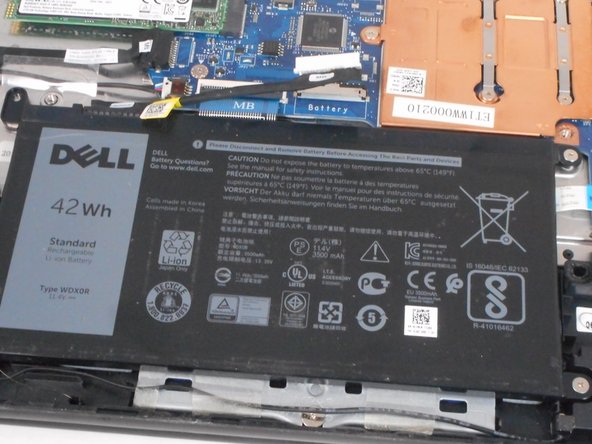
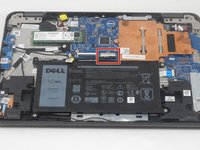
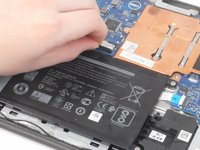
To reassemble your device, follow these instructions in reverse order.

Team

University of Memphis, Team 2-3, Sneed Spring 2024 Member of University of Memphis, Team 2-3, Sneed Spring 2024
UM-SNEED-S24S2G3
4 Members
84 Guides authored
