Introduction
This laptop has a strange engineering design. To change the Hard Disk drive you must fully disassemble it. There is not an HDD cover like on other laptops. In this manual we will show you how to do this.
What you need
Video Overview
-
-
-
Switch off the laptop and remove the battery.
-
The keyboard is held by 4x locking clips.
-
By using cutter, carefully lift up the one side of the keyboard and start opening the locking clips.
 Ask FixBot
-
-
-
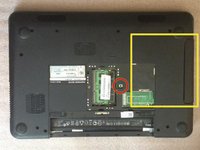
Remove the RAM memory cover and the DVD drive.
-
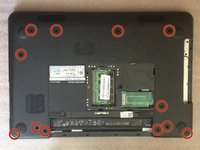
Now you have 12x M 2.5x5.0 screws.
-
-
-
Unscrew 4x M 2.5x5.0 screws and disconnect the 3x flex cables:
-
Power on flex cable
-
Mouse pad flex cable
-
Hot keys flex cable
-
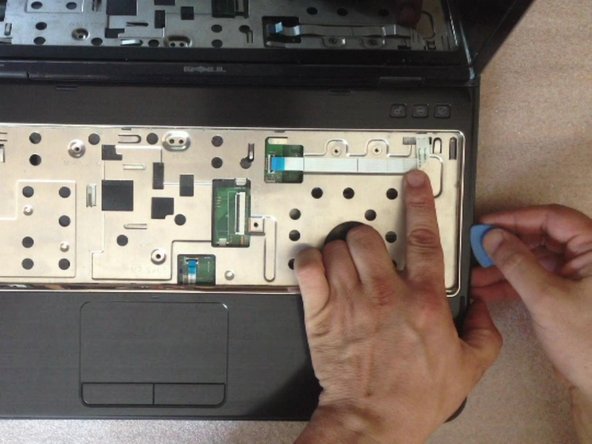
By using a plastic tool remove the upper case.
-
-
-
-
Disconnect:
-
The LCD display flex cable
-
The WiFi & Blue-tooth coaxial cables
-
The speaker connector.
-
Remove 4x M 2.5.0.5 screws from the Display module hinges.
-
Now you can remove the LCD display module.
-
-
-
5x M 2,5x5.0 screws hold the motherboard to the down bezel.
-
Be careful with these two connectors:
-
between motherboard and the additional charging port board,
-
between motherboard and the additional WiFi card slot, USB connectors board.
-
Start removing the motherboard from right side, near to the DVD drive connector.
-
-
-
Finally you can find the hard disk drive on the back side of the motherboard.
-
Remove the last two screws securing the hard drive.
-
-
-
When you are installing the new HDD, hold the SATA connector with one finger.
-
Now assemble the system. I hope everything was successful.
-
.
-
-







To reassemble your device, follow these instructions in reverse order.
Cancel: I did not complete this guide.
50 other people completed this guide.

Team

20 Guide Comments
My model seemed to be slightly different and I couldn't get the upper case off from the side. I started from the top left near the power button.
My model was also just a little different. There were two screws holding a bracket to the MB located on the upper edge of the hard drive in your final picture. I had to remove these two screws and then there were 4 screws mounting this bracket to the HD. Also there was some adhesive strips on the under side of the hard drive that stuck the HD to the MB. I had to slowly pull the hard drive from the SATA connector.
Well I think I will leave it to the experts
