Free Shipping on Domestic Orders $75+

Dell Inspiron N5050 Hard Drive Replacement

What you need

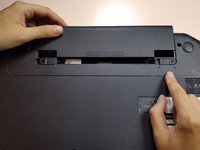
    1. Dell Inspiron N5050 Hard Drive Replacement, Battery: step 1, image 1 of 1
      • Flip your laptop over to view the bottom and the two locks.

      Ask FixBot

      Add Comment

    2. Dell Inspiron N5050 Hard Drive Replacement: step 2, image 1 of 1
      • Slide the two locks away from each other.

      • Sliding these locks will loosen the battery to allow removal.

      Ask FixBot

      Add Comment

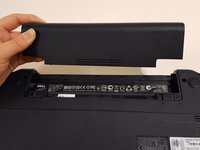
    3. Dell Inspiron N5050 Hard Drive Replacement: step 3, image 1 of 2 Dell Inspiron N5050 Hard Drive Replacement: step 3, image 2 of 2
      • Pull the battery out of the laptop.

      • Your laptop's battery should be completely removed.

      Ask FixBot

      Add Comment

    1. Dell Inspiron N5050 Hard Drive Replacement, Hard Drive: step 4, image 1 of 1
      • Remove the eleven 5mm palmrest screws from the bottom of the laptop with a Phillips #PH00 screw.

      • Remove the two 3mm hard drive screws from the bottom of the laptop with a Phillips #PH00 screw.

      Ask FixBot

      Add Comment

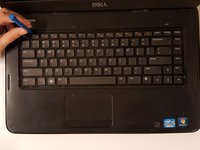
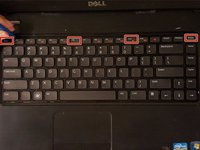
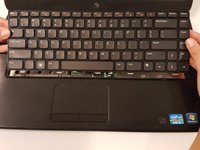
    2. Dell Inspiron N5050 Hard Drive Replacement: step 5, image 1 of 2 Dell Inspiron N5050 Hard Drive Replacement: step 5, image 2 of 2
      • Flip over and open the laptop to view the keyboard.

      • Use a plastic opening tool to press down on four clips, one by one.

      • Press down on the clips and pull the tool towards you to pry the keyboard loose.

      • The four clips are above the Esc, F6, F11, and Delete keys.

      Ask FixBot

      Add Comment

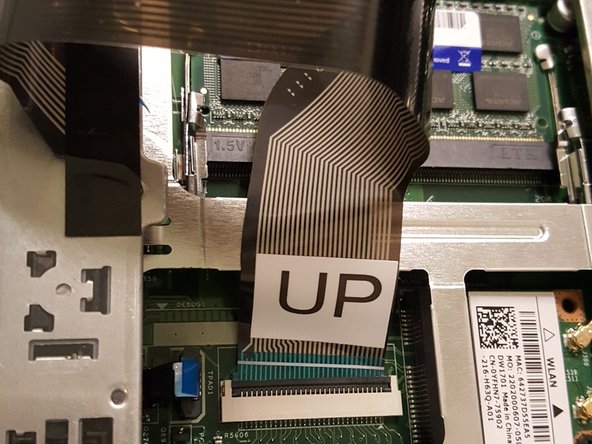
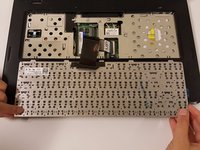
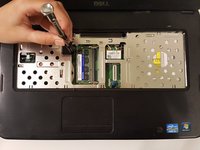
    3. Dell Inspiron N5050 Hard Drive Replacement: step 6, image 1 of 3 Dell Inspiron N5050 Hard Drive Replacement: step 6, image 2 of 3 Dell Inspiron N5050 Hard Drive Replacement: step 6, image 3 of 3
      • Remove the keyboard carefully.

      • Make sure to lift the keyboard gently, because a cable is connected to the back.

      • Flip the keyboard over to find the keyboard cable.

      • Pull the cable labeled "UP" out to disconnect it from the laptop.

      Ask FixBot

      Add Comment

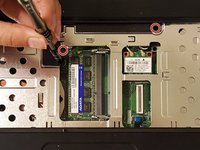
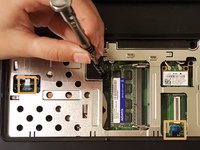
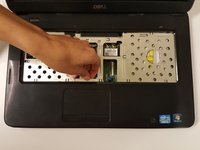
    4. Dell Inspiron N5050 Hard Drive Replacement: step 7, image 1 of 3 Dell Inspiron N5050 Hard Drive Replacement: step 7, image 2 of 3 Dell Inspiron N5050 Hard Drive Replacement: step 7, image 3 of 3
      • Unscrew the two palmrest screws.

      • Lift the two, blue palmrest cables up and out of their sockets.

      Ask FixBot

      Add Comment

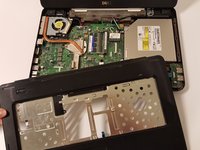
    5. Dell Inspiron N5050 Hard Drive Replacement: step 8, image 1 of 2 Dell Inspiron N5050 Hard Drive Replacement: step 8, image 2 of 2
      • Lift the entire surface (palmrest casing) to expose the motherboard underneath.

      Ask FixBot

      Add Comment

    6. Dell Inspiron N5050 Hard Drive Replacement: step 9, image 1 of 1
      • Slide the hard drive right and up to remove it from the laptop.

      Ask FixBot

      Add Comment

Conclusion

To reassemble your device, follow these instructions in reverse order.

Cancel: I did not complete this guide.

11 other people completed this guide.

4 Guide Comments

Thanks again. This guide was made straightforward and clear.

jason acn - Reply Share

Thanks you - The clear instructions make this guide easy to follow.

Jay - Reply Share

wouldnt turn on after i re-assembled it

Taemon Coolz - Reply Share

Sehr gute Arbeit

pouchman - Reply Share

Add Comment

View Statistics:

Past 24 Hours: 1

Past 7 Days: 12

Past 30 Days: 70

All Time: 7,977