Free Shipping on Domestic Orders $75+

Dell Inspiron M5110 Hard Drive Replacement

What you need

    1. Dell Inspiron M5110 Hard Drive Replacement, Hard Drive: step 1, image 1 of 1
      • Shut down the computer and turn it upside down.

      Ask FixBot

      Add Comment

    2. Dell Inspiron M5110 Hard Drive Replacement: step 2, image 1 of 1
      • Slide both of the battery release latches on the bottom of the device in towards the center of the computer.

      Ask FixBot

      Add Comment

    3. Dell Inspiron M5110 Hard Drive Replacement: step 3, image 1 of 1
      • Slide and lift the battery up and out from the device.

      Ask FixBot
      Add Comment

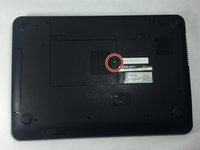
    4. Dell Inspiron M5110 Hard Drive Replacement: step 4, image 1 of 2 Dell Inspiron M5110 Hard Drive Replacement: step 4, image 2 of 2
      • Remove the 5 mm Phillips # 0 screw in the middle of the device.

      Ask FixBot
      Add Comment

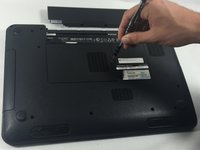
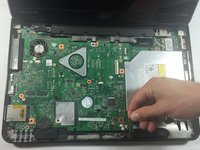
    5. Dell Inspiron M5110 Hard Drive Replacement: step 5, image 1 of 1
      • Remove the module cover pressing in the release tabs and pulling the cover up and away from the base of the device.

      Ask FixBot
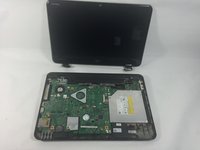
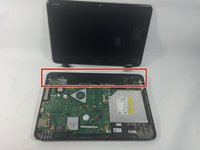
      Add Comment

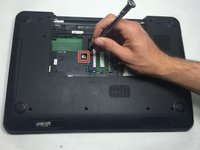
    6. Dell Inspiron M5110 Hard Drive Replacement: step 6, image 1 of 2 Dell Inspiron M5110 Hard Drive Replacement: step 6, image 2 of 2
      • Insert a small screwdriver into the hole and slide the optical drive away from the center of the device. This will slide the optical assembly out from the side of the device.

      Ask FixBot

      Add Comment

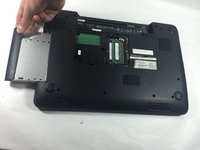
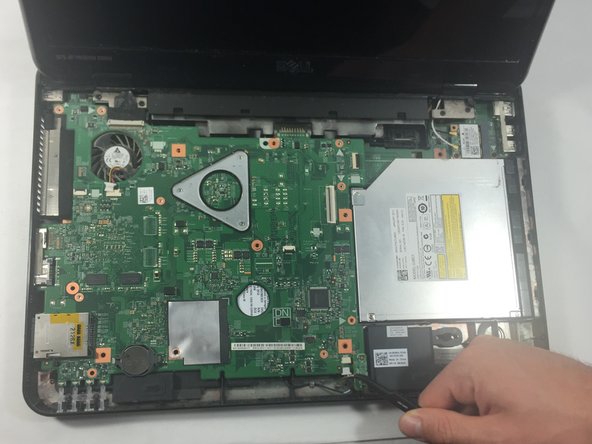
    7. Dell Inspiron M5110 Hard Drive Replacement: step 7, image 1 of 1
      • Slide the optical drive assembly the rest of the way out of the device.

      Ask FixBot
      Add Comment

    8. Dell Inspiron M5110 Hard Drive Replacement: step 8, image 1 of 1
      • Flip the laptop over and open it to reveal the keyboard.

      • Open the computer and push the screen back as far as possible.

      Ask FixBot

      Add Comment

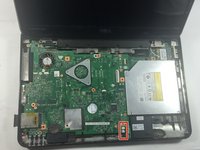
    9. Dell Inspiron M5110 Hard Drive Replacement: step 9, image 1 of 1
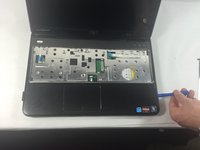
      • Slide a plastic opening tool into the slots on the top of the keyboard.

      Ask FixBot
      Add Comment

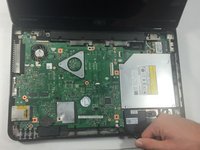
    10. Dell Inspiron M5110 Hard Drive Replacement: step 10, image 1 of 1
      • Pry the keyboard away from the device using the plastic opening tool.

      Ask FixBot
      Add Comment

    11. Dell Inspiron M5110 Hard Drive Replacement: step 11, image 1 of 1
      • Lift and slide the keyboard towards the screen to remove the tabs on the keyboard from the slots on the palmrest.

      Ask FixBot

      Add Comment

    12. Dell Inspiron M5110 Hard Drive Replacement: step 12, image 1 of 1
      • Flip the keyboard over and place it on the front of the device making sure not to pull out the keyboard cable.

      Ask FixBot

      Add Comment

    13. Dell Inspiron M5110 Hard Drive Replacement: step 13, image 1 of 1
      • Lift up the connector latch and remove the keyboard cable. The keyboard is now free from the device.

      Ask FixBot

      Add Comment

    14. Dell Inspiron M5110 Hard Drive Replacement: step 14, image 1 of 1
      • Turn the computer over and remove the twelve 5 mm Phillips # 0 screws on the back of the device.

      Ask FixBot

      Add Comment

    15. Dell Inspiron M5110 Hard Drive Replacement: step 15, image 1 of 1
      • Turn the computer over and open the display as far as possible and remove the four 5 mm Phillips # 0 screw holding the palmrest in place.

      Ask FixBot

      Add Comment

    16. Dell Inspiron M5110 Hard Drive Replacement: step 16, image 1 of 2 Dell Inspiron M5110 Hard Drive Replacement: step 16, image 2 of 2
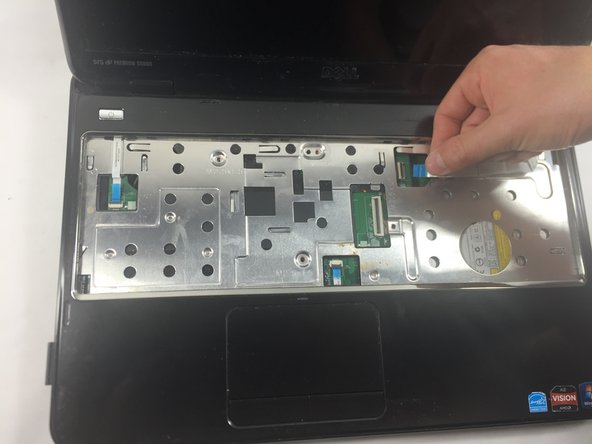
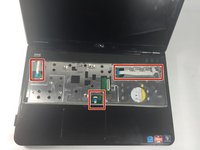
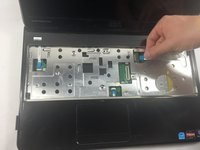
      • Disconnect the power button board cable, touch pad cable and the hot key board cable from the connectors.

      Ask FixBot

      Add Comment

    17. Dell Inspiron M5110 Hard Drive Replacement: step 17, image 1 of 2 Dell Inspiron M5110 Hard Drive Replacement: step 17, image 2 of 2
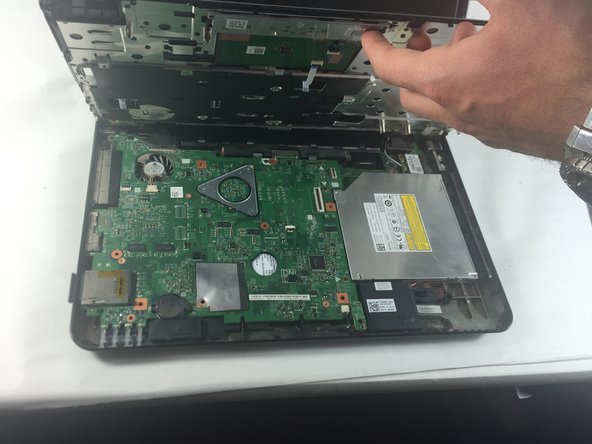
      • Use a plastic opening tool to carefully pry out the palmrest assembly and lift it off the computer base.

      Ask FixBot

      Add Comment

    18. Dell Inspiron M5110 Hard Drive Replacement: step 18, image 1 of 1
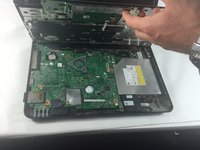
      • Unscrew the five 5 mm Phillips # 0 screws located in the red circles, found on the system board.

      Ask FixBot

      Add Comment

    19. Dell Inspiron M5110 Hard Drive Replacement: step 19, image 1 of 2 Dell Inspiron M5110 Hard Drive Replacement: step 19, image 2 of 2
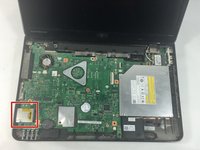
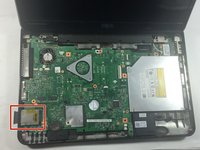
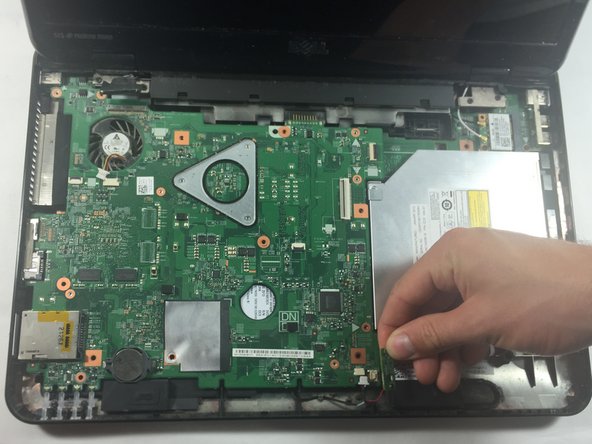
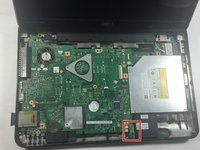
      • Unplug the small, green, rectangular Bluetooth receptor chip attached towards the bottom right hand corner of the system board.

      • Grasp the chip by placing your forefinger under the chip and thumb on the top, lightly pulling the chip upwards away from the device.

      Ask FixBot

      Add Comment

    20. Dell Inspiron M5110 Hard Drive Replacement: step 20, image 1 of 2 Dell Inspiron M5110 Hard Drive Replacement: step 20, image 2 of 2
      Tool used on this step:
      Tweezers
      $4.99
      Buy
      • Unplug the small white cable connected to the speaker in the lower right hand corner of the device.

      • Use tweezers to unplug the cable if it is hard to remove by hand or if you cannot grasp it.

      Ask FixBot

      Add Comment

    21. Dell Inspiron M5110 Hard Drive Replacement: step 21, image 1 of 2 Dell Inspiron M5110 Hard Drive Replacement: step 21, image 2 of 2
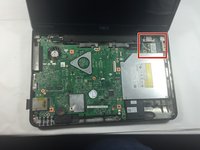
      • Disconnect the black and white antenna cables from the Mini Card.

      Ask FixBot

      Add Comment

    22. Dell Inspiron M5110 Hard Drive Replacement: step 22, image 1 of 1
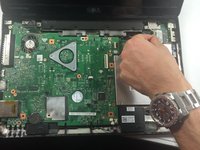
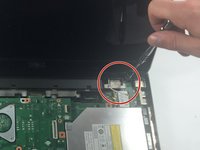
      • Unplug the rectangular black LCD cable attached to the system board towards the upper left hand corner.

      Ask FixBot

      Add Comment

    23. Dell Inspiron M5110 Hard Drive Replacement: step 23, image 1 of 2 Dell Inspiron M5110 Hard Drive Replacement: step 23, image 2 of 2
      • Remove the SD card by pressing the SD card slot, on the side of the device, inside the device until you hear a click. Then release your pressure on the slot then gently slide the SD card out.

      Ask FixBot

      Add Comment

    24. Dell Inspiron M5110 Hard Drive Replacement: step 24, image 1 of 2 Dell Inspiron M5110 Hard Drive Replacement: step 24, image 2 of 2
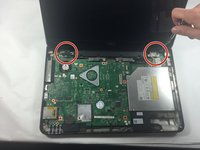
      • There are two 5 mm Phillips # 0 screws on each hinge.

      • Unscrew the four 5 mm Phillips # 0 screws holding the hinge that keeps the monitor in place.

      Ask FixBot

      Add Comment

    25. Dell Inspiron M5110 Hard Drive Replacement: step 25, image 1 of 3 Dell Inspiron M5110 Hard Drive Replacement: step 25, image 2 of 3 Dell Inspiron M5110 Hard Drive Replacement: step 25, image 3 of 3
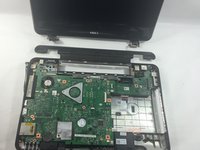
      • Remove the monitor carefully.

      • Pull up and away on the black hinge cover with moderate force to release from the device.

      Ask FixBot

      Add Comment

    26. Dell Inspiron M5110 Hard Drive Replacement: step 26, image 1 of 3 Dell Inspiron M5110 Hard Drive Replacement: step 26, image 2 of 3 Dell Inspiron M5110 Hard Drive Replacement: step 26, image 3 of 3
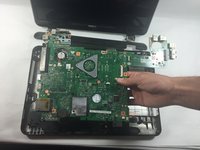
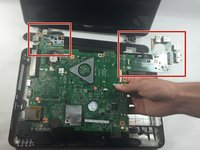
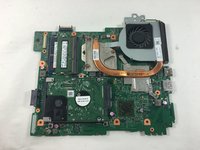
      • Remove the system board from the laptop.

      • Disconnect the two minor boards, the VGA/Power Board on the left, and the I/O Board on the right, attatched to the system board.

      • Flip the system board over revealing the fan compartment and the hard drive.

      Ask FixBot

      Add Comment

    27. Dell Inspiron M5110 Hard Drive Replacement: step 27, image 1 of 1
      • Remove the two 5 mm Phillips # 0 screws holding in place the hard drive.

      Ask FixBot

      Add Comment

    28. Dell Inspiron M5110 Hard Drive Replacement: step 28, image 1 of 1
      • Pull gently on the end of the hard drive that is farthest away from the fan, it will come out easily.

      Ask FixBot

      Add Comment

Conclusion

To reassemble your device, follow these instructions in reverse order.

Cancel: I did not complete this guide.

5 other people completed this guide.

Larain

Member since: 10/26/16

411 Reputation

3 Guides authored

Team

UMass Dartmouth, Team 4-3, Catania Fall 2016 Member of UMass Dartmouth, Team 4-3, Catania Fall 2016

UMASSD-CATANIA-F16S4G3

3 Members

96 Guides authored

2 Guide Comments

Thanks, a perfect manual,

Jo Henkens - Reply Share

Fantastic - perfect step-by-step. Thank you for providing this.

Troy Kelso - Reply Share

Add Comment

View Statistics:

Past 24 Hours: 1

Past 7 Days: 7

Past 30 Days: 34

All Time: 3,490