Introduction
This guide will show you how to replace the motherboard in a Dell Inspiron E1705.
You might need this repair if your laptop won't power on at all, fails the startup self-check, suffers from no video output, has dead or unresponsive USB and audio ports, or experiences persistent overheating and random shutdowns. A failed motherboard is often the issue when multiple systems fail at once or when other repairs haven't solved the problem.
Successfully replacing the motherboard should resolve any of the issues above, if they stem from the board itself and not a separate failed component like RAM or a GPU.
One thing worth knowing going in: the E1705 is a larger, older machine, which actually works in your favor. Compared to modern notebooks, there's more physical room to work, and the screws and connectors are a little easier to work with. The board is deeply integrated into the chassis, so the repair does involve removing nearly every other major component first before you can access the board itself.
What you need
-
-
-
-
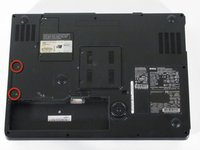
Remove the two Phillips #1 screws on the left side of the computer, just above the battery compartment.
-
-
-
-
-
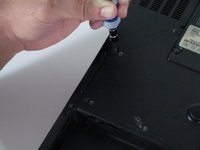
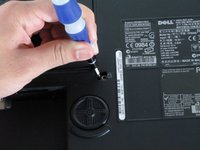
Locate and remove the screw shown
-
It is labeled with a lock symbol
-
-
-
-
-
-
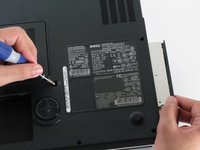
Remove the 12 Phillips #1 screws from the edges of the lower case.
-
You may also need to remove the central screw next to the lock icon.
-
-
-
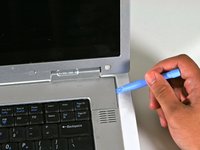
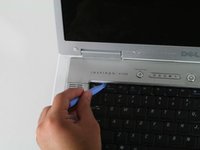
Turn the computer back over and tilt the screen open.
-
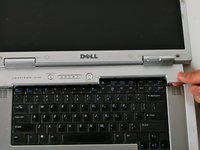
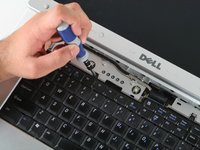
Use the plastic opening tool to carefully pry the panel out as shown in the pictures
-
-
-
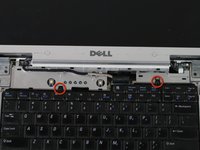
Use the small Phillips head screwdriver to remove the screws circled in red.
-
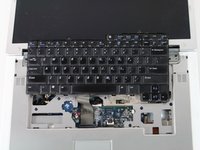
Gently lift the keyboard up and rest it just below the screen as shown in the picture.
-
The keyboard will still be connected to the motherboard.
-
-
-
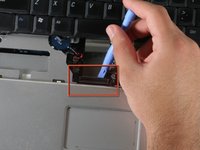
Before removing the keyboard completely, use the plastic opening tool to gently lift the clamp connecting the keyboard to the motherboard.
-
Once the keyboard has been disconnected, remove the keyboard completely.
-
-
-
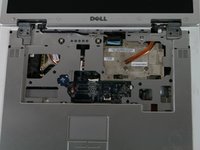
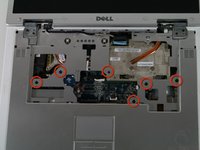
Using a Phillips head screwdriver, remove the screws shown in the image. They all have the letter "P" next to them.
-
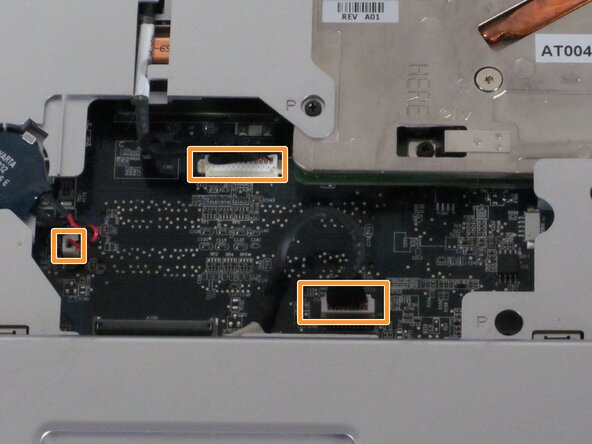
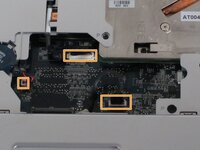
Carefully unplug the connections shown.
-
Also, the wireless cables on the right side may prevent moving the upper case out of the way.
-
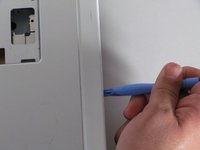
Once the screws have been removed and the connections unplugged, use the plastic opening tool to gently separate the panel from the lower case.
-
-
-
Remove the plastic case by gently bending back towards the screen. You can bend the screen all the way back if that helps.
-
-
-
-
-
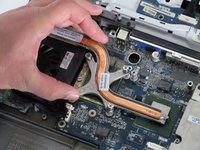
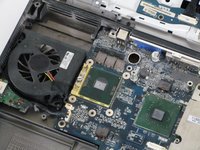
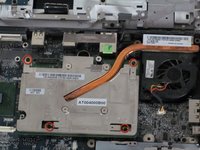
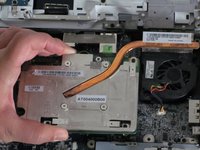
Remove the 4 screws indicated in the first picture
-
Gently lift up the videocard and heat sync from the motherboard.
-
-
-
-
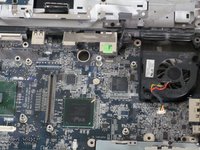
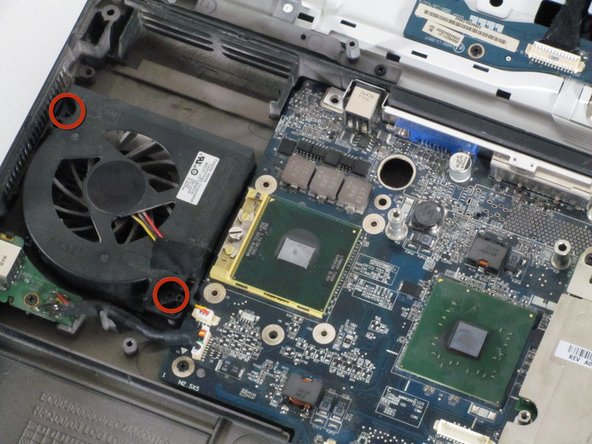
Remove both fans from the computer. This will make it easier to remove the motherboard.
-
-
-
Remove the four screws holding the motherboard to the chassis.
-
Detach the connectors from the motherboard.
-
-
-
Carefully angle the board to disengage the I/O ports from the side of the chassis.
-
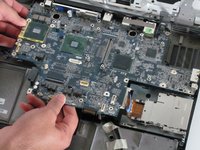
Gently remove the motherboard from the laptop by simultaneously lifting and pulling away from the sides.
-
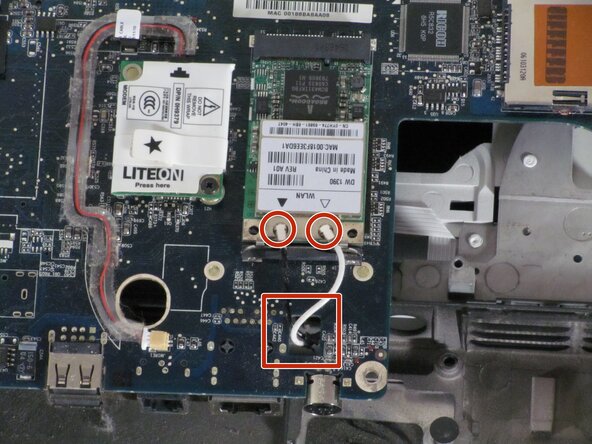
Once the motherboard is free, flip it over toward the laptop's screen and gently remove the black-and-white wire from the wireless card.
-
Once the wires are disconnected, pull them through the hole and completely remove the motherboard from the computer.
-
-

 Ask FixBot





















To reassemble your device, follow these instructions in reverse order.
Cancel: I did not complete this guide.
5 other people completed this guide.

Team

Cal Poly, Team 22-5, Maness Fall 2010 Member of Cal Poly, Team 22-5, Maness Fall 2010
CPSU-MANESS-F10S22G5
4 Members
108 Guides authored
