
Dell Inspiron 8600 Upper Case Replacement

John Nesthus and 6 other contributors
Last updated on Jan 28, 2014
Views: 3.2K
View statistics:
- Past 24 Hours:
- 1
- Past 7 Days:
- 29
- Past 30 Days:
- 107
- All Time:
- 3,210
Comments: 1
1 comment on steps.
Completed: 1 2
1 person has marked this guide "completed." Will you be next?
2 people have marked this guide "completed." Including you — great job!
Favorites: 3 4
3 people have favorited (and subscribed to) this guide. Will you be next?
4 people have favorited (and subscribed to) this guide — including you!
Action Shots
Be an action hero! This guide needs images that better demonstrate how to perform specific actions.
Needs More Images
A few more images would make this guide's procedures crystal clear.
Incorrect Tools
Help make this guide better by using the correct tools in images and/or text.
Missing Steps
Oops! This guide is currently missing one or more important steps.
Introduction
Go to step 1 ↓We will show you how to remove the display module which will then allow you to remove the upper case.
What you need
Tools

-
-
-
-
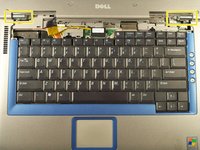
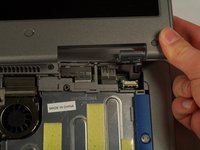
Insert a spudger into the notch at the far left side of the top blue panel and pry the hinge cover off.
-
You may need to pry the other side off as well. You can do this by inserting the spudger between the hinge and the top cover.
-
-
-
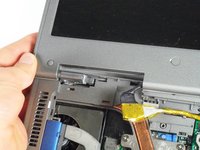
Pull the small black tab on the right hand side of the laptop.
-
You have now removed the hinge cover.
-
-
-
-
-
-
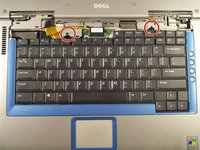
Using the Phillips #1 remove the screws at the top of the keyboard as indicated.
-
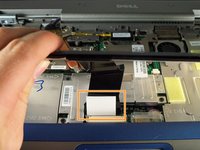
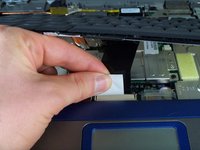
You will need to pull out the white tab underneath the keyboard upwards until it pops out of its socket.
-
-
-
-
-
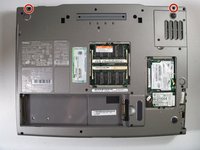
Flip the laptop over and remove the indicated screws.
-
Flip the laptop back over.
-
Find the two places where the display module is attached to the base of the computer.
-
-
-
Disconnect the video card from the display module by gently lifting upwards on the black tab.
-
-
-
-
-
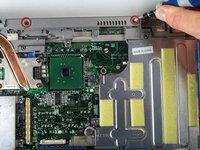
Remove the two screws that hold the upper case.
-
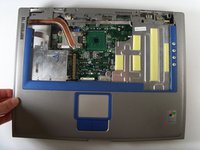
You can now pop up the upper case and replace.
-
-

 Ask FixBot








To reassemble your device, follow these instructions in reverse order.
Cancel: I did not complete this guide.
One other person completed this guide.

Team

Cal Poly, Team 18-22, Garner Spring 2011 Member of Cal Poly, Team 18-22, Garner Spring 2011
CPSU-GARNER-S11S18G22
4 Members
180 Guides authored
