Introduction
If you find your applications are running slowly or frequently crashing, your RAM module may be outdated or faulty. This guide demonstrates how to replace the RAM module in your Dell Inspiron 7348.
Before you begin, make sure to power off and disconnect your computer from the charging adapter. Also, make sure that you clear your working space of any liquids nearby.
What you need
-
-
-
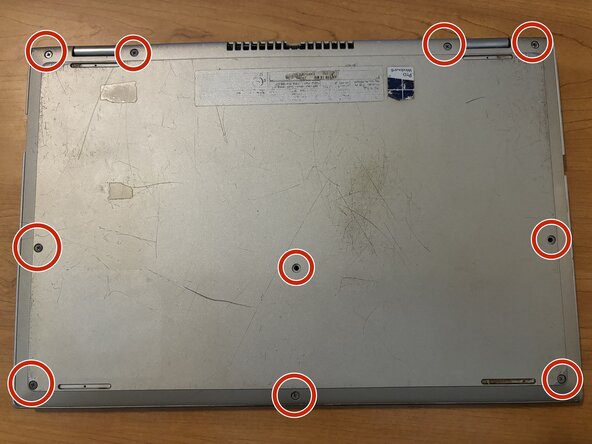
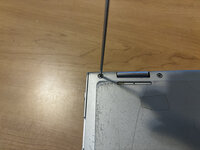
Use a Phillips #0 screwdriver to remove ten 7mm screws from the back cover of the laptop.
 Ask FixBot
-
-
-
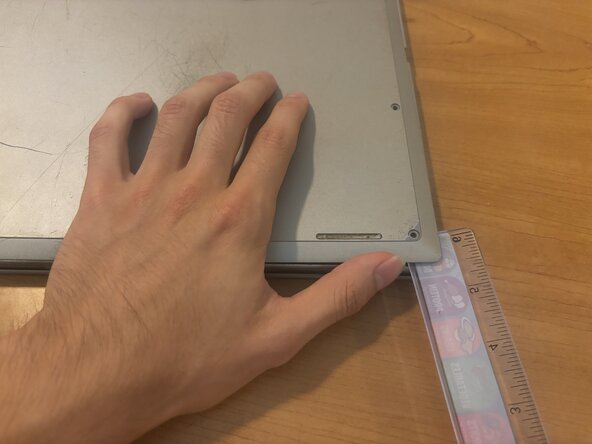
Insert a plastic prying tool into the gap between the back cover and the base of the laptop.
-
Gently pry open the back cover by pushing the tool upwards.
-
-
-
-
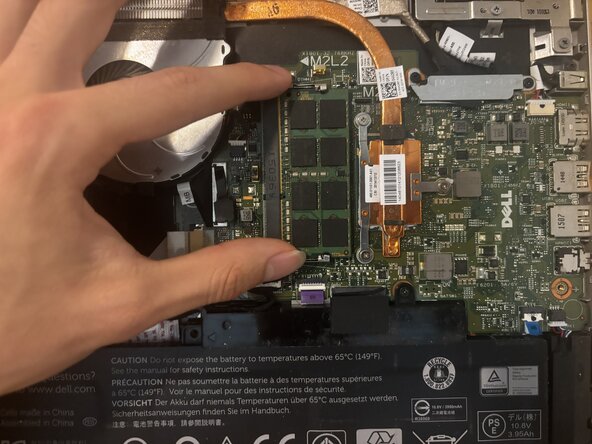
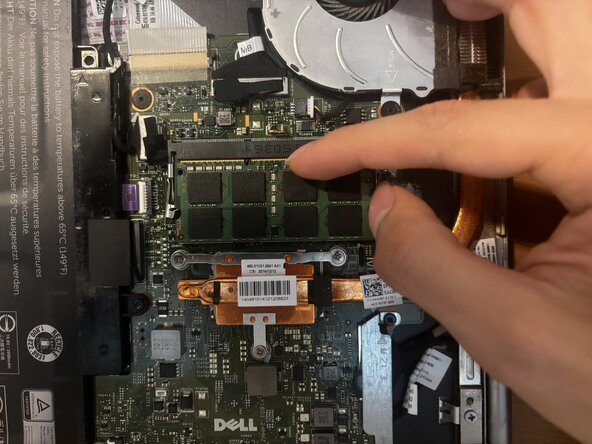
Insert the replacement module in the same position as the old module.
-
Push down on the module gently until the metal prongs audibly pop into place. The sound means that the module is secure.
-
-
-
Place the back cover back onto the latop.
-
Press down on the edges to make sure the back cover is secure. If the back cover is not fully sealed, objects can enter the gap and damage the hardware.
-
Reinstall the screws into the same locations as before.
-
-
-
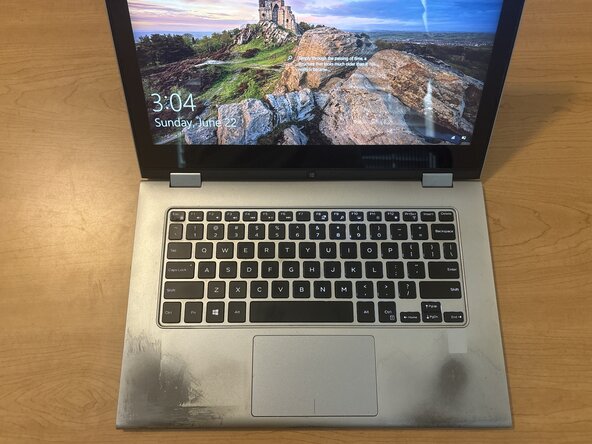
Boot up your laptop and voila! Your computer should be back up and running with renewed vigor in the RAM performance.
-
-




To reassemble your device, follow these instructions in reverse order. Take your e-waste to an R2 or e-Stewards certified recycler.

Team

Austin Community College, Team 1-2, Kapoor Summer 2025 Member of Austin Community College, Team 1-2, Kapoor Summer 2025
AUSTINCC-KAPOOR-SU25S1G2
1 Member
12 Guides authored
