
Dell Inspiron 531 Graphics Card Replacement

Scott Havard and 2 other contributors
Last updated on Jul 28, 2022
Views: 2K
View statistics:
- Past 24 Hours:
- 3
- Past 7 Days:
- 13
- Past 30 Days:
- 100
- All Time:
- 2,008
Comments: 0
No one has left comments on this guide. Will you be first?
Go to guide commentsCompleted: 0 1
No one has marked this guide "completed." Will you be the first?
1 person has marked this guide "completed." It's you — great job!
Favorites: 0 1
No one has favorited (and subscribed to) this guide. Will you be the first?
1 person has favorited (and subscribed to) this guide — and that's you!
Community-Contributed Guide
An awesome member of our community made this guide. It was not created by iFixit staff.
Introduction
Go to step 1 ↓Are you trying to enhance your Dell Inspiron's graphics capabilities? Use this guide to replace your graphics card and let the visual splendor begin.
What you need
Tools
-
M3 Hex Nut Standoff Driver
This driver is optional. It can be used to remove the Hex Nut Standoffs that hold the VGA and DVI adaptors into place.
-
Needle Nose Pliers Available for sale on Home Depot
The pliers can be used to remove the hex nut standoffs that hold the VGA and DVI adaptors into place. This replaces the M3 Hex Nut Standoff Driver.


-
-
-
Place the desktop on its side. Make sure to place the computer on a soft but firm surface.
-
Locate and remove the two screws that secure the side panel to the desktop:
-
Two 1/4" Phillips/slotted combination screws.
 Ask FixBot
-
-
-
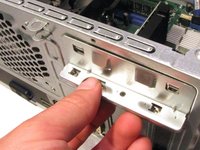
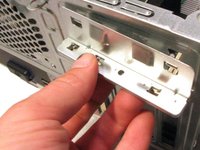
The graphics card is attached to the back of the desktop.
-
-
-
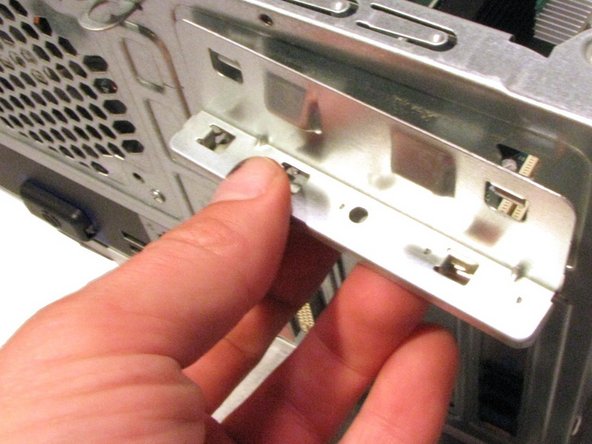
Remove the screw that secures the support bracket:
-
One 1/4" Phillips screw
-
-
-
-
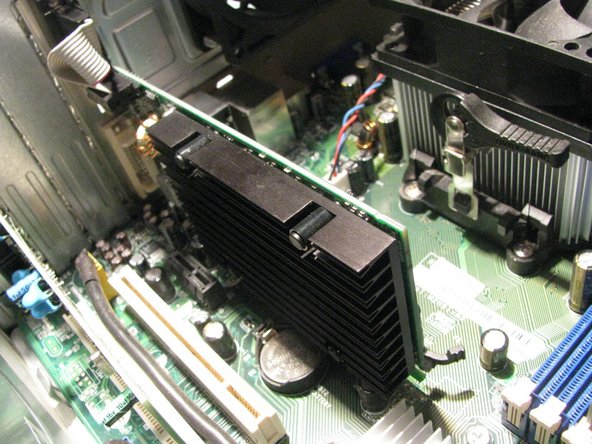
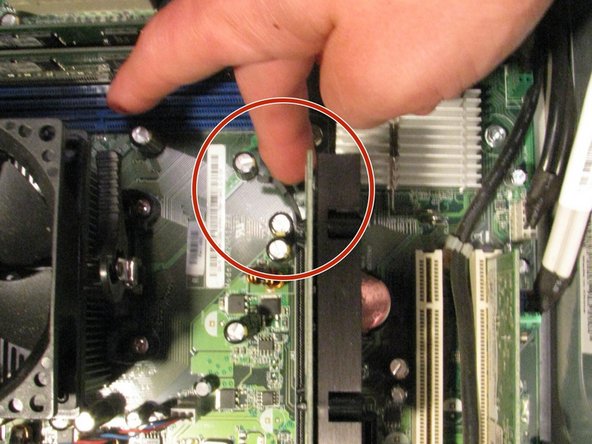
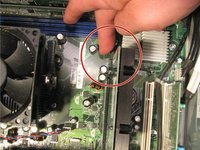
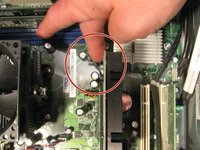
Locate the push tab that locks the graphics card into place.
-
Push the tab away from the graphics card and towards the fan.
-
Hold the tab in this position through step 7.
-
-
-
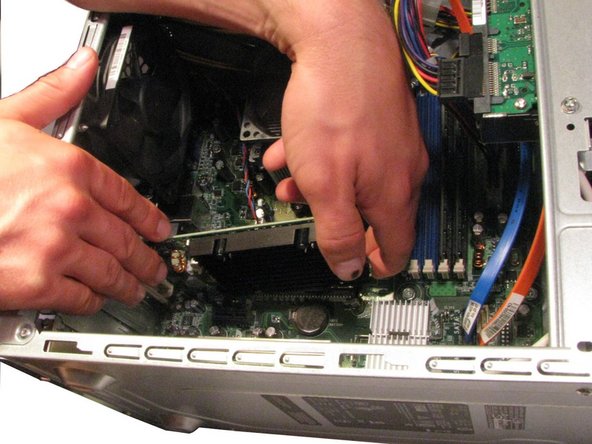
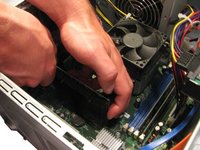
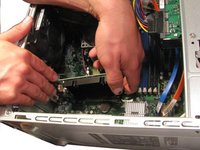
Keep the tab pushed away from the graphics card (see Step 6).
-
Gently lift the graphics card up and out of the desktop.
-
-






To reassemble your device, follow these instructions in reverse order.

