Introduction
If your Dell Inspiron (17R-N7010) is easily overheating or you don’t hear the fan running when it normally would be, it is time to replace the fan, and this guide will demonstrate how to do so.
The fan protects your computer from overheating and potentially damaging internal components. It is essential that this part be working correctly to lengthen the life of your computer.
What you need
-
-
-
Flip over the laptop so the back is facing upwards.
-
Locate the battery compartment.
 Ask FixBot
-
-
-
Slide both locks away from the center of the battery.
-
After you hear a click, pull out the battery.
-
-
-
-
-
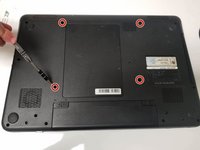
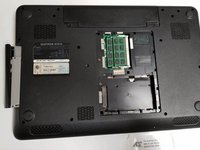
Remove the four screws from the back panel.
-
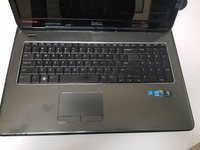
Flip the laptop over and open it to view the keyboard.
-
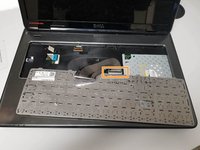
Disconnect the keyboard from the laptop by lifting up the latch holding the ribbon cable in place.
-
-
-
-
Close the laptop and flip it over so the bottom is facing upwards.
-
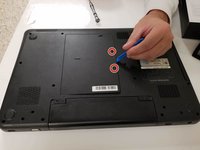
Remove the two screws from the small panel.
-
Remove the small back panel.
-
Slide the CD drive out of the laptop.
-
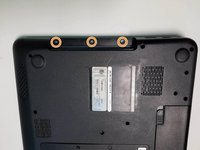
Remove the three screws from the CD drive slot.
-
-
-
Remove the top cover by inserting a spudger under the surface.
-
Working clockwise, pry upwards with the spudger to detach the clips.
-
-
-
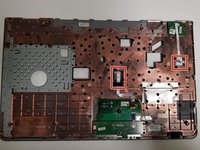
Disconnect the ribbon cables.
-
Remove the cover to access the inner hardware of the laptop.
-
-
-
-
-
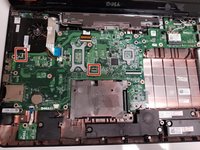
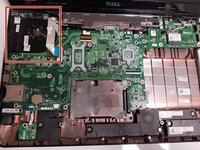
Locate the fan at the top left corner.
-
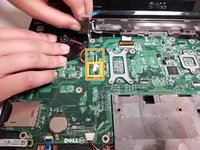
Remove the fan by disconnecting the coupled wires from the white port.
-
Disconnect the wire strip by lifting up the latch holding the wire in place.
-
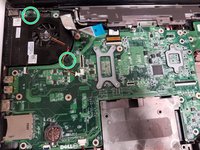
Unscrew the remaining two screws.
-
Remove the fan.
-
-








To reassemble your device, follow these instructions in reverse order.

Team

University of North Texas, Team S8-G5, Riccardelli Fall 2018 Member of University of North Texas, Team S8-G5, Riccardelli Fall 2018
UNT-RICCARDELLI-F18S8G5
4 Members
60 Guides authored
