Free Shipping on Domestic Orders $75+

Dell Inspiron 17R-5737 Screen Replacement

What you need

    1. Dell Inspiron 17R-5737 Screen Replacement, Battery: step 1, image 1 of 1
      • Make sure the laptop is off before attempting to remove the battery.

      • Flip over your laptop so that the battery faces you.

      Ask FixBot
      Add Comment

    2. Dell Inspiron 17R-5737 Screen Replacement: step 2, image 1 of 2 Dell Inspiron 17R-5737 Screen Replacement: step 2, image 2 of 2
      • Slide each latch away from the battery to unlock it.

      Ask FixBot
      Add Comment

    3. Dell Inspiron 17R-5737 Screen Replacement: step 3, image 1 of 2 Dell Inspiron 17R-5737 Screen Replacement: step 3, image 2 of 2
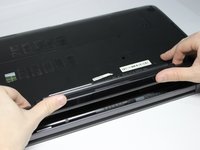
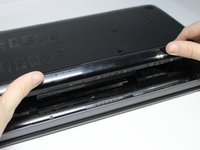
      • Lift the battery upwards to remove it.

      • Continue holding the latches when removing the battery.

      Ask FixBot

      Add Comment

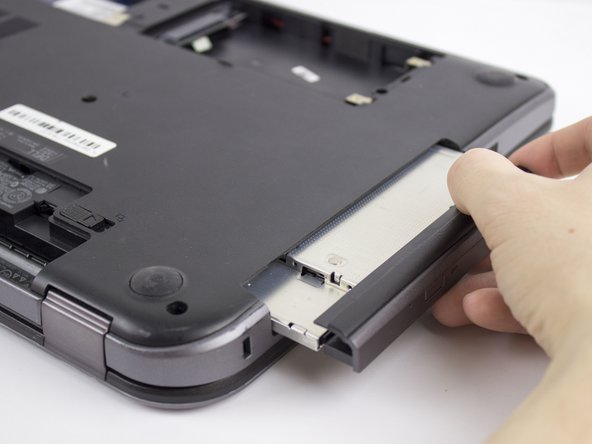
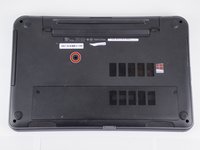
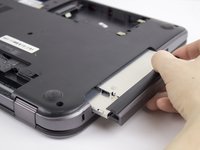
    1. Dell Inspiron 17R-5737 Screen Replacement, Optical Drive: step 4, image 1 of 2 Dell Inspiron 17R-5737 Screen Replacement, Optical Drive: step 4, image 2 of 2
      • Remove one 4.8mm screw with a JIS #00 screwdriver.

      • Remove the optical drive.

      Ask FixBot

      Add Comment

    1. Dell Inspiron 17R-5737 Screen Replacement, Access Panel: step 5, image 1 of 1
      • Remove two 4.8mm screws with a JIS #00 screwdriver.

      • Remove the access panel.

      Ask FixBot

      Add Comment

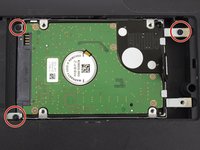
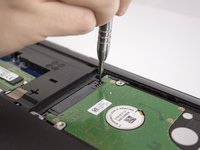
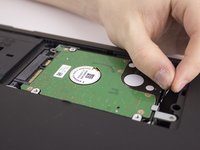
    1. Dell Inspiron 17R-5737 Screen Replacement, Hard Drive: step 6, image 1 of 3 Dell Inspiron 17R-5737 Screen Replacement, Hard Drive: step 6, image 2 of 3 Dell Inspiron 17R-5737 Screen Replacement, Hard Drive: step 6, image 3 of 3
      • Remove three 4.8mm screws from the hard drive with a JIS #00 screwdriver.

      • Slide the hard drive to the left.

      • Slide the hard drive to the right and up.

      Ask FixBot
      Add Comment

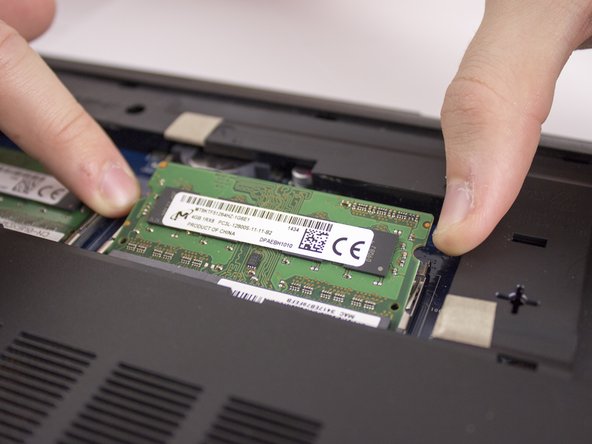
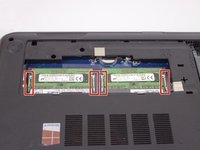
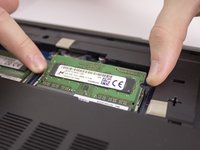
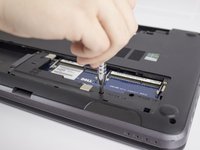
    1. Dell Inspiron 17R-5737 Screen Replacement, RAM: step 7, image 1 of 2 Dell Inspiron 17R-5737 Screen Replacement, RAM: step 7, image 2 of 2
      • Slide the two clips away from the RAM.

      • Lift the RAM out.

      Ask FixBot
      Add Comment

    1. Dell Inspiron 17R-5737 Screen Replacement, Keyboard: step 8, image 1 of 1
      • A metal spudger can scratch delicate internal parts. Be extra careful when removing the keyboard.

      • Use a metal spudger to loosen the main frame of the keyboard.

      • A metal spudger should be used instead of a plastic one because a plastic one will probably break.

      • Make sure to get the spudger under the entire keyboard and not just under the keys.

      Ask FixBot
      Add Comment

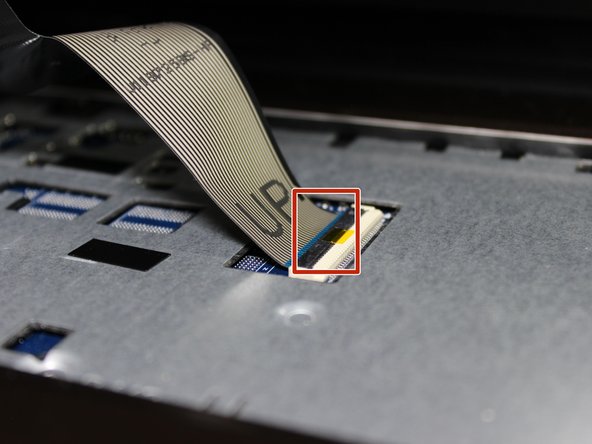
    2. Dell Inspiron 17R-5737 Screen Replacement: step 9, image 1 of 3 Dell Inspiron 17R-5737 Screen Replacement: step 9, image 2 of 3 Dell Inspiron 17R-5737 Screen Replacement: step 9, image 3 of 3
      • Slowly lift the keyboard.

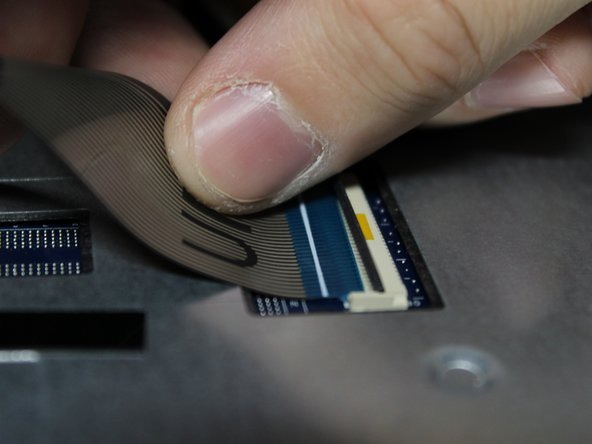
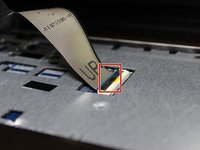
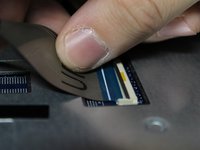
      • Lift the locking flap that holds the ribbon cable in place.

      • The white line on this ribbon cable marks the edge of the connection area. To reinstall, insert the cable into the connector up to this line, and then close the locking flap.

      • Remove the keyboard.

      Ask FixBot

      Add Comment

    1. Dell Inspiron 17R-5737 Screen Replacement, Palmrest: step 10, image 1 of 3 Dell Inspiron 17R-5737 Screen Replacement, Palmrest: step 10, image 2 of 3 Dell Inspiron 17R-5737 Screen Replacement, Palmrest: step 10, image 3 of 3
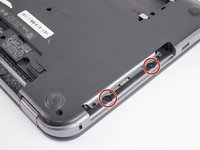
      • Remove two 1.6mm screws from beneath the optical drive with a JIS #00 screwdriver.

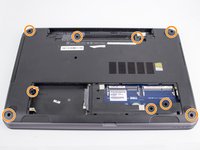
      • Remove the nine remaining 4.8mm screws from the back of the computer with a JIS #00 screwdriver.

      Ask FixBot
      Add Comment

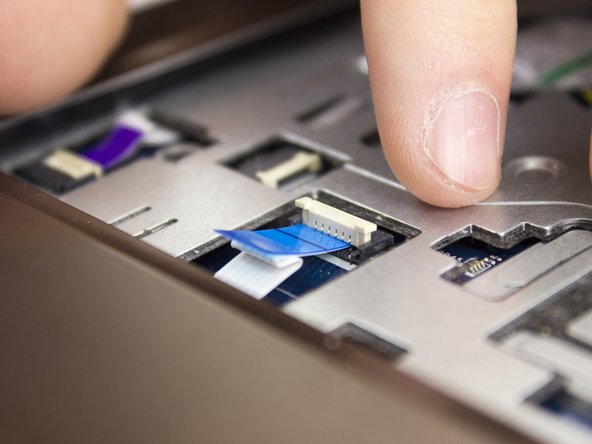
    2. Dell Inspiron 17R-5737 Screen Replacement: step 11, image 1 of 3 Dell Inspiron 17R-5737 Screen Replacement: step 11, image 2 of 3 Dell Inspiron 17R-5737 Screen Replacement: step 11, image 3 of 3
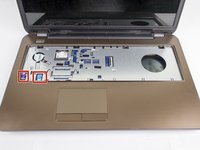
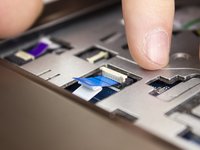
      • Remove the two exposed ribbon cables.

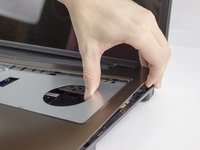
      • Remove the palmrest.

      Ask FixBot

      Add Comment

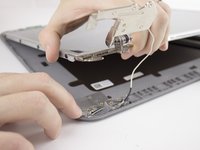
    1. Dell Inspiron 17R-5737 Screen Replacement, Screen: step 12, image 1 of 3 Dell Inspiron 17R-5737 Screen Replacement, Screen: step 12, image 2 of 3 Dell Inspiron 17R-5737 Screen Replacement, Screen: step 12, image 3 of 3
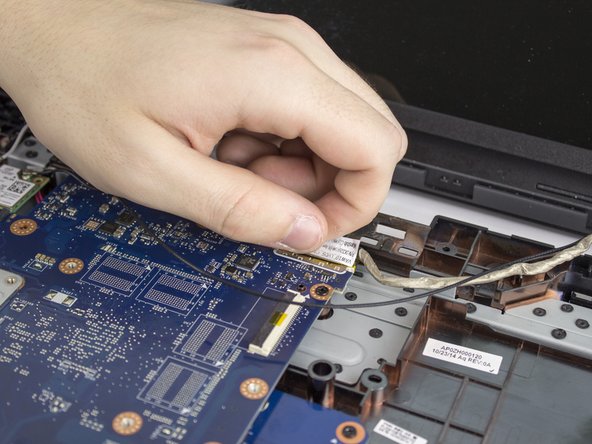
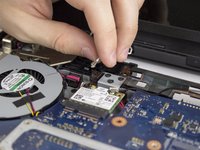
      • Remove the display cable on the top-right of the motherboard.

      • Ensure the cable snakes through the path in the case when putting it back together.

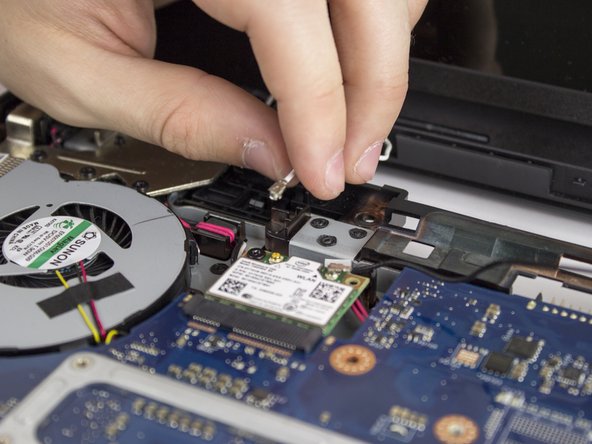
      • Remove the two antennae from Wi-Fi chip.

      Ask FixBot

      Add Comment

    2. Dell Inspiron 17R-5737 Screen Replacement: step 13, image 1 of 3 Dell Inspiron 17R-5737 Screen Replacement: step 13, image 2 of 3 Dell Inspiron 17R-5737 Screen Replacement: step 13, image 3 of 3
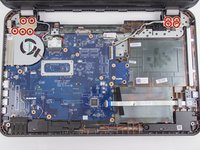
      • Remove the nine 4.8mm screws from the hinges. There are four on the right and five on the left with a JIS #00 screwdriver.

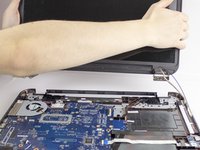
      • Lift the display assembly away from the base.

      Ask FixBot

      Add Comment

    3. Dell Inspiron 17R-5737 Screen Replacement: step 14, image 1 of 1
      • Unsnap the bezel around the edges.

      • Remove the bezel.

      • During reassembly, make sure the wires are tucked inside the hinges so that they fit around the edges.

      Ask FixBot

      Add Comment

    4. Dell Inspiron 17R-5737 Screen Replacement: step 15, image 1 of 2 Dell Inspiron 17R-5737 Screen Replacement: step 15, image 2 of 2
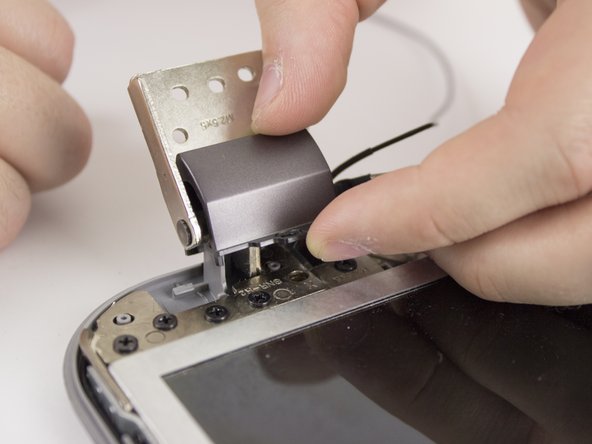
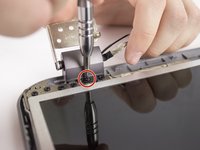
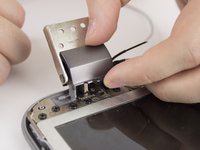
      • Remove the one 4.8mm screw from each hinge cover with a JIS #00 screwdriver.

      • Do not over-tighten these screws during reassembly, as the hinge cover is thin and may break.

      • Remove the hinge cover.

      Ask FixBot

      Add Comment

    5. Dell Inspiron 17R-5737 Screen Replacement: step 16, image 1 of 3 Dell Inspiron 17R-5737 Screen Replacement: step 16, image 2 of 3 Dell Inspiron 17R-5737 Screen Replacement: step 16, image 3 of 3
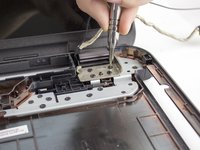
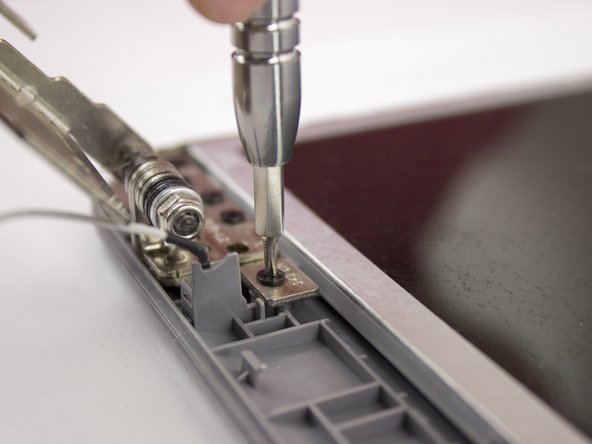
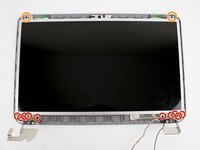
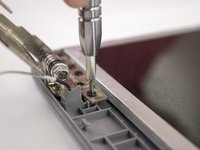
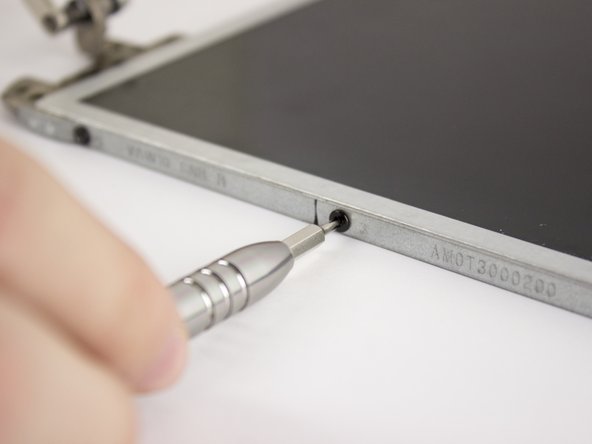
      • Remove the five 4.8mm screws from each hinge with a JIS #00 screwdriver.

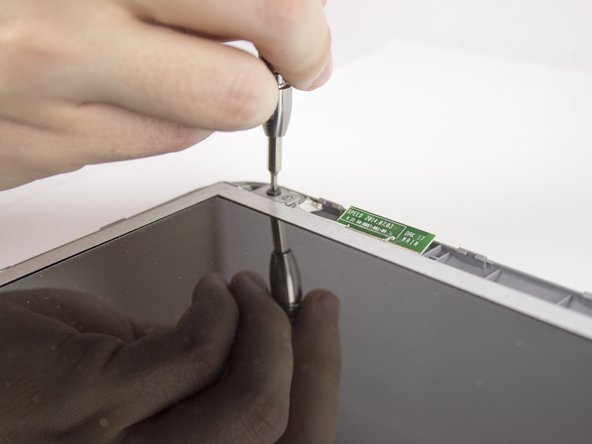
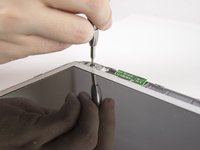
      • Remove one 4.8mm screw from the top left and the top right of the screen with a JIS #00 screwdriver.

      Ask FixBot

      Add Comment

    6. Dell Inspiron 17R-5737 Screen Replacement: step 17, image 1 of 3 Dell Inspiron 17R-5737 Screen Replacement: step 17, image 2 of 3 Dell Inspiron 17R-5737 Screen Replacement: step 17, image 3 of 3
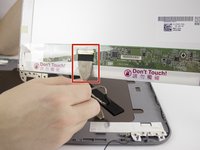
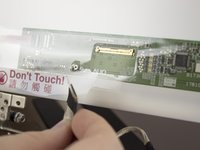
      • Be sure not to damage the display cable when lifting the screen!

      • Slowly lift the screen away from the case assembly.

      • Unplug the display cable from the back of the screen.

      • Make sure there are no cables under the screen during reassembly.

      Ask FixBot

      Add Comment

    7. Dell Inspiron 17R-5737 Screen Replacement: step 18, image 1 of 3 Dell Inspiron 17R-5737 Screen Replacement: step 18, image 2 of 3 Dell Inspiron 17R-5737 Screen Replacement: step 18, image 3 of 3
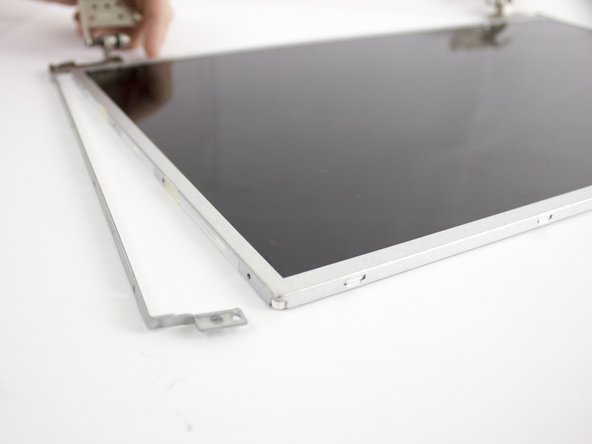
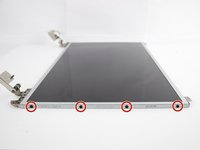
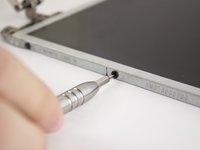
      • Remove the four 3.2mm screws from each rail with a JIS #00 screwdriver.

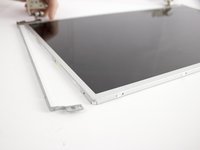
      • Remove the rails from the screen.

      Ask FixBot

      Add Comment

Conclusion

To reassemble your device, follow these instructions in reverse order.

Cancel: I did not complete this guide.

4 other people completed this guide.

David Callahan

Member since: 10/19/17

559 Reputation

5 Guides authored

Team

UMass Dartmouth, Team S3-G7, Bailey Fall 2017 Member of UMass Dartmouth, Team S3-G7, Bailey Fall 2017

UMASSD-BAILEY-F17S3G7

3 Members

132 Guides authored

2 Guide Comments

I was able to do this repair on this exact model of laptop without dismantling the bottom half of the laptop. It’s not hard at all, all you’ve got to do is just separate the bezel from the lid of the laptop and pull it out from behind the base. It saves lots of trouble of dismantling. You can’t replace the hinges this way, though, but you can certainly replace the LCD itself without dismantling the bottom half of the laptop.

Joseph Sctbunio - Reply Share

But can I boot to an external display via hdmi if the main LCD is broken?

Brandon O - Reply Share

Add Comment

View Statistics:

Past 24 Hours: 0

Past 7 Days: 6

Past 30 Days: 30

All Time: 2,086