
Dell Inspiron 1750 Hard Drive Replacement

Tina Rickard and 5 other contributors
Last updated on Nov 16, 2022
Views: 10K
View statistics:
- Past 24 Hours:
- 1
- Past 7 Days:
- 27
- Past 30 Days:
- 120
- All Time:
- 10,465
Comments: 0
No one has left comments on this guide. Will you be first?
Go to guide commentsCompleted: 4 5
4 people have marked this guide "completed." Will you be next?
5 people have marked this guide "completed." Including you — great job!
Favorites: 0 1
No one has favorited (and subscribed to) this guide. Will you be the first?
1 person has favorited (and subscribed to) this guide — and that's you!
Introduction
Go to step 1 ↓You may want to remove the hard drive to upgrade to a higher capacity drive or if your files have become corrupted and unrecoverable.
What you need
Fix Kits
These kits contain all the parts and tools needed to complete this guide.


Parts


Tools

-
-
-
Place the laptop on a flat stable surface.
-
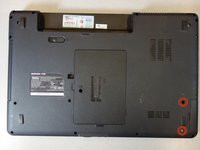
Flip the laptop over so the underside is visible.
 Ask FixBot
-
-
-
Locate the battery lock switch.
-
Slide the lock switch to the left (away from the lock symbol).
-
Slide the battery out away from the laptop.
-
-
-
-
-
-
Remove the two 1mm double wide Phillips #00 screws.
-
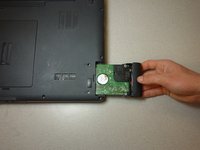
Pull the hard drive away from the laptop.
-
-
-
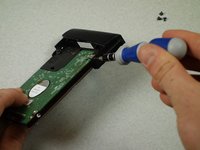
Remove the two #00 1mm screws on both sides of the hard drive.
-
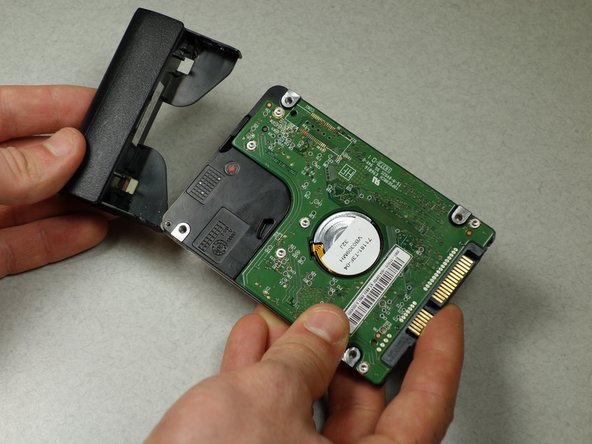
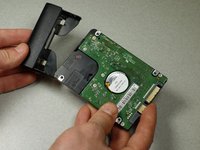
Pull the hard drive cover away from the hard drive and set the cover aside.
-
-



To reassemble your device, follow these instructions in reverse order.
Cancel: I did not complete this guide.
4 other people completed this guide.

Team

Cal Poly, Team 6-3, Forte Spring 2014 Member of Cal Poly, Team 6-3, Forte Spring 2014
CPSU-FORTE-S14S6G3
5 Members
84 Guides authored
