
Dell Inspiron 1526 Webcam Replacement

Ahmed Alshamsi and 4 other contributors
Last updated on Jun 6, 2023
Views: 605
View statistics:
- Past 24 Hours:
- 2
- Past 7 Days:
- 14
- Past 30 Days:
- 66
- All Time:
- 605
Comments: 2
2 comments on steps.
Completed: 0 1
No one has marked this guide "completed." Will you be the first?
1 person has marked this guide "completed." It's you — great job!
Favorites: 0 1
No one has favorited (and subscribed to) this guide. Will you be the first?
1 person has favorited (and subscribed to) this guide — and that's you!
Introduction
Go to step 1 ↓Moving along with our Dell Inspiron 1526 Repair, its time to take a look at the Webcam Repair! A webcam is a digital video device commonly built into a computer. Its main function is to transmit pictures over the Internet. Arguably one of the best features of laptop computer, allowing users to make conference calls, record video, or simply play around with filters.
Without the webcam in use we may feel that our entire laptop is broken, or seek out expensive options to install an external webcam. By following this guide, you'll be able to repair your webcam, or sell it for parts.
First we're going to be using a pair of tweezers to remove a ribbon cable, a Philips #1 screwdriver to remove the keyboard, and later a Spudger and Pick (or Opening Tool depending on preference) to remove the whole screen to expose the components of the webcam, finally removing the broken webcam altogether. This is a fairly difficult fix that should take around 30 minutes because of the precise detail you must take during each step to make sure you don't become confused or interfere with other parts of your machine.
Before beginning, make sure to power off your computer completely and disconnect from any external power source.
Follow along below for more details.
What you need
Tools
-
-
Spudger4.9
-


-
-
-
Slide the unlock button to the left to release the battery.
-
Slide the battery away from the laptop to remove.
 Ask FixBot
-
-
-
-
-
Flip the laptop over.
-
Lift the control cover by prying the right side of the cover with an iFixit opening tool.
-
-
-
Carefully lift the control cover up and forward to reveal a single ribbon cable.
-
-
Tool used on this step:Tweezers$4.99
-
Use tweezers to squeeze the tabs on the connector and remove the ribbon cable.
-
-
-
-
Remove the two 3mm Phillips #1 screws at the top of the keyboard where the control cover was.
-
-
-
Lift the keyboard gently from the top, but do not remove completely.
-
Looking under the keyboard, towards the touch-pad in the center, lift up the black tab on the connector with tweezers for the keyboard ribbon cable.
-
-
-
-
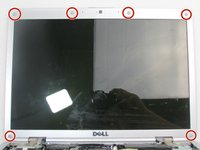
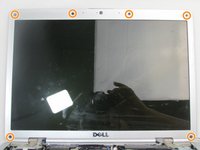
Remove the six plastic pads around the bezel using an iFixit opening pick.
-
Remove the six 3mm Phillips #0 screws under each pad.
-
-
-
Open the computer so that it rests flat on the table.
-
Separate the bezel from the black plastic frame using a spudger.
-
-
-
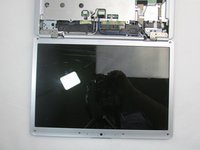
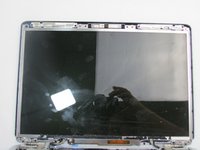
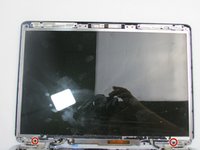
Remove the two 3mm Phillips #1 screws at the bottom of the display panel.
-
Lift the display slightly from the top, then pull outwards.
-
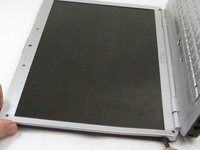
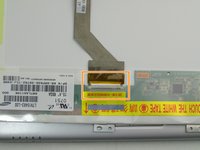
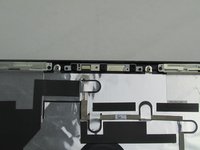
Flip the display panel around to the back.
-
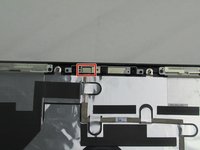
Disconnect the connector and remove the ribbon cable.
-
-
-


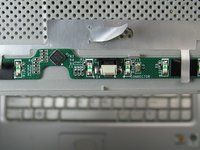
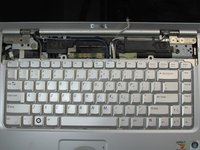


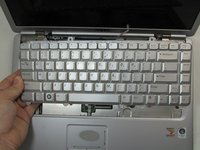
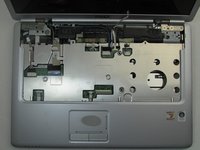









To reassemble your device, follow these instructions in reverse order.

Team

Embry-Riddle Aeronautical University, Team S20-G3, Branham Fall 2019 Member of Embry-Riddle Aeronautical University, Team S20-G3, Branham Fall 2019
ERAU-BRANHAM-F19S20G3
4 Members
60 Guides authored
