
Dell Inspiron 1501 Wireless Mini-Card Replacement

Don Dao and one other contributor
Last updated on May 24, 2018
Views: 1.3K
View statistics:
- Past 24 Hours:
- 2
- Past 7 Days:
- 16
- Past 30 Days:
- 72
- All Time:
- 1,257
Comments: 2
2 guide comments.
Go to guide commentsCompleted: 1 2
1 person has marked this guide "completed." Will you be next?
2 people have marked this guide "completed." Including you — great job!
Favorites: 0 1
No one has favorited (and subscribed to) this guide. Will you be the first?
1 person has favorited (and subscribed to) this guide — and that's you!
Introduction
Go to step 1 ↓This guide will teach you how to replace the wireless mini-card in your laptop.
What you need
Tools
-
Spudger4.9


-
-
-
Place the laptop facedown with the battery facing you.
-
Push the switch above the battery to the right and hold it in that position.
-
Lift the battery using the grip on the top and remove it from its socket.
 Ask FixBot
-
-
-
-
-
Open the laptop all the way, rotating the display so that it is level with the surface that you are working on.
-
Insert the spudger underneath the groove on the right side of the hinge cover.
-
Push up to pry the edge of the hinge cover out.
-
Lift up to release the hinge cover from the laptop, working from right to left.
-
-
-
-
-
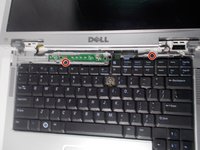
Remove the two 5mm JIS #1 screws from the top of the keyboard.
-
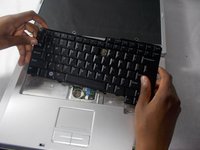
Lift the top of the keyboard up and pull the keyboard away from the laptop.
-
-
-
Open the latch holding the ribbon from the top
-
Remove the keyboard from the laptop.
-
-
-
-
-
-
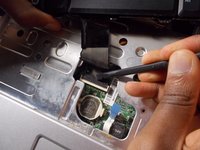
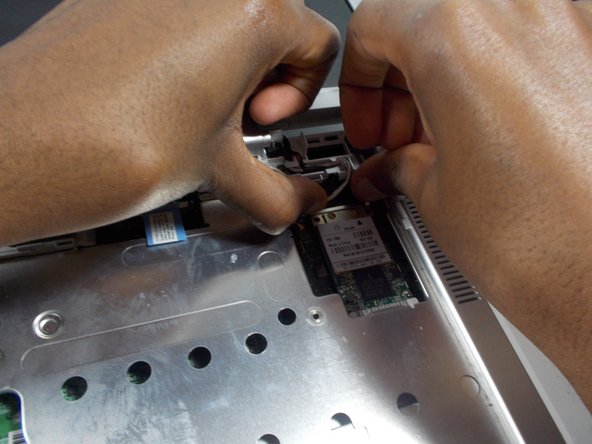
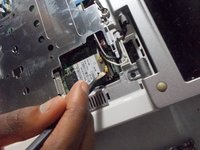
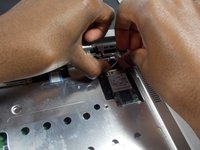
Remove the two wires from their connections.
-
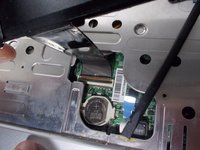
Pull the metal tabs securing the wireless mini-card to the back of the laptop until the card pops up.
-
Remove the wireless mini-card from the laptop.
-
-






To reassemble your device, follow these instructions in reverse order.
Cancel: I did not complete this guide.
One other person completed this guide.

Team

UMass Dartmouth, Team S2-G4, Simcock Spring 2018 Member of UMass Dartmouth, Team S2-G4, Simcock Spring 2018
UMASSD-SIMCOCK-S18S2G4
4 Members
84 Guides authored
2 Guide Comments
I have a computer like this. I have a problem that I have not been able to find a solution too. A few parts that support the screen are broken, and I need to know if I will not be able to replace the CPU in the future should I ever decide to cement these specific parts together.
Let me know if you need any more information!
Peter C.
