Free Shipping on Domestic Orders $75+

Dell Inspiron 15-7547 LCD Assembly Replacement

What you need

    1. Dell Inspiron 15-7547 LCD Assembly Replacement, Bottom Cover: step 1, image 1 of 1
      • Before you begin, be sure to turn off your laptop and unplug it from the outlet.

      • Close the display and flip the laptop on its back.

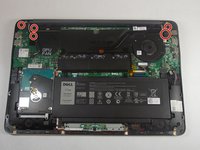
      • Loosen the ten 5.0 mm-long Phillips #0 screws.

      • The four screws marked with orange will remain captive to the cover.

      Ask FixBot

      Add Comment

    2. Dell Inspiron 15-7547 LCD Assembly Replacement: step 2, image 1 of 1
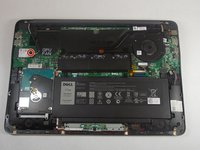
      • Use a spudger to pry up and loosen the back cover.

      • Remove the back cover.

      Ask FixBot

      Add Comment

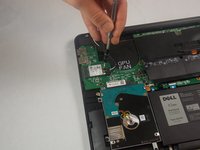
    1. Dell Inspiron 15-7547 LCD Assembly Replacement, WiFi Card: step 3, image 1 of 2 Dell Inspiron 15-7547 LCD Assembly Replacement, WiFi Card: step 3, image 2 of 2
      • Remove the 3.0 mm-long Philips #0 screw at the end of the Wifi-Card

      Ask FixBot

      Add Comment

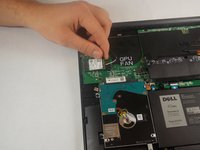
    2. Dell Inspiron 15-7547 LCD Assembly Replacement: step 4, image 1 of 2 Dell Inspiron 15-7547 LCD Assembly Replacement: step 4, image 2 of 2
      • Remove the Wifi-Card from its socket by pulling away and up from the connector.

      Ask FixBot

      Add Comment

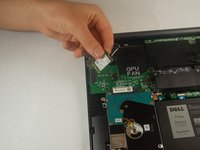
    3. Dell Inspiron 15-7547 LCD Assembly Replacement: step 5, image 1 of 2 Dell Inspiron 15-7547 LCD Assembly Replacement: step 5, image 2 of 2
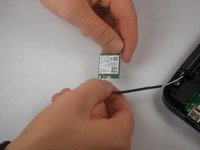
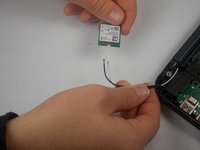
      • Disconnect the white and black cables from the Wifi-Card.

      • Make a note of which wire goes where for reconnecting them to the replacement card.

      Ask FixBot

      Add Comment

    1. Dell Inspiron 15-7547 LCD Assembly Replacement, LCD Assembly: step 6, image 1 of 3 Dell Inspiron 15-7547 LCD Assembly Replacement, LCD Assembly: step 6, image 2 of 3 Dell Inspiron 15-7547 LCD Assembly Replacement, LCD Assembly: step 6, image 3 of 3
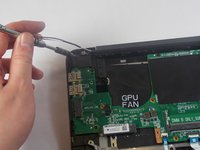
      • Remove the six 7.0 mm-long Philips #0 screws that mount the hinges.

      Ask FixBot

      Add Comment

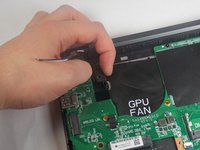
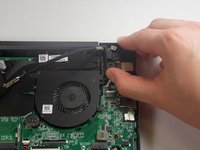
    2. Dell Inspiron 15-7547 LCD Assembly Replacement: step 7, image 1 of 3 Dell Inspiron 15-7547 LCD Assembly Replacement: step 7, image 2 of 3 Dell Inspiron 15-7547 LCD Assembly Replacement: step 7, image 3 of 3
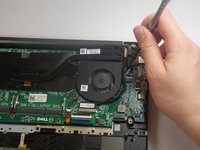
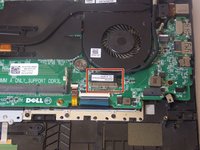
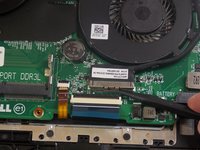
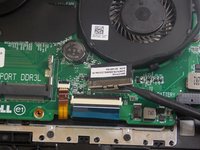
      • Use a spudger to unlatch and unplug the display cable.

      • There will be a notch on the side of the connector.

      Ask FixBot

      Add Comment

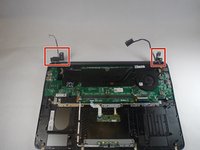
    3. Dell Inspiron 15-7547 LCD Assembly Replacement: step 8, image 1 of 3 Dell Inspiron 15-7547 LCD Assembly Replacement: step 8, image 2 of 3 Dell Inspiron 15-7547 LCD Assembly Replacement: step 8, image 3 of 3
      • Raise the left and right hinges.

      Ask FixBot

      Add Comment

    4. Dell Inspiron 15-7547 LCD Assembly Replacement: step 9, image 1 of 1
      • Remove the LCD display assembly from the laptop.

      Ask FixBot

      Add Comment

Conclusion

To reassemble your device, follow these instructions in reverse order.

Cancel: I did not complete this guide.

0 Guide Comments

Add Comment

View Statistics:

Past 24 Hours: 1

Past 7 Days: 5

Past 30 Days: 30

All Time: 1,071