Introduction
This guide is to help you replace the trackpad for a Dell Inspiron 15-5547. The trackpad is one of the parts of a laptop that is most prone to damage. It can get jammed if it is pressed violently, it can get damaged from drinks spilling on it and it can also start malfunctioning after a few years of use. Replacing the trackpad on your Dell can become very useful as it helps solve these problems. This guide can be difficult for users who are unfamiliar with working with computers. As long as you stay organized and follow the steps correctly, replacing your trackpad should not be a problem.
What you need
-
-
-
Flip the laptop on it's top and lay to a rest position.
-
Using the Phillips J0 screwdriver, remove the two indicated screws.
 Ask FixBot
-
-
-
Use the spudger to carefully remove the back cover to get into the internals. Stick the spudger into the slot indicated in the photo by the marker.
-
Pry up from the slot, then pry up around the sides of the panel. The panel can then be removed by lifting the side with the slot and puling in that direction.
-
-
-
Use a Phillips J0 screwdriver in order to remove the screws indicated by the markers in the picture. It will be a total of 5 screws. Careful not to puncture the battery.
-
Carefully remove the battery by puling on the black tab.
-
-
-
-
-
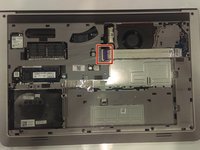
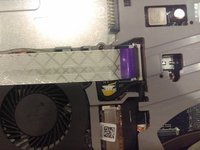
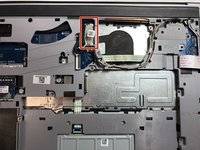
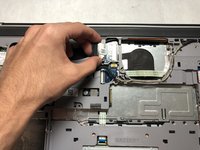
Start by removing the white ribbon cable. Lift up the black tab indicated by the red marker to disconnect the ribbon cable from the connector. Be careful while removing the ribbon cable, as it will possibly be taped to the fan.
-
-
-
After you have removed the ribbon cable, locate the screws indicated in the photo by the red markers (2 in total) and remove them with a Phillips J0 screwdriver.
-
-
-
-
Remove the fan cable, indicated by the red marker in the picture, by pulling it out from the connector. Be careful to pull it out by the plastic end instead of by the cable.
-
-
-
Once you have disconnected the fan from the motherboard, you may now remove the fan from the slot. Your laptop should now look similar to the picture in this step.
-
-
-
-
-
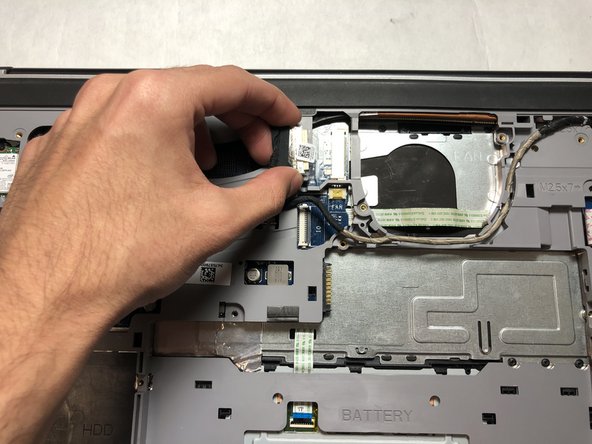
Disconnect the plug indicated in the picture so as to not damage it.
-
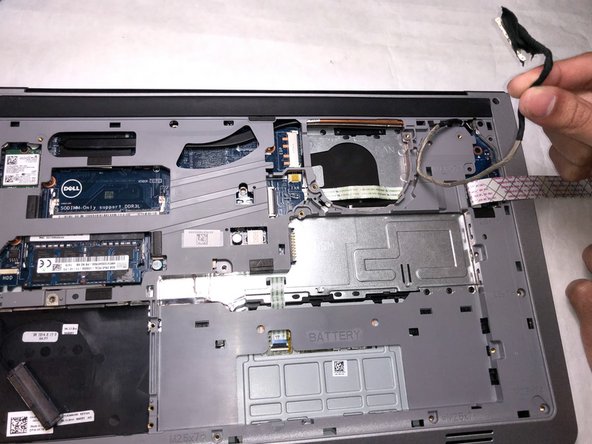
Gently remove the cable from the groove holding it in place to completely free the cable.
-
-
-
Use a spudger or plastic opening tool to lift up the keyboard using the notches indicated.
-
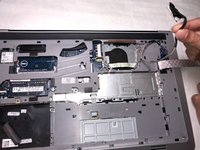
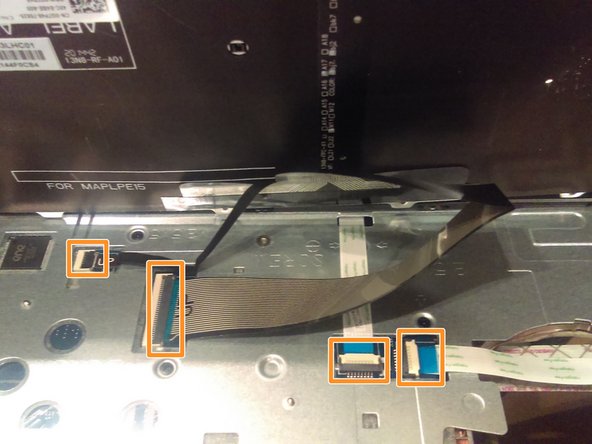
Detach the cables connecting the keyboard to the motherboard before removing the keyboard from the device.
-
-
-
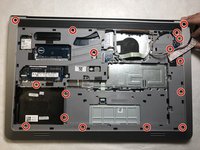
Using the Phillips #0 screwdriver, remove sixteen screws from the case.
-
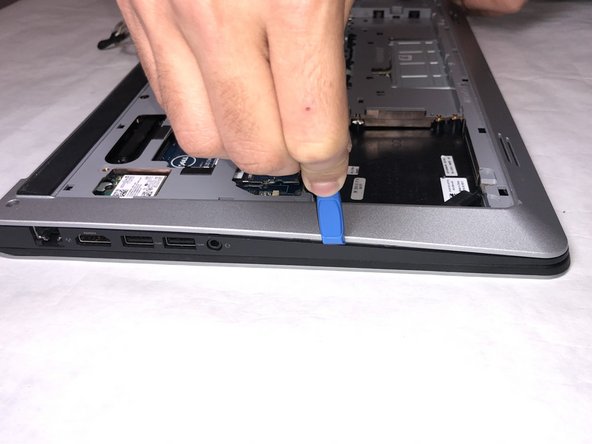
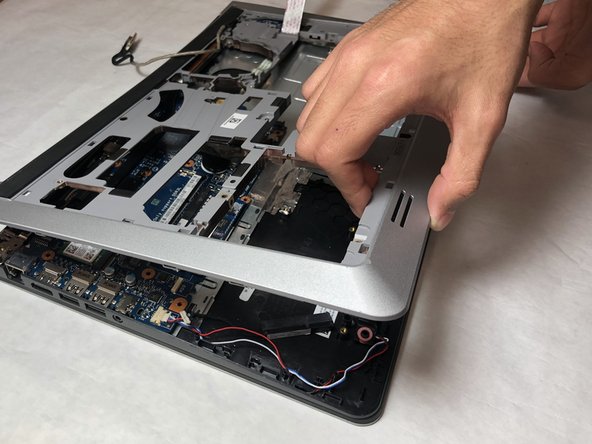
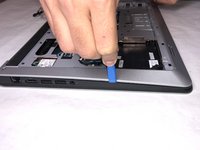
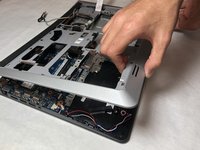
Using the iFixit Opening Tool, pry open the edges of the panel and remove.
-
-
-
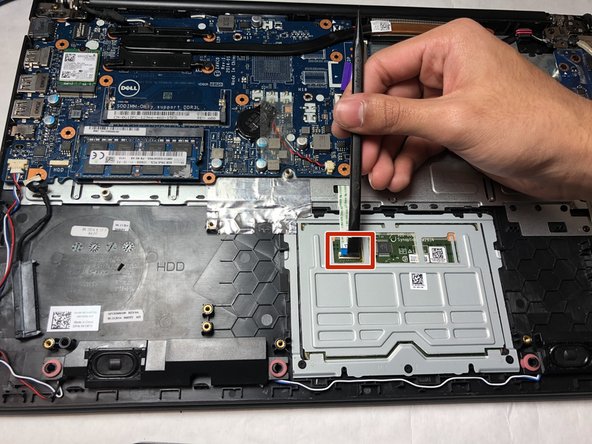
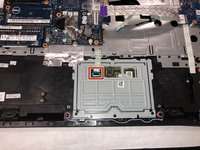
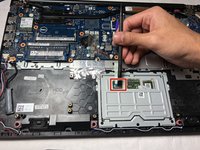
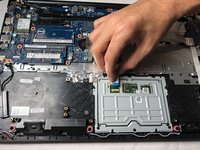
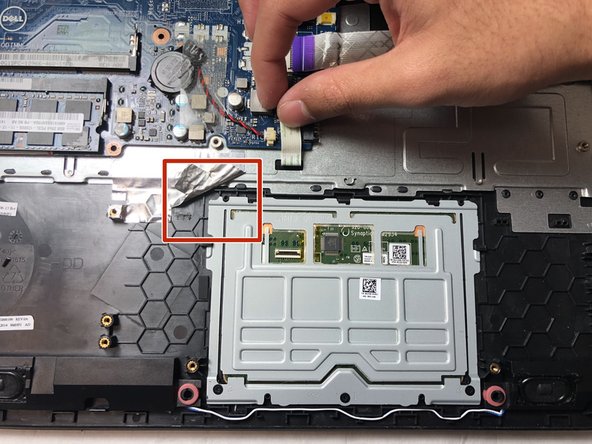
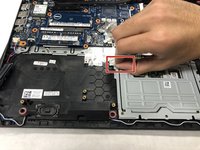
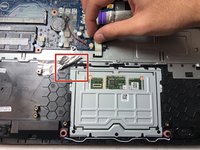
Lift up the black tab indicated in the picture using a spudger.
-
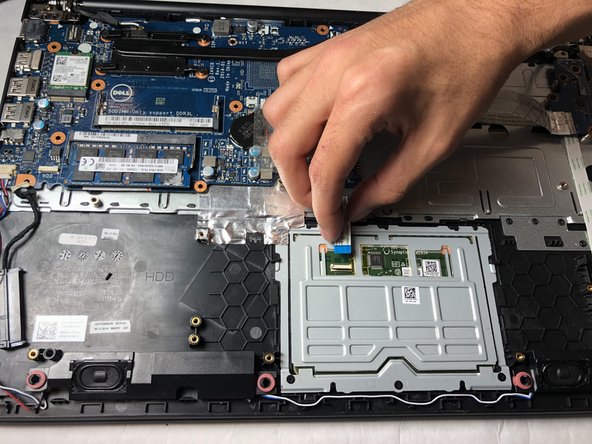
Detach the trackpad cable from the device.
-
-
-
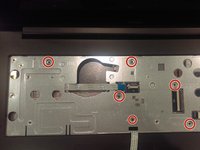
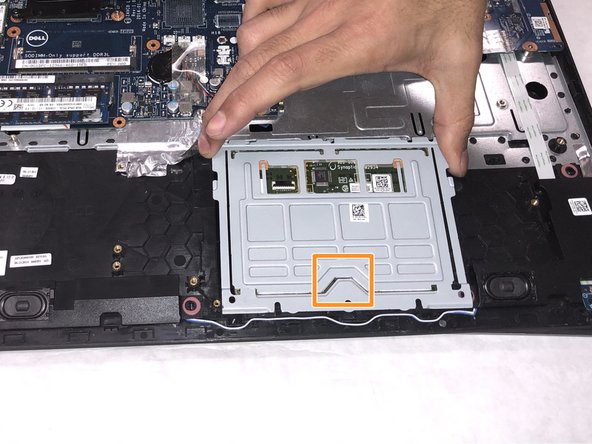
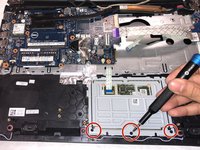
Using a Phillips #0 screwdriver, remove the three screws.
-
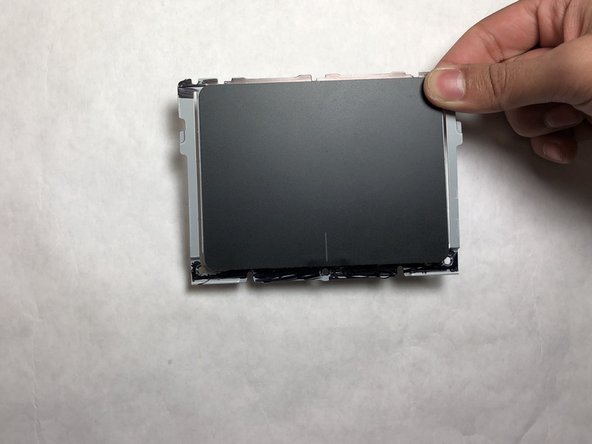
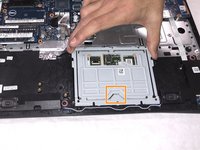
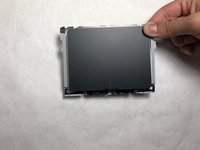
Lift up the trackpad and remove it from the device.
-
-





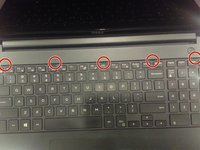
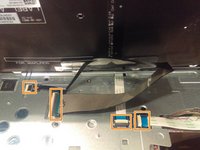

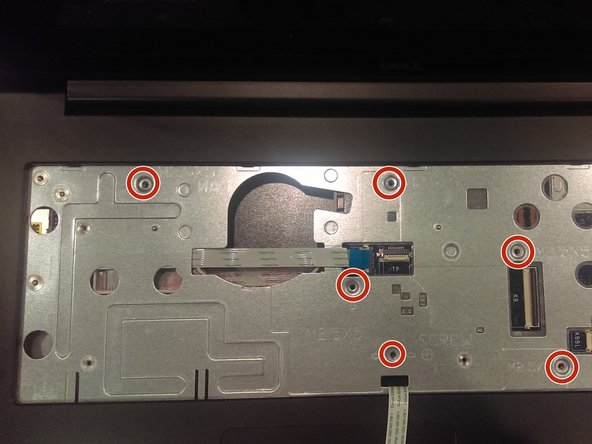
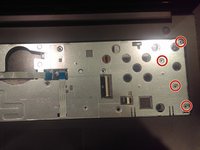




To reassemble your device, follow these instructions in reverse order.

Team

IUPUI, Team S1-G2, Harley Fall 2019 Member of IUPUI, Team S1-G2, Harley Fall 2019
IUPUI-HARLEY-F19S1G2
3 Members
24 Guides authored
