
Dell Inspiron 14-5447 Keyboard Replacement

Miguel Vargas and 7 other contributors
Last updated on Apr 27, 2021
Views: 1.9K
View statistics:
- Past 24 Hours:
- 5
- Past 7 Days:
- 35
- Past 30 Days:
- 109
- All Time:
- 1,887
Comments: 0
No one has left comments on this guide. Will you be first?
Go to guide commentsCompleted: 1 2
1 person has marked this guide "completed." Will you be next?
2 people have marked this guide "completed." Including you — great job!
Favorites: 0 1
No one has favorited (and subscribed to) this guide. Will you be the first?
1 person has favorited (and subscribed to) this guide — and that's you!
Introduction
Go to step 1 ↓Remember, turning off your device and removing it from any power source before you start reparations is important for your safety to prevent any electrical shock. Tools included in the reparation include a plastic prying tool and if needed a tweezer to disconnect the cables attached to the keyboard.
What you need
Tools
-
-
Spudger4.9


-
-
-
Remove the two black 5.70mm Phillips#0 screws on the case's back.
-
Insert a plastic opening tool into the small slit, centered between the removed screws, and pry open the back cover
-
-
-
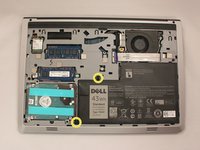
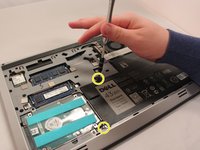
Remove the two 5.70mm Phillips #0 screws that secure the battery in place on its left side .
-
-
-
-
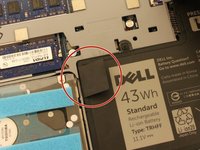
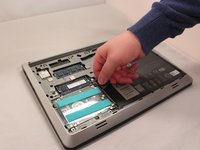
Use the black, plastic flap on the left side to pull the battery out.
-
Slowly lift the flap up and the battery should slide out.
-
-
-
-
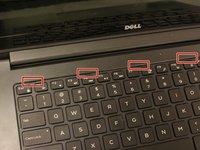
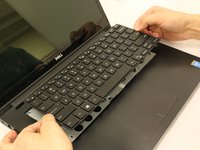
Locate the five small slits at the top of the keyboard.
-
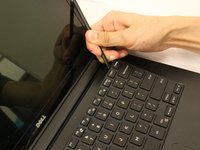
Using a plastic opening tool, carefully pry each slit to loosen the keyboard.
-
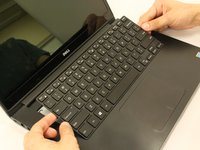
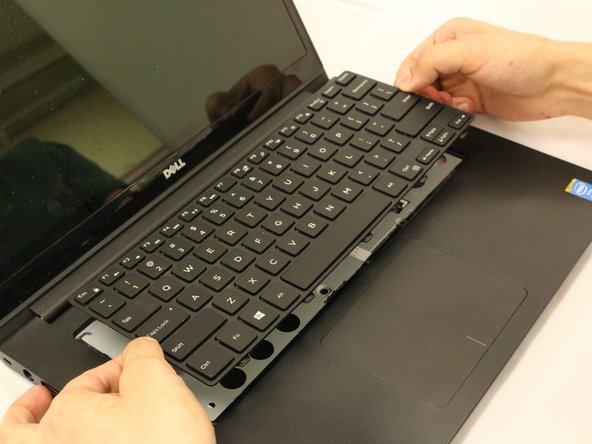
Slide the keyboard towards the screen at an angle for removal.
-
-
-
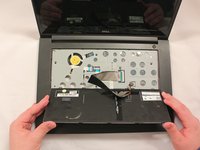
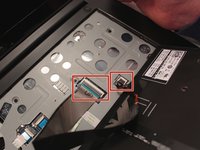
Locate the two cable connectors. These connectors secure the cables to the laptop with small, securing flaps.
-
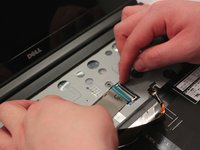
To release the cables, take each flap and flip them upwards to the unlocking position.
-
Pull both the cables out after unlocking and set aside the keyboard.
-
-

 Ask FixBot









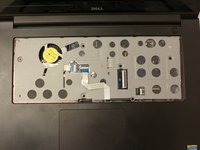
To reassemble your device, follow these instructions in reverse order.
Cancel: I did not complete this guide.
One other person completed this guide.

Team

Eastern Washington University, Team S1-G3, Crane Spring 2017 Member of Eastern Washington University, Team S1-G3, Crane Spring 2017
EWU-CRANE-S17S1G3
3 Members
60 Guides authored
